Managing subscriptions on your iPad is essential for keeping track of your expenses and ensuring that you’re not paying for services you no longer use. Whether it’s a streaming service, a magazine subscription, or an app with premium features, canceling unwanted subscriptions can free up space and save you money.
In this guide, we’ll cover the steps to cancel subscriptions on your iPad. We’ll show you how to access the subscription settings, identify the subscriptions you want to cancel, and complete the cancellation process. This guide will help you manage your subscriptions effectively and avoid unnecessary charges.
Watch:How To Uninstall Google Chrome On iPad
Cancel Subscriptions On iPad
Step 1: Open Settings Start by launching the Settings app on your iPad. This is your central hub for managing all device settings.
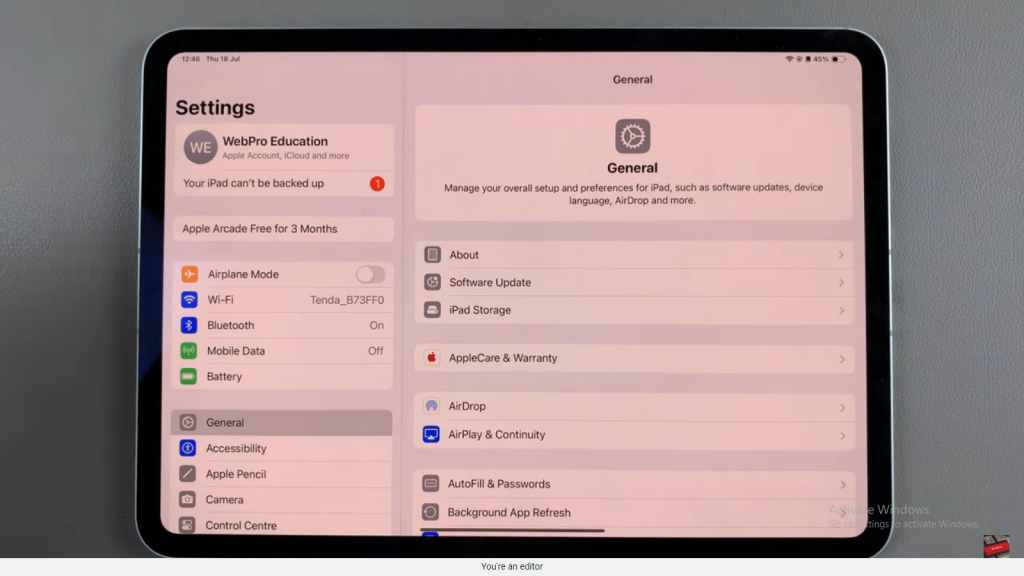
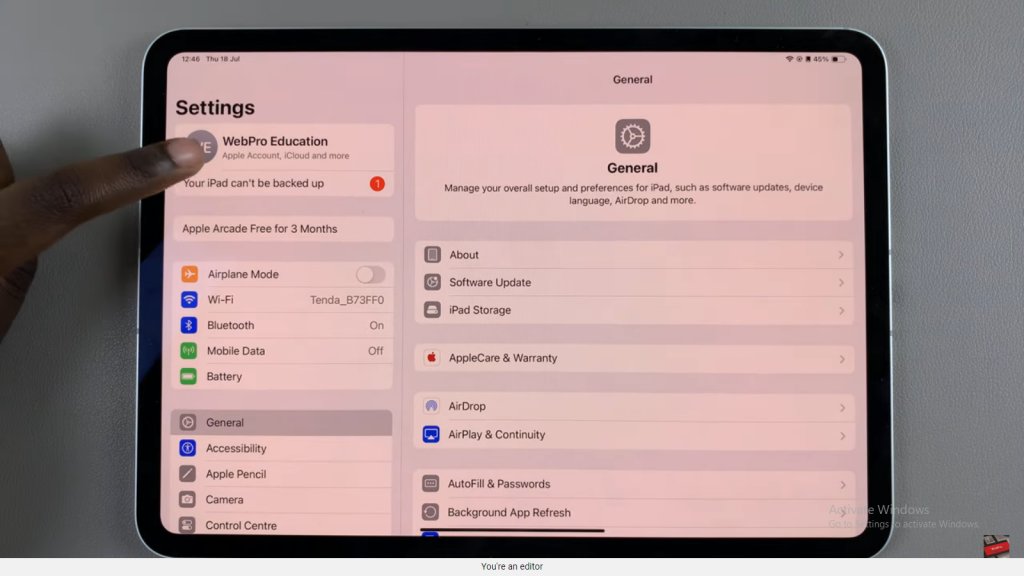
Step 2: Access Your Apple ID At the top of the Settings menu, you’ll see your Apple ID. Tap on it to access your account details and settings.
Step 3: Select Subscriptions In the Apple ID menu, look for the “Subscriptions” option and tap on it. This section will show you all your current subscriptions.
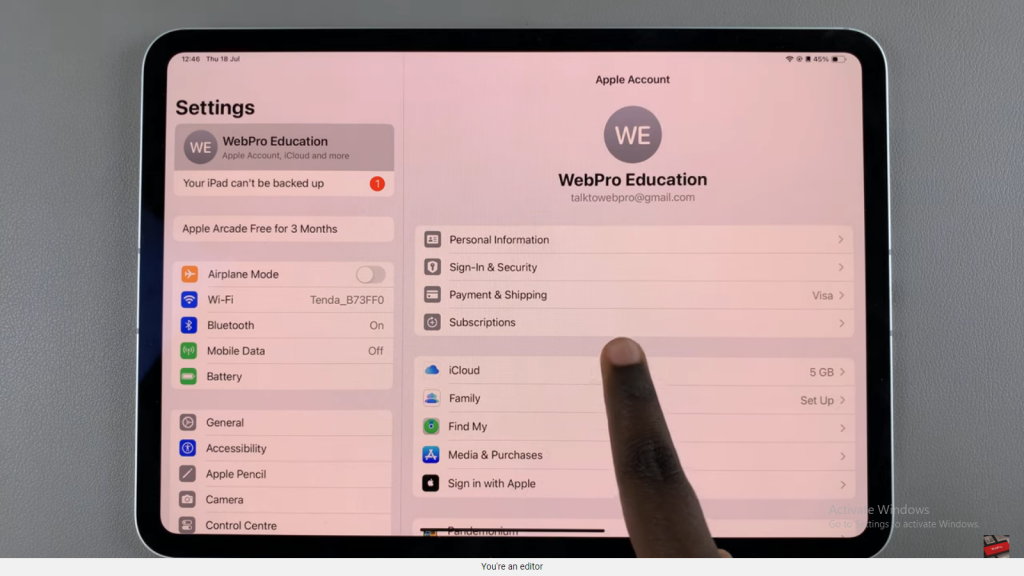
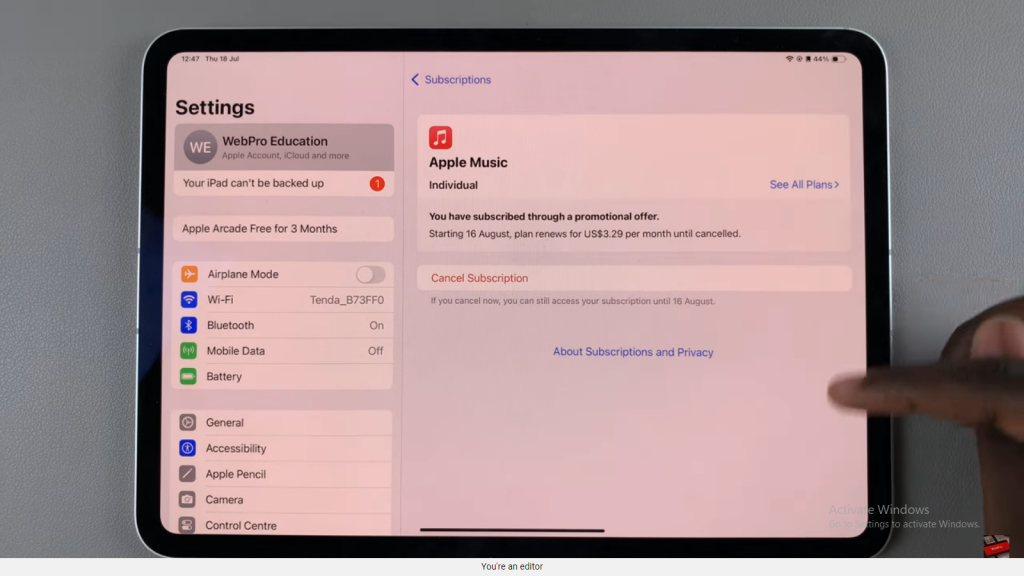
Step 4: View Your Subscriptions A list of all your active subscriptions will appear. Browse through them and select the subscription you want to cancel.
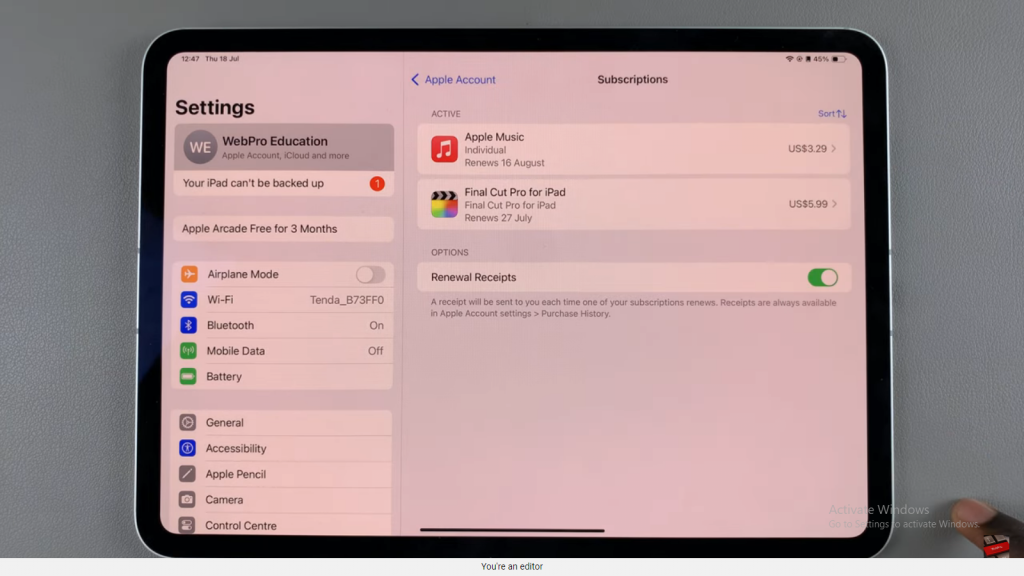
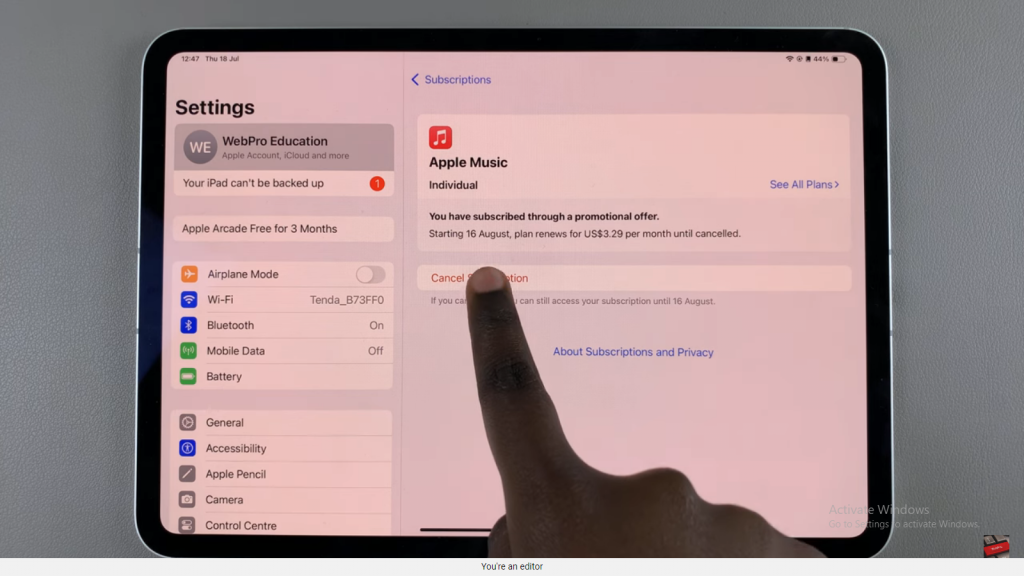
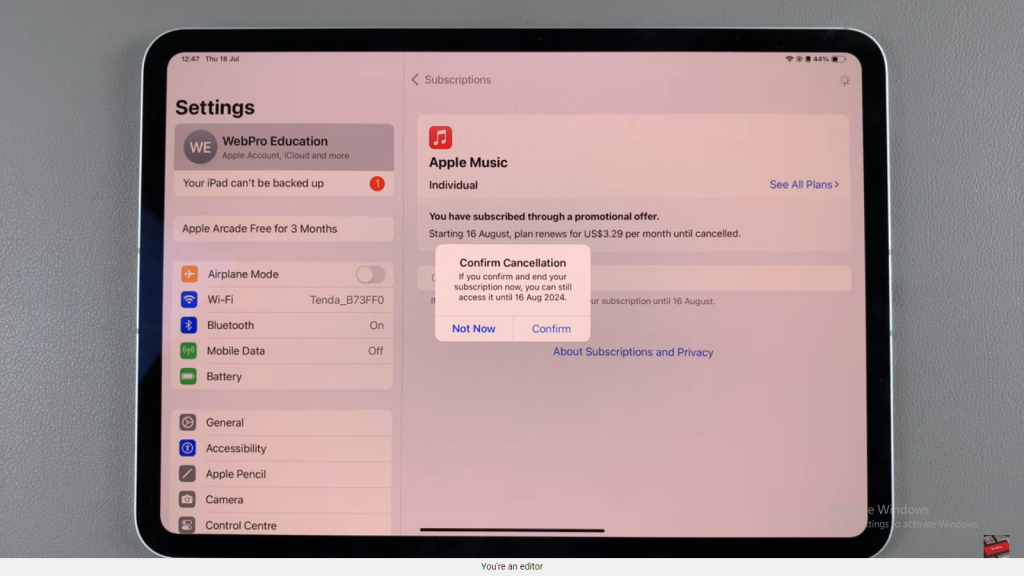
Step 5: Cancel the Subscription Once you’ve selected the subscription, tap on “Cancel Subscription.” Confirm your choice to finalize the cancellation and stop any further charges.
