Backing up your iPad to iCloud is a simple yet essential process to ensure your data is safe and secure. Whether you’re switching to a new device or just want peace of mind, following these steps will help you create a reliable backup of your iPad. In this guide, we’ll walk you through the process step-by-step.
iCloud backup is a convenient way to keep your data safe. It stores your photos, contacts, app data, settings, and more in the cloud, so you can easily restore your iPad if it gets lost, damaged, or replaced.
With iCloud, your backups happen automatically when your device is connected to Wi-Fi, plugged in, and locked. Before you start, ensure you have a stable Wi-Fi connection and enough iCloud storage space.
Read: How To Change EShop Region On Nintendo Switch
Backup To iCloud On iPad
First, make sure your iPad is connected to a Wi-Fi network. Backing up large amounts of data over cellular can be slow and may incur additional charges.
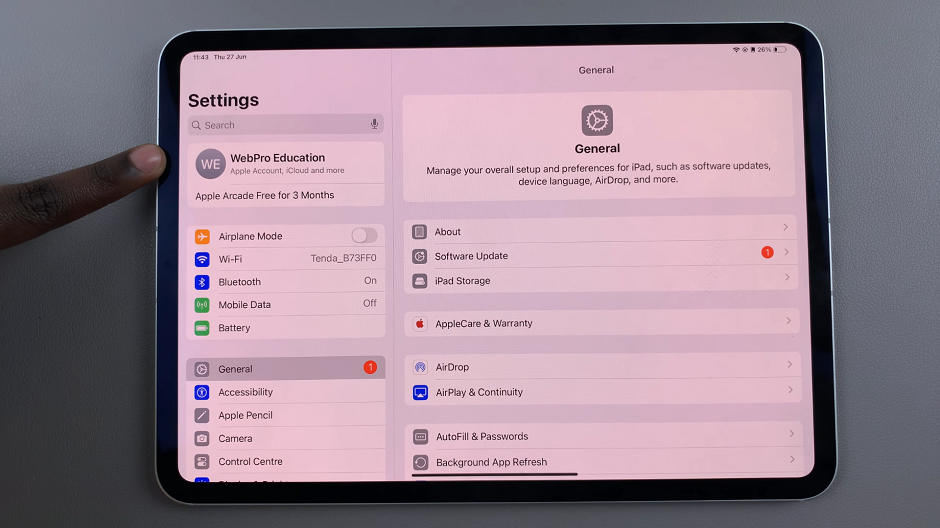
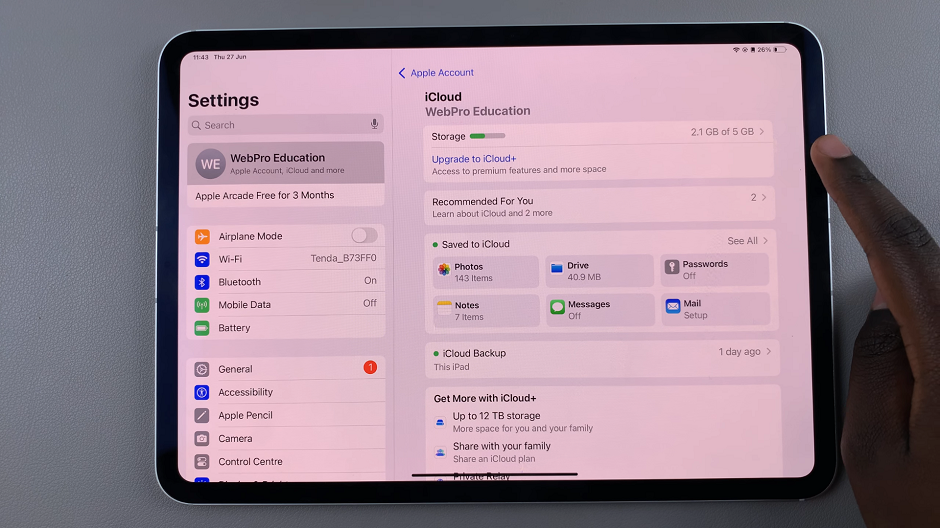
Tap the Settings icon on your Home screen. At the top of the Settings menu, tap on your name to access your Apple ID settings. Here, tap on the iCloud option.

In the Apple ID menu, make sure you have enough storage. If not, select the Upgrade to iCloud+ option and follow the instructions.

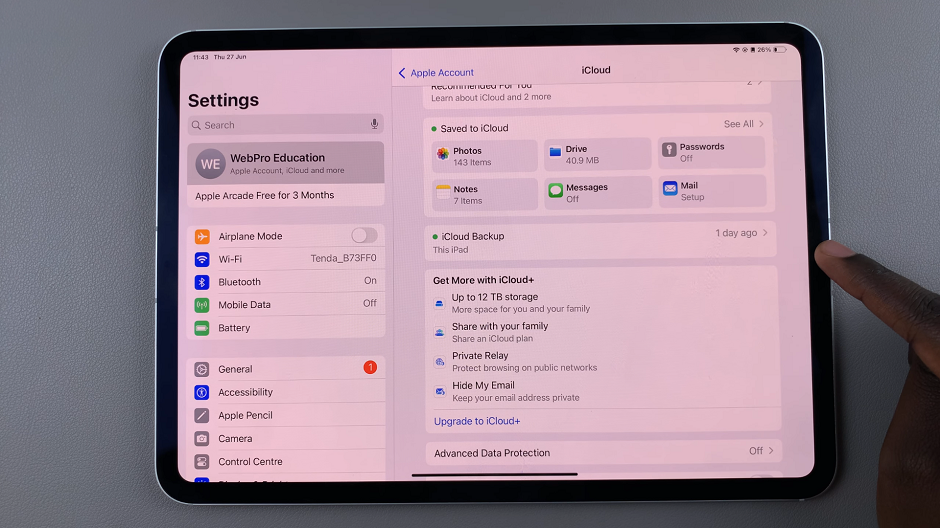
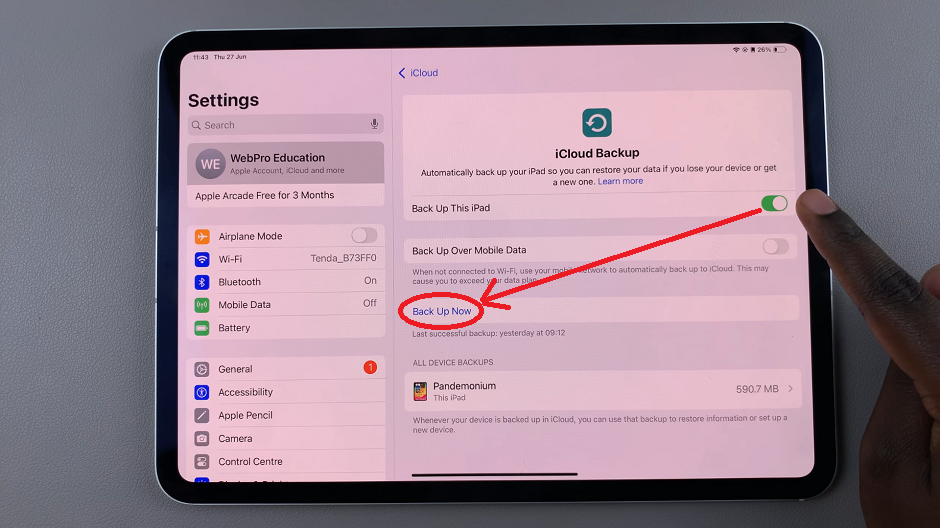
If you have enough storage, scroll down and tap iCloud Backup. When you find that Back Up this iPad is not already turned on, toggle the switch to enable iCloud Backup.

While iCloud Backup will automatically back up your iPad daily when connected to Wi-Fi, you can start a manual backup at any time by tapping Back Up Now. Ensure your iPad stays connected to Wi-Fi until the backup completes.

Managing Your iCloud Storage
iCloud comes with 5GB of free storage, but you may need more space depending on the amount of data on your iPad. To manage your storage:
Go to Settings –> [Your Name] –> iCloud –> Manage Storage. Here, you can see what’s taking up space and upgrade your storage plan if necessary.
Tips for a Successful Backup
Regular Backups: Make it a habit to back up your iPad regularly. Automatic backups will take care of this for you, but it’s good practice to check your backup settings occasionally.
Charge Your iPad: Ensure your iPad is plugged in during the backup process to prevent it from shutting down mid-backup.
Check Your Wi-Fi Connection: A stable and fast Wi-Fi connection will speed up the backup process and ensure all data is transferred without interruption.
If you need to restore your iPad from an iCloud backup:
Turn on your iPad (or set up a new device) and follow the on-screen setup instructions. When you reach the Apps & Data screen, select Restore from iCloud Backup. Sign in to iCloud with your Apple ID and select the backup you want to restore from.
Backing up your iPad to iCloud is a straightforward process that can save you a lot of hassle in case of data loss. By following these steps, you can ensure your important information is always protected. Regular backups and proper storage management are key to keeping your data safe and secure.

