In an age where smartphones are indispensable, keeping their screens pristine is a top priority for many users.
Applying a tempered glass screen protector not only safeguards your iPhone’s display from scratches and cracks but also maintains its sleek appearance.
If you’re unsure how to go about this DIY task, fear not – we’ve compiled a comprehensive guide to walk you through the process step by step.
Why Choose Tempered Glass?
Tempered glass screen protectors offer superior protection compared to plastic films. They are highly durable, resistant to scratches, and can absorb impacts to prevent your iPhone’s screen from cracking upon accidental drops.
Before you begin, gather these essential tools:
Tempered Glass Screen Protector: Ensure it is compatible with your iPhone model.
Microfiber Cloth: For cleaning the screen.
Cleaning Wipes or Solution: To remove any dust or oils from the screen.
Tape (Optional): To help with alignment during application.
Dust Removal Sticker: To lift any remaining dust particles off the screen.
Read: How To Change Units Of Measurement On OnePlus Watch 2
Apply Tempered Glass Screen Protector On iPhone (DIY)
To apply tempered glass screen protector as a DIY, start by turning off your iPhone and find a clean, well-lit workspace.
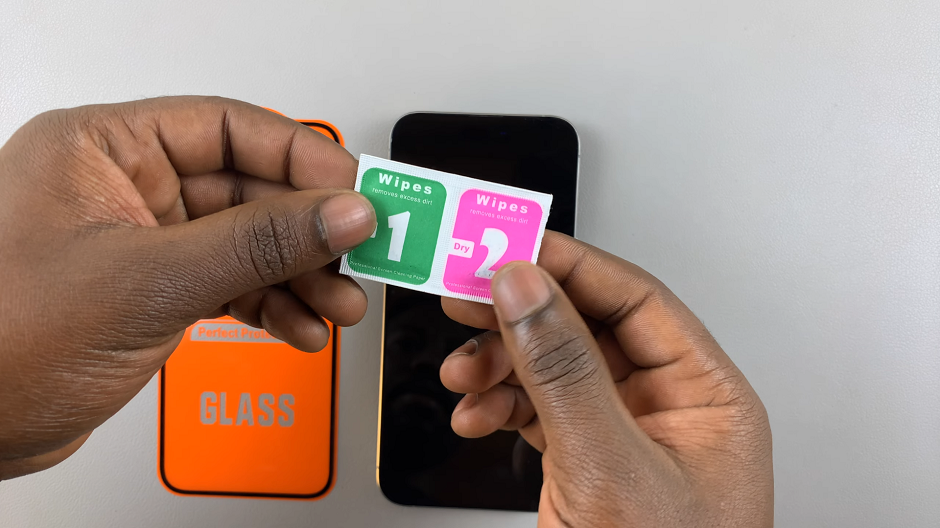
Use the microfiber cloth and cleaning wipes/solution to thoroughly clean the screen, removing any fingerprints, dust, or oils. A pristine surface ensures the protector adheres smoothly.
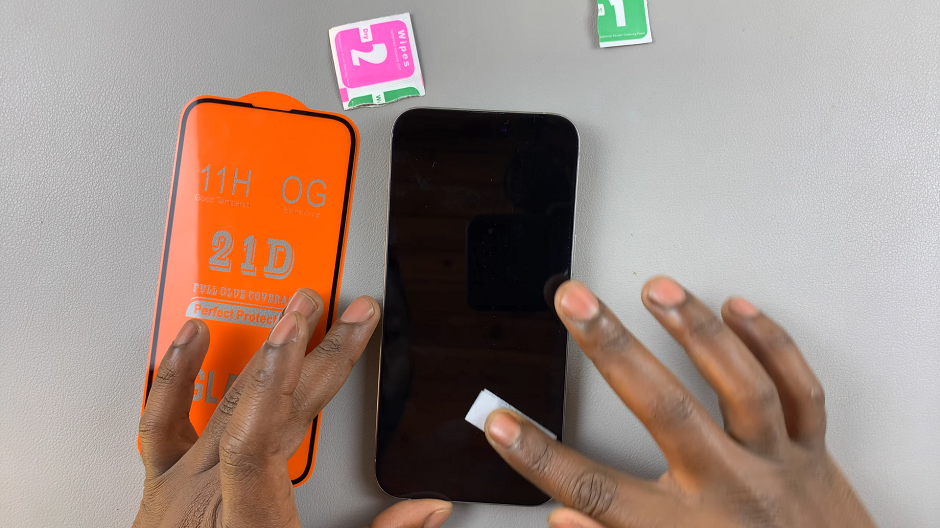
Peel off the protective layer from the adhesive side of the screen protector. Carefully align it with your iPhone’s screen, ensuring the cutouts match the phone’s features (e.g., front camera, home button). If needed, use tape to secure the protector in place during alignment.
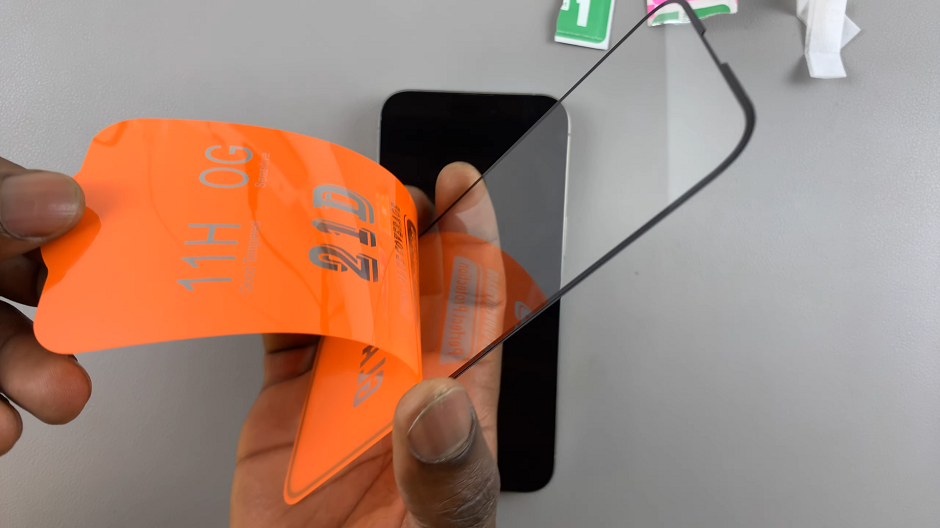
Once aligned, gently place the screen protector onto the iPhone’s screen. Start from one end and slowly press down towards the opposite end to avoid trapping air bubbles. Use a credit card or the provided application tool to smooth out any bubbles as you go.
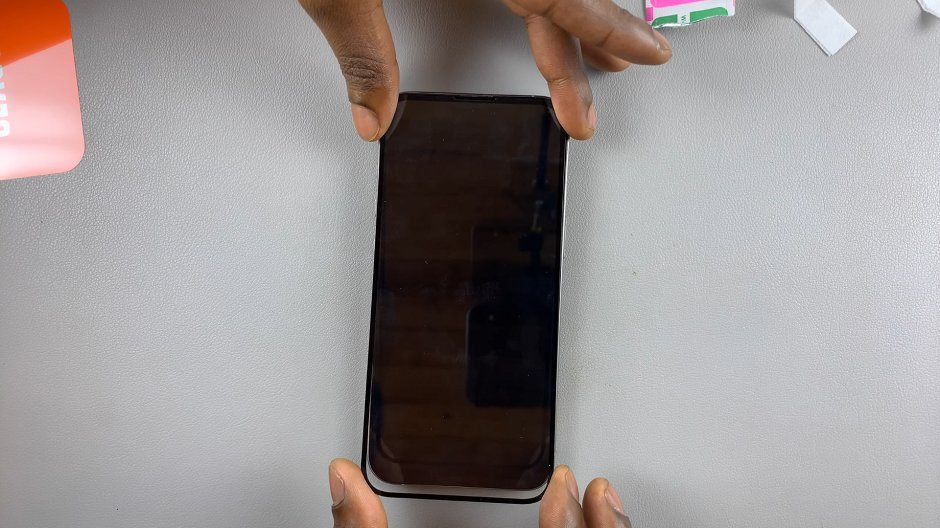
If bubbles appear, use the credit card or smoothing tool to push them towards the nearest edge. Small bubbles may disappear on their own within a day or two as the adhesive settles.
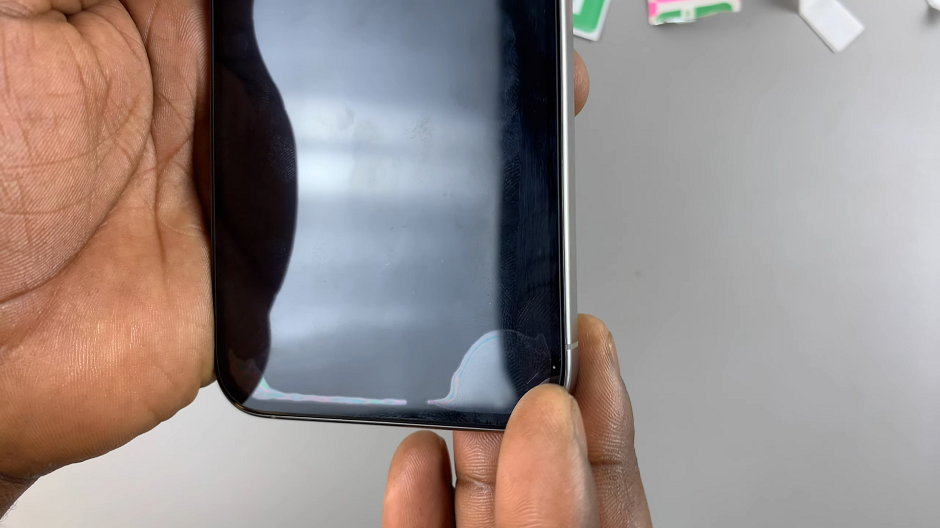
After applying the protector, inspect the edges and corners to ensure full adhesion. If there are any remaining bubbles or dust particles under the protector, gently lift it using the tape or a corner and carefully remove the debris before pressing it back down.
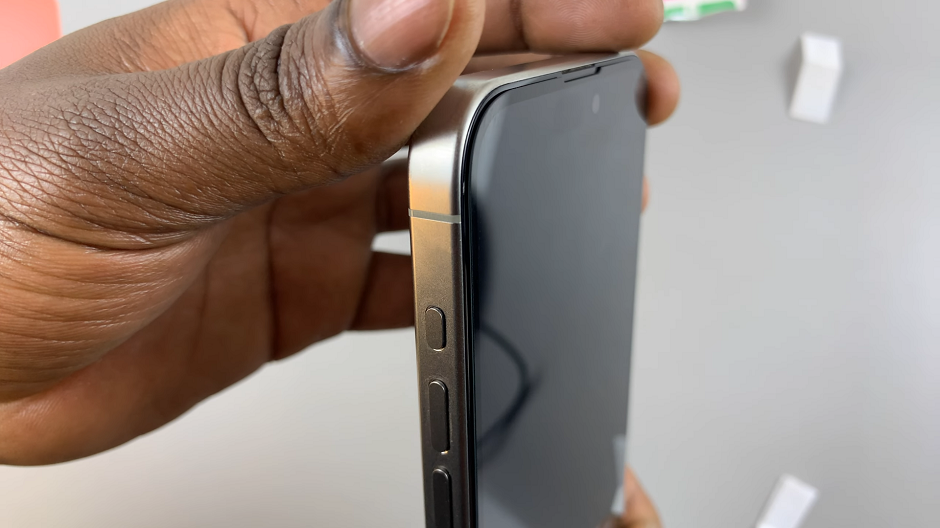
Congratulations! You’ve successfully applied a tempered glass screen protector to your iPhone, providing it with excellent protection without compromising its touchscreen sensitivity or clarity. With regular maintenance and care, your iPhone’s screen will remain in pristine condition for years to come.
Now that you know how simple it is to apply a tempered glass screen protector, why not share this guide with friends and family? Empower others to protect their devices and enjoy worry-free smartphone use.
Remember, a little effort now can save you from costly screen repairs later.
Watch: How To Check Download Progress & Time Remaining On Nintendo Switch
