The Sony PS5 Pulse 3D Headset is designed to deliver immersive gaming audio and clear voice chat capabilities. One essential aspect of optimizing your gaming experience is adjusting the microphone level. This ensures that your voice comes through clearly to your teammates or friends during multiplayer sessions or online calls.
In this guide, we’ll walk you through the steps to adjust the microphone level on your Sony PS5 Pulse 3D Headset. Adjusting these settings ensures your communication remains crisp and effective, enhancing your overall gaming and online communication experience on the PS5 console.
Let’s dive into the detailed steps to adjust the microphone level on your Sony PS5 Pulse 3D Headset.
Watch: How To Mute Microphone On Sony PS5 Pulse 3D Headset
Adjust Microphone Level On Sony PS5 Pulse 3D Headset
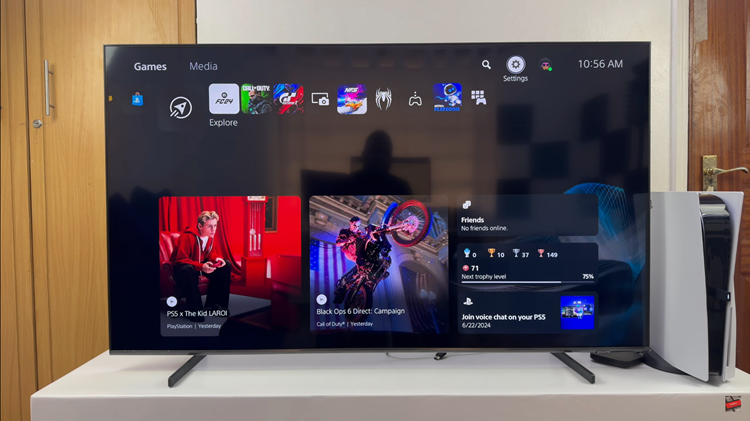
To adjust the microphone level on your Sony Pulse 3D Headset, start by powering on your console and ensuring your headset is connected. Then, navigate to the home screen and tap the gear icon located at the top right corner to access “Settings.”

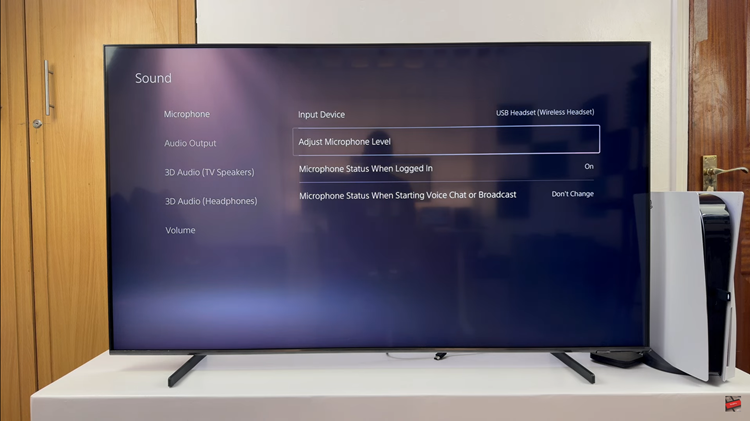
Following this, scroll down and select “Sound.” Within the Sound settings menu, locate and click on “Microphone.” Here, you’ll find various microphone settings, including options for adjusting the microphone level or sensitivity. Choose the “Adjust Microphone Level” option.

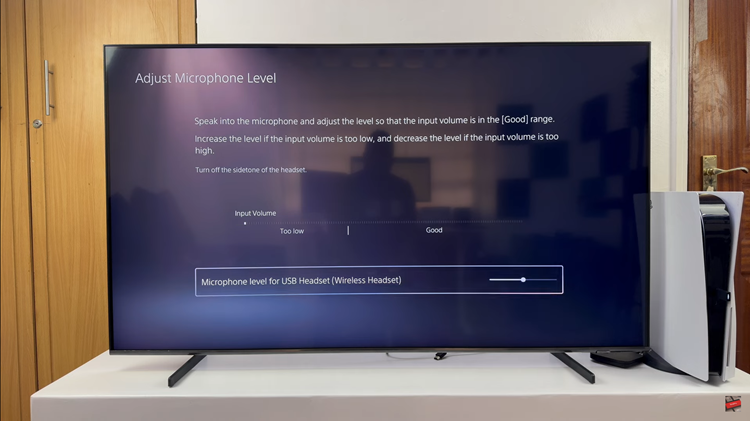
At this point, a slider labeled “Microphone level for USB headset” will appear. Use this slider to fine-tune the microphone level according to your preferences. Slide left to decrease sensitivity, reducing background noise, or slide right to increase sensitivity for clearer voice capture.

Once you’ve set the microphone level to your liking, simply exit the Settings menu. Changes made to these settings are typically saved automatically, ensuring your adjustments remain in place for your next gaming or communication session.
Following these steps, you can easily adjust the microphone level on your Sony Pulse 3D Headset to enhance communication clarity and overall gaming experience on your console.

