Having the right controller dead zone settings in Avowed is essential for precise movement and aiming. A poorly adjusted dead zone can lead to stick drift (unwanted movement) or an unresponsive controller, making gameplay frustrating.
Whether you need a lower dead zone for quicker response or a higher dead zone to prevent drift, customizing this setting can greatly improve your overall experience. In this guide, we’ll walk you through how to adjust controller dead zone in Avowed for smoother, more accurate controls.
READ: How To Adjust Frame Rate Limit In Avowed
How To Adjust Controller Dead zone In Avowed
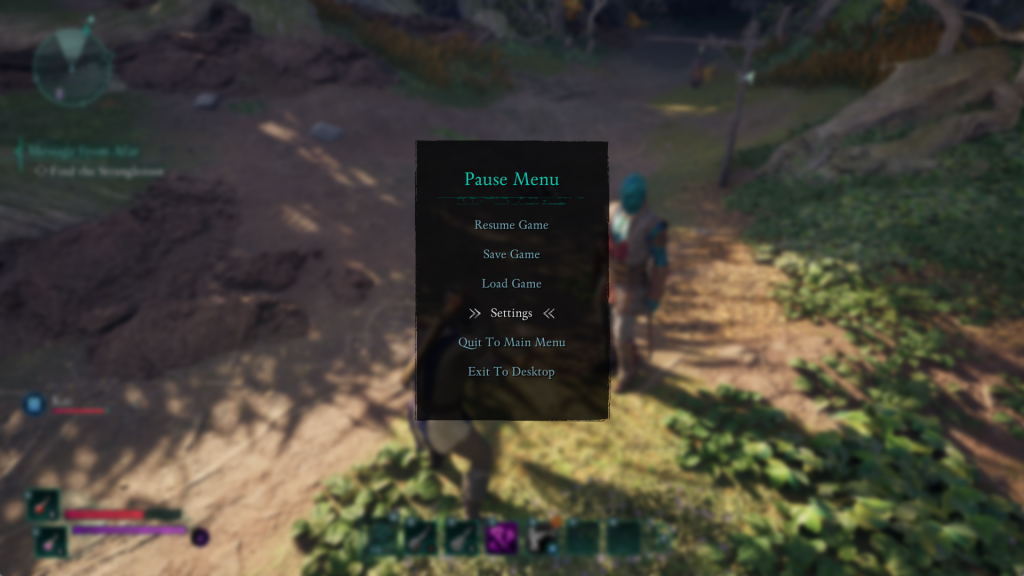
Press the pause button to open the main menu. From the pause menu, select Settings.
Use the LB (Left Bumper) or RB (Right Bumper) to switch to the Controller Settings tab.
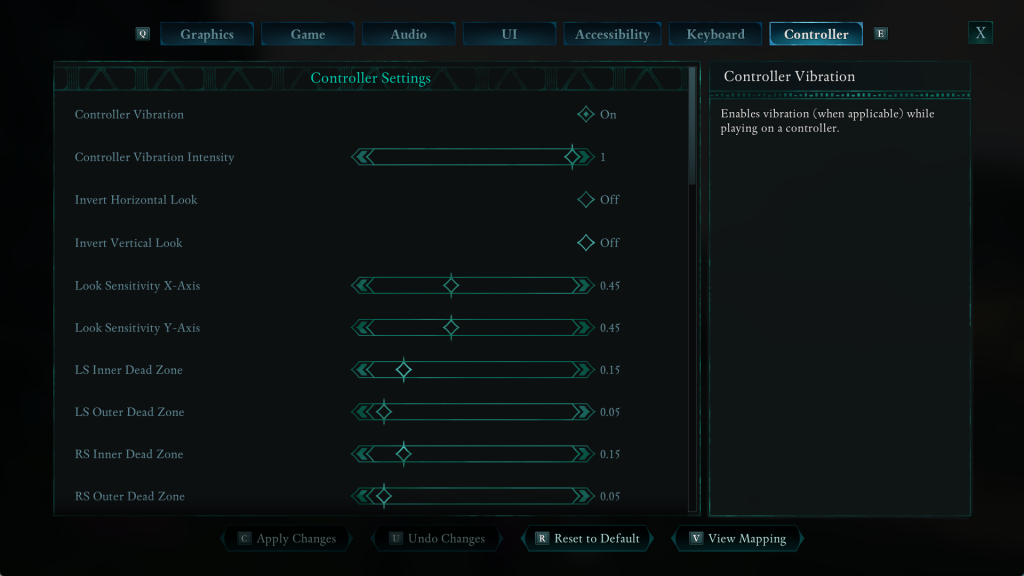
Scroll down until you see the following options:
LS Inner Dead zone (Left Stick Inner Dead zone)
LS Outer Dead zone (Left Stick Outer Dead zone)
RS Inner Dead zone (Right Stick Inner Dead zone)
RS Outer Dead zone (Right Stick Outer Dead zone)
Move the sliders to fine-tune the dead zone sensitivity based on your preference.
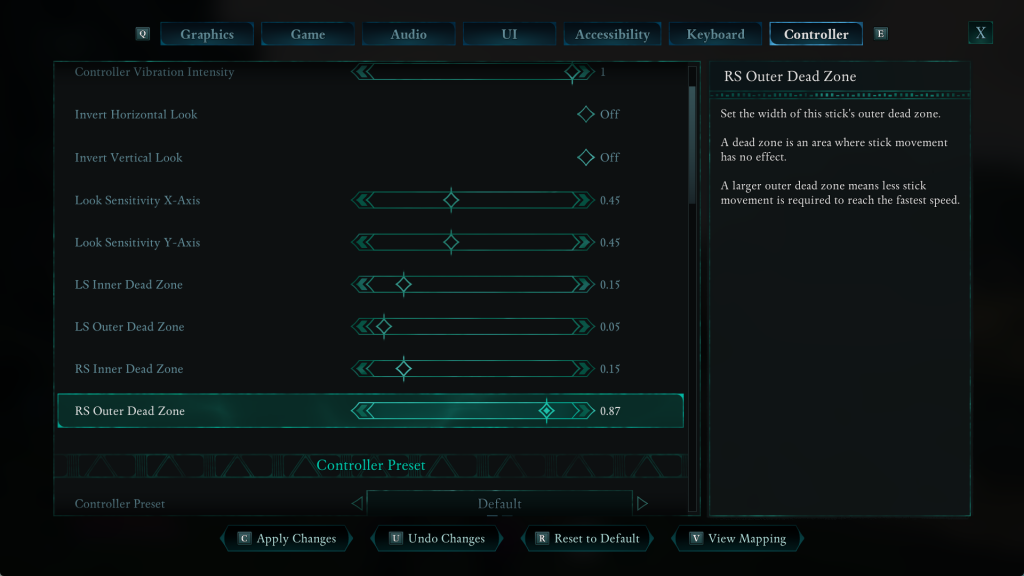

Press the X button to save and confirm your settings.
You’ve successfully customized your controller dead zone settings in Avowed, allowing for a more precise, responsive, and smooth gameplay experience.
")
