Learn how to add recently downloaded apps to your iPad’s home screen effortlessly. First, it’s essential to understand that newly installed apps might not automatically appear on your home screen. Therefore, you need to manually add them for easy access.
Additionally, customizing your home screen by incorporating newly downloaded apps can significantly enhance both your workflow and productivity. By strategically placing these apps on your home screen, you will streamline your tasks and enjoy quicker access to your most-used tools.
Thus, with just a few simple steps, you can optimize your iPad experience and keep your essential apps prominently displayed. Therefore, let’s explore how you can easily adjust your home screen to feature those new applications.
Watch:How To Change the Colors of ANY Image or Graphic In Canva
Add Recently Downloaded Apps To Home Screen On an iPad
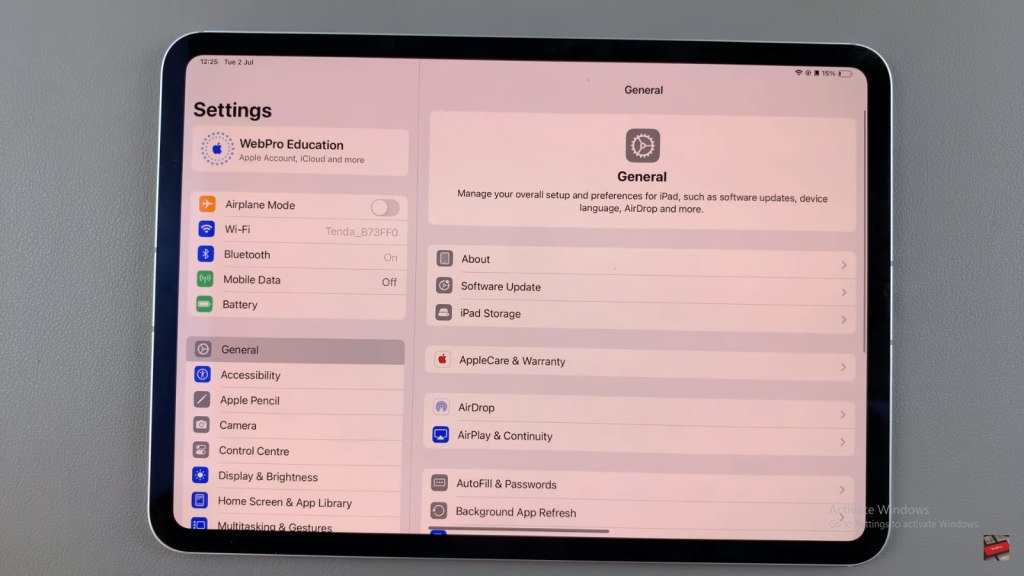
Step 1: Open Settings
Start by opening the Settings app on your iPad. To do this, locate the Settings icon on your home screen and tap on it. This will open the settings menu where you can adjust various features of your iPad.
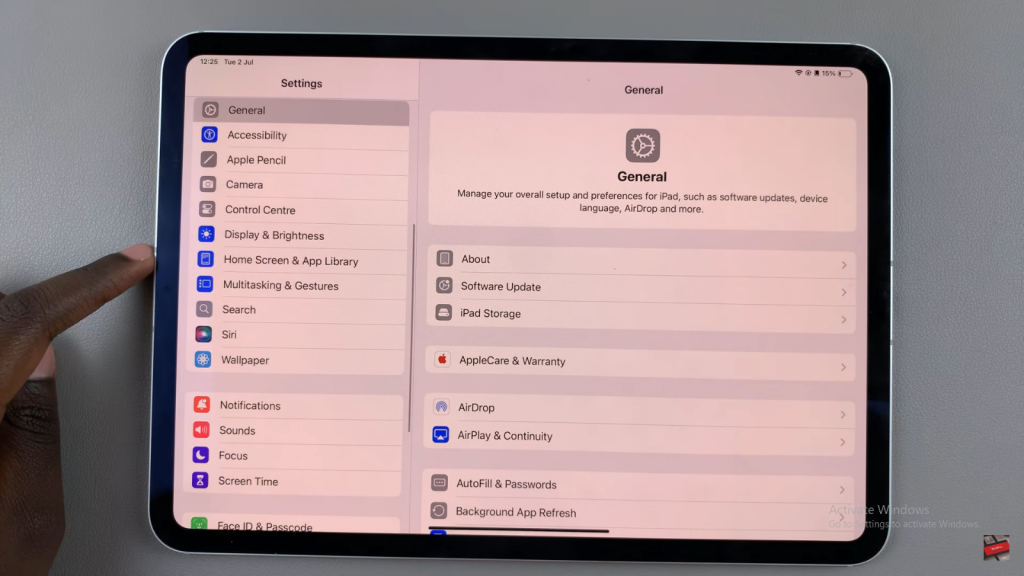
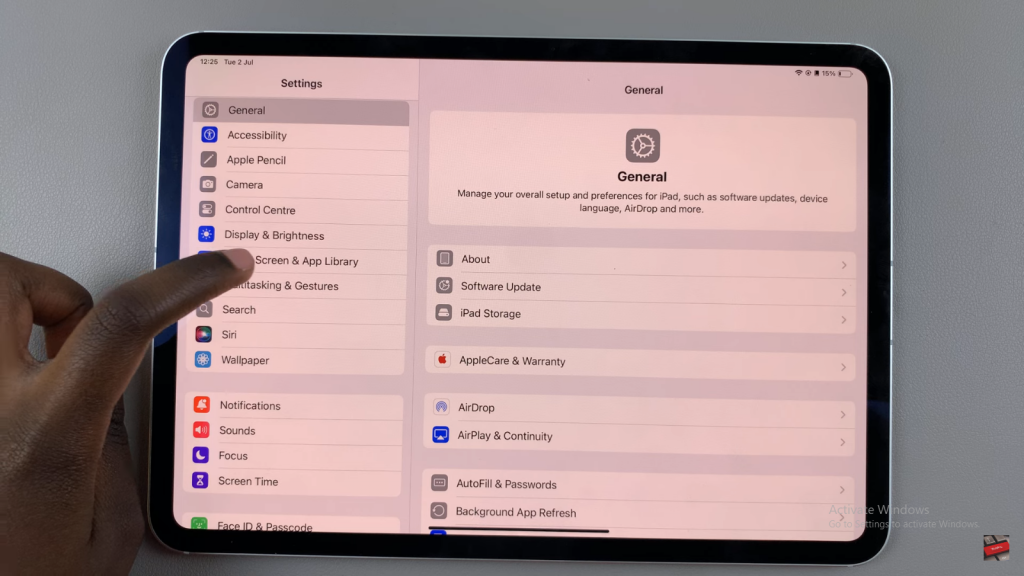
Step 2: Select Home Screen and Apps Library
Next, scroll down through the list of options and select “Home Screen & Apps Library.” This section is crucial as it allows you to manage how newly downloaded apps are handled on your device.
Step 3: Adjust Newly Downloaded Apps Setting
Within the “Home Screen & Apps Library” section, find the area labeled “Newly Downloaded Apps.” Here, you will see the default setting, which is typically set to “Apps Library Only.” To ensure that new apps appear on your home screen, change this setting to “Add to Home Screen.” By doing so, you will make sure that every time you install a new app, it is automatically placed on your home screen.
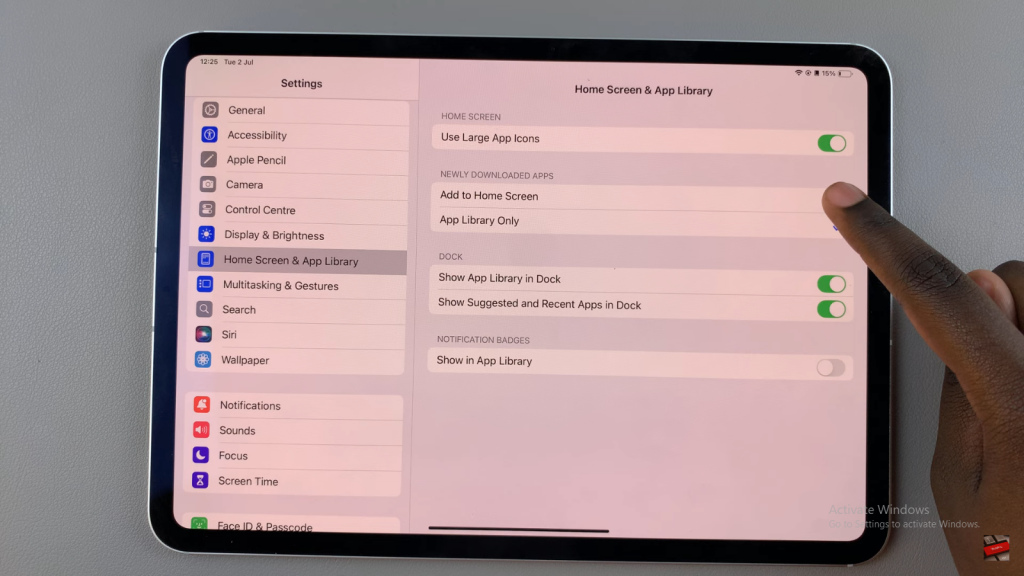
In conclusion, by following these simple steps, you can seamlessly add newly downloaded apps to your iPad’s home screen. Consequently, you’ll enjoy a more organized and accessible interface. Additionally, this adjustment will streamline your app management, making it easier to find and use your favorite tools. Therefore, take a moment to implement these changes and experience the enhanced convenience firsthand. Thank you for reading, and if you have any questions or comments, please feel free to reach out.
Read:How To Change the Colors of ANY Image or Graphic In Canva
