Gmail is one of the most used email services. Equipped with various features that make working with emails easier and more efficient, setting up your Gmail account on an iPhone 11 means making communication a whole lot easier.
Integrating your Gmail into your iPhone affords the convenience of easy access to your emails, keeping your inbox organized, and managing your contacts in one central location. Not only does this simplify your workflow, but it also increases your productivity by staying connected on the go.
In this tutorial, we are going to show you how to add your Gmail account to your iPhone 11. Let’s get started!
Watch: How To Change Screen Timeout Period On iPhone 11
Add Gmail On iPhone 11
Firstly, download the Gmail application on your iPhone 11. You can do this by heading to the App Store, searching for Gmail, and tapping on “Get” to install the application. Once installed, launch the Gmail application.
Then, tap on “Sign In” and choose the email service you’d like to add to your iPhone.
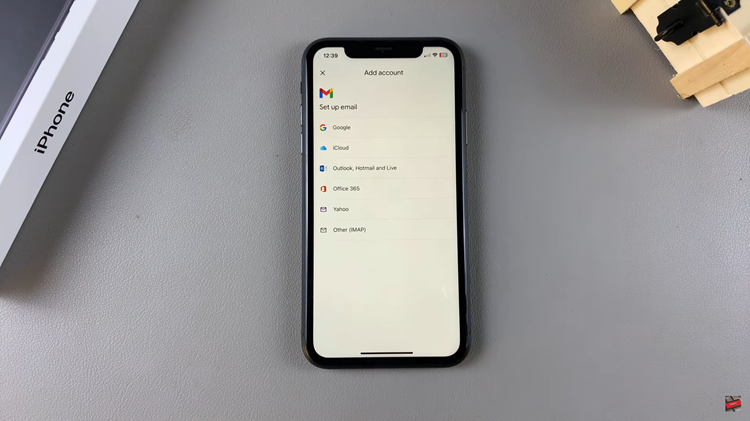
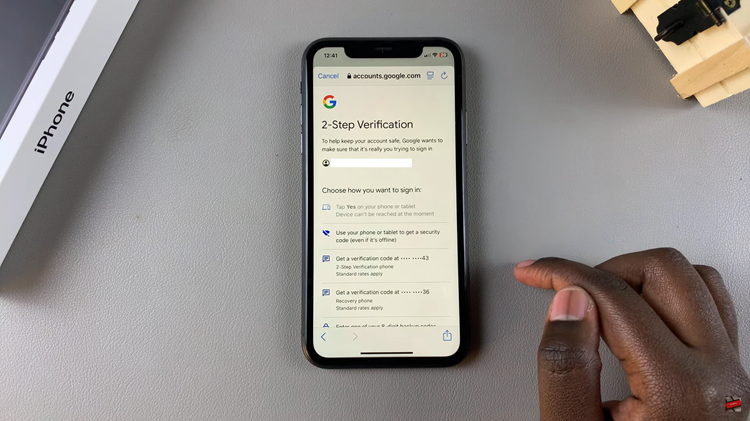
From here, confirm your identity by verifying the email address and type in your password. Afterward, if you have 2-step verification enabled, you’ll need to type in the required number to verify your account.
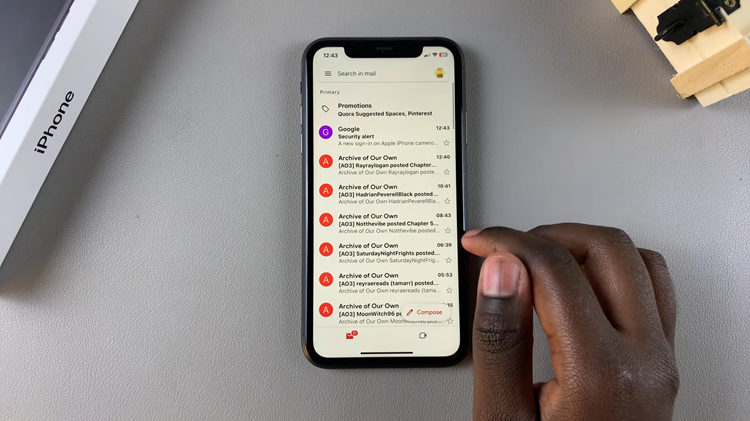
Once done, your account will be added on your iPhone. From here you can receive and access all the mails directly on your iPhone 11.
In conclusion, adding your Gmail account to the iPhone 11 is an easy yet powerful way to enhance communication and productivity. You’ll access your emails easily, manage your inbox, and stay connected with your contacts by just following the steps outlined here—right from the comfort of the Gmail app.
