Personalizing your contacts on iPad by adding photos is a great way to make your address book more engaging. This feature helps you easily identify your contacts during calls and messages, enhancing the overall organization of your contact list.
To add a contact photo on iPad, simply access the Contacts app, select the person you want to update, and choose a photo from your library or take a new one. This small customization can make managing your contacts on iPad both fun and functional.
Watch:How To Delete Or Disable Safari Browser On iPad
Add Contact Photo On iPad
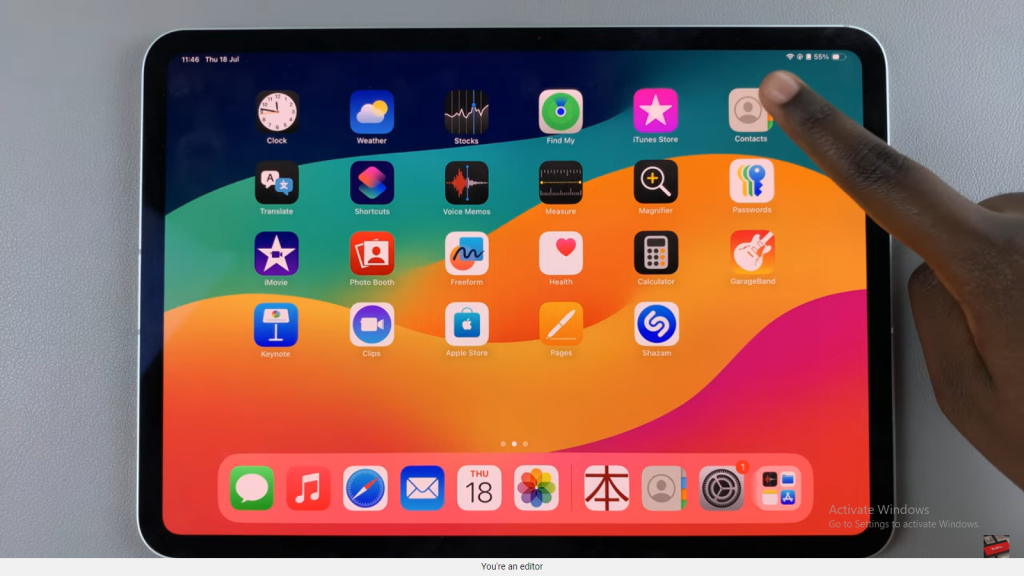
Step 1: Open Contacts
Launch the Contacts app on your iPad.
Step 2: Select a Contact
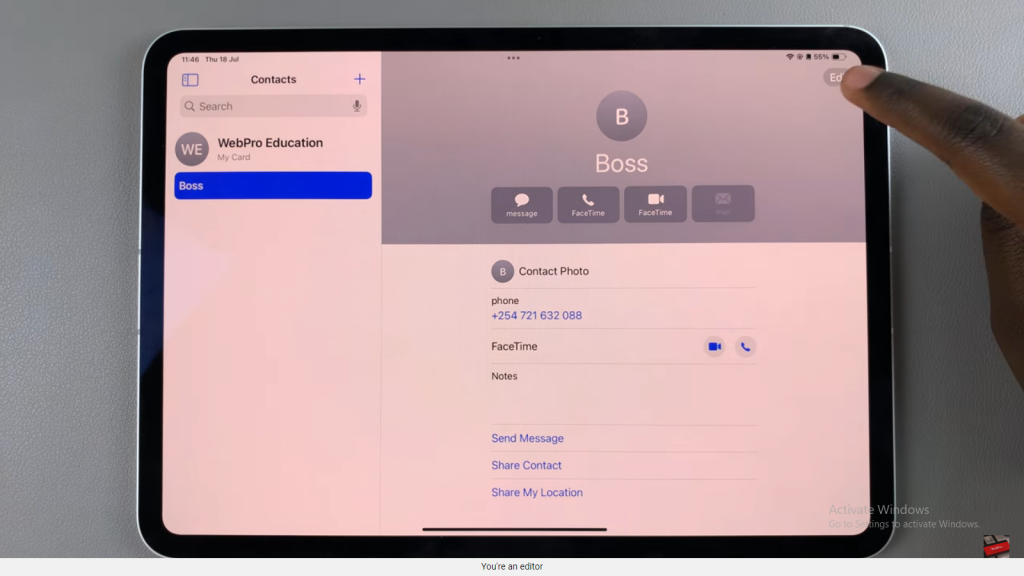
Choose the contact you wish to customize.
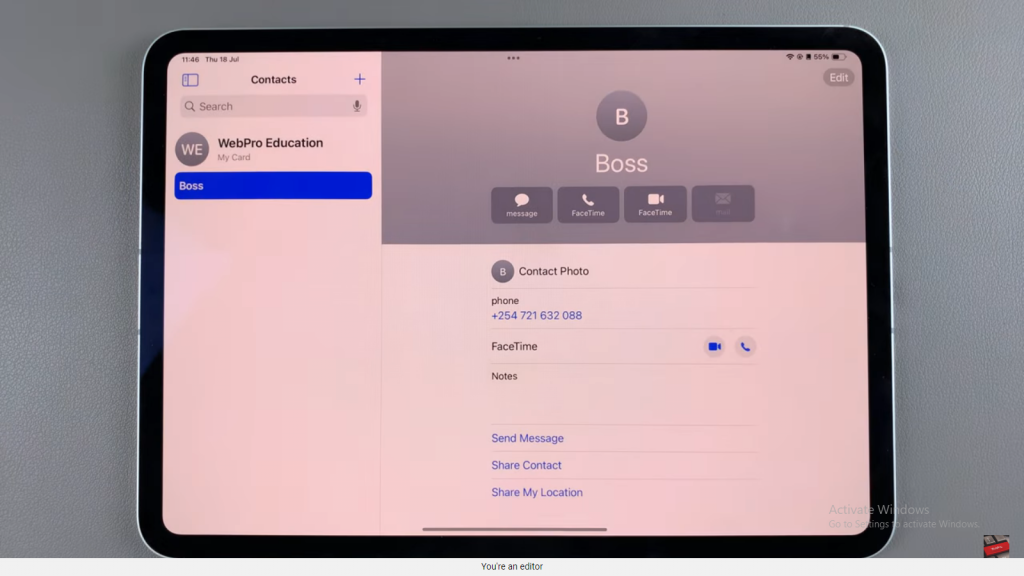
Step 3: Edit Contact Information
Tap “Edit” on the contact’s info page.
Step 4: Add a Photo
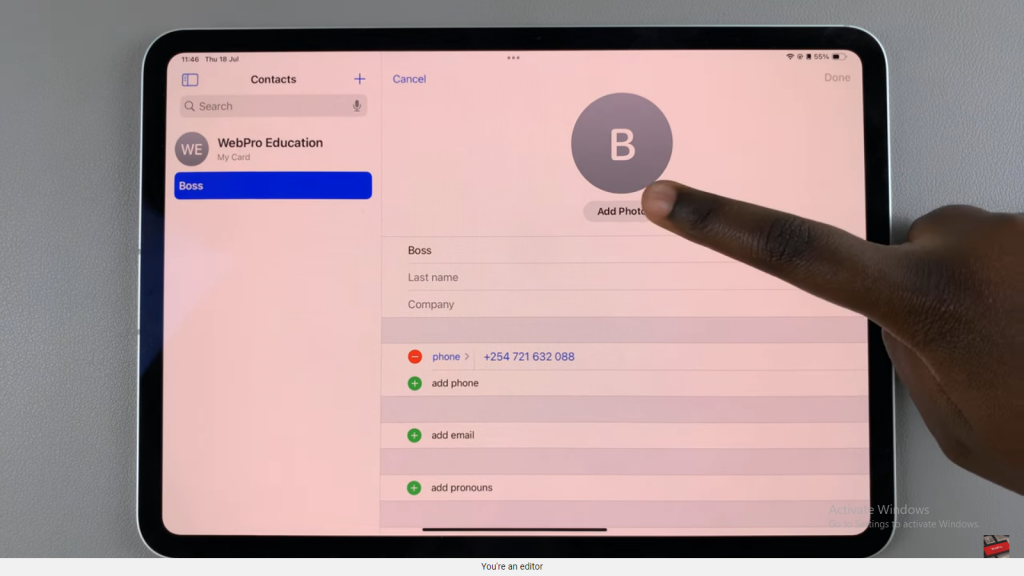
Tap “Add Photo” to begin customizing the contact’s photo.
Step 5: Choose Your Photo Option
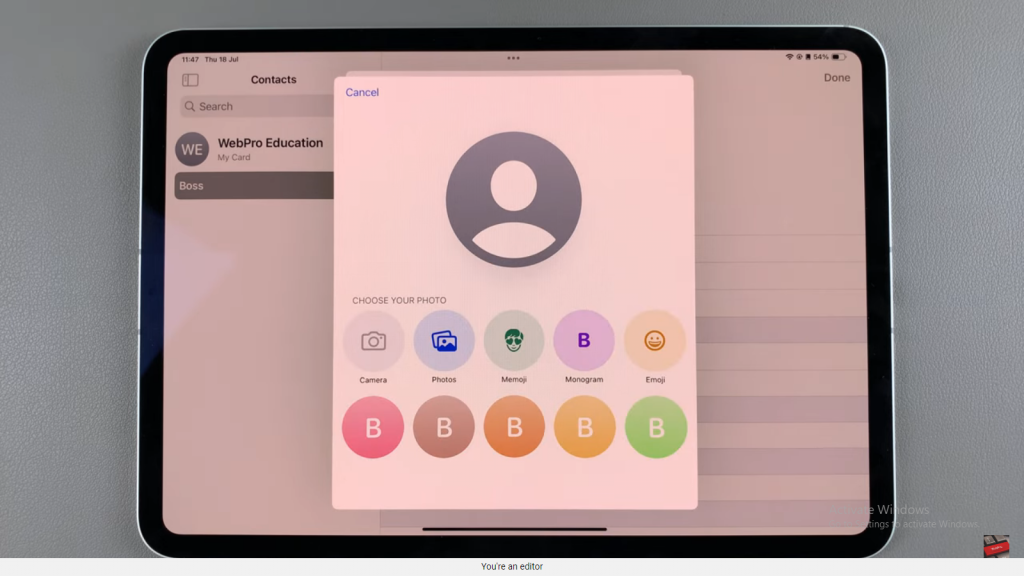
Select from various options: colors, emojis, a monogram, or use a photo. You can also take a new photo if desired.
Step 6: Select and Adjust the Image
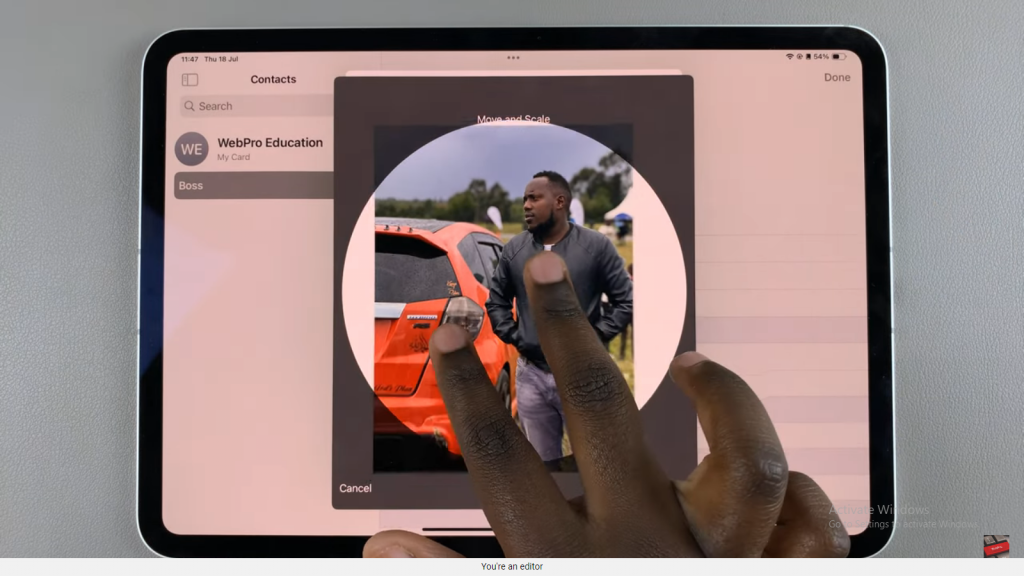
If choosing a photo, scroll through your images and select one. Use two fingers to adjust the image to your preferred angle and size.
Step 7: Apply Filters (Optional)
Customize the image by applying filters, such as black and white or warm tones, if desired.
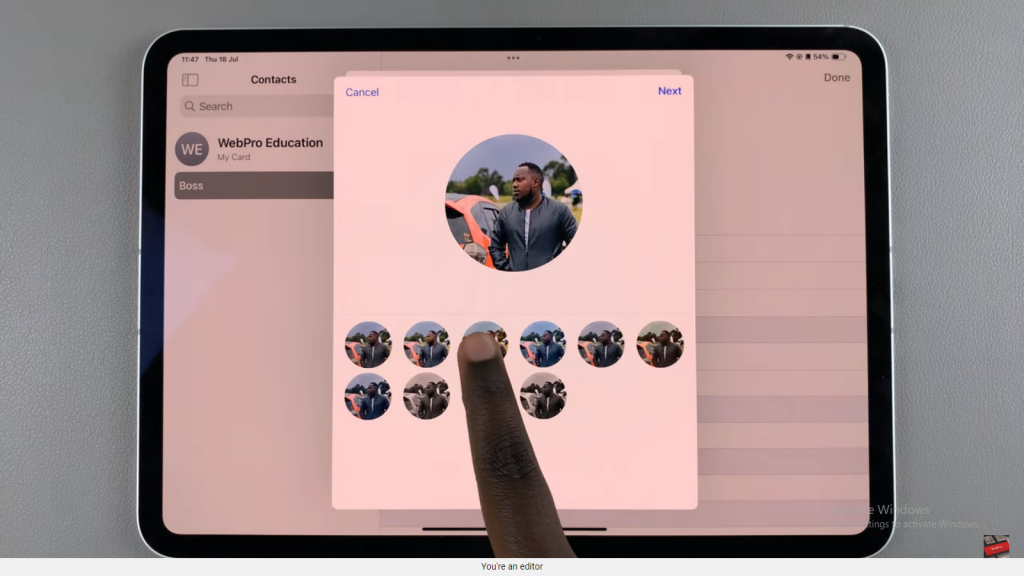
Step 8: Confirm Your Choice
Tap “Choose” to finalize your selection, then “Next” to review the changes.
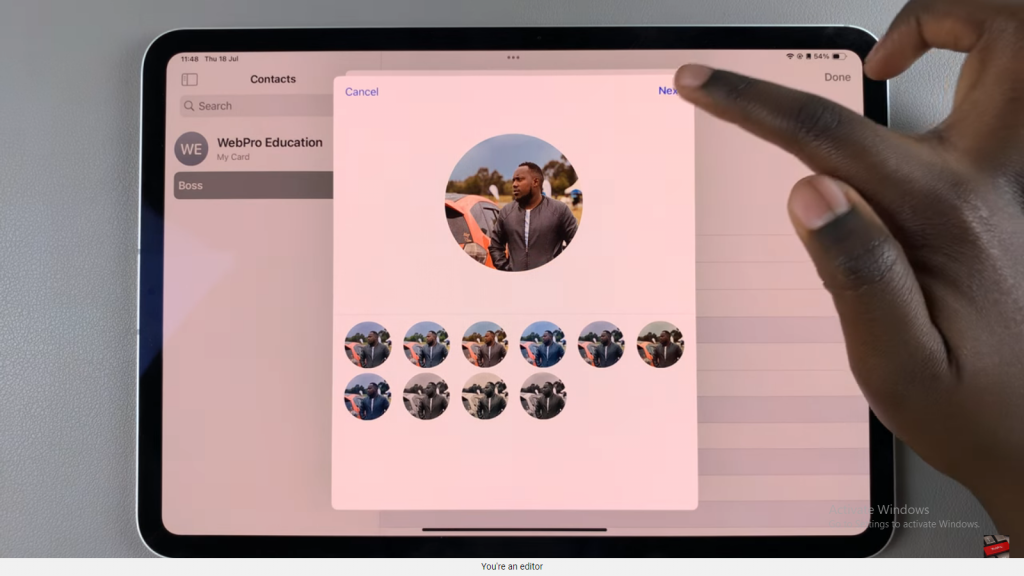
Step 9: Save the Changes
Tap “Done” to save the updated contact photo.
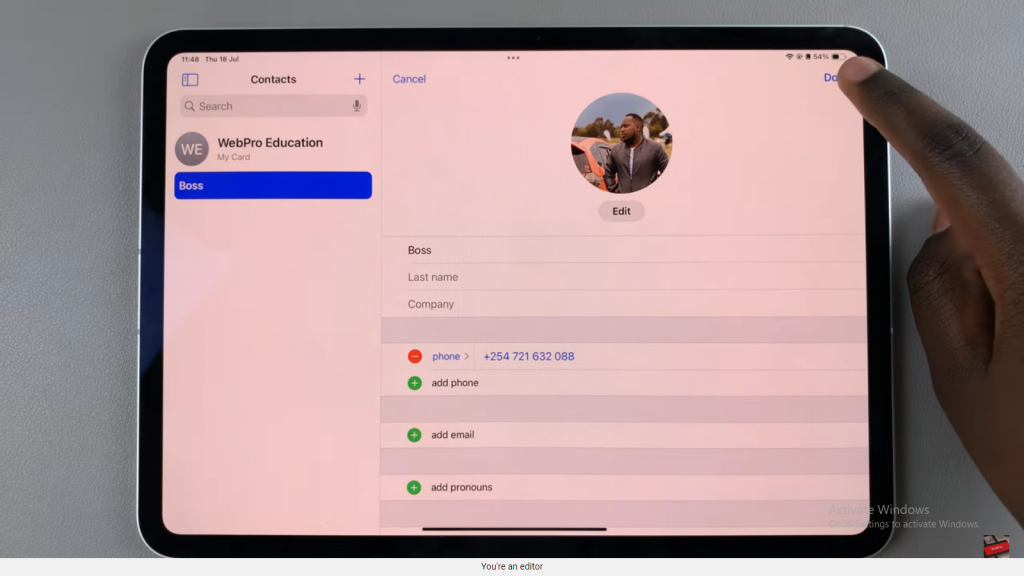
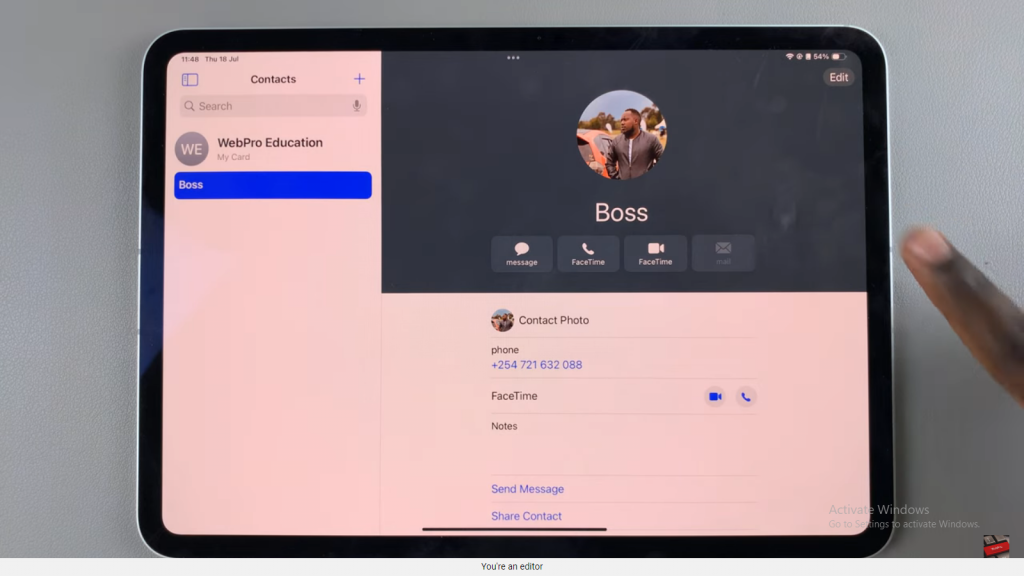
Step 10: Verify the Update
Ensure that the contact now displays the new photo.
