he OnePlus Watch 2 is a versatile and powerful smartwatch, offering a range of features to help you stay connected and track your fitness goals. One of the key aspects of making the most out of your OnePlus Watch 2 is customizing the tiles to suit your needs.
In this guide, we’ll walk you through the steps to add, remove, and rearrange tiles on your OnePlus Watch 2, ensuring you have quick access to the information and functions that matter most to you.
Tiles are small, customizable widgets that display information and provide quick access to various functions on your OnePlus Watch 2. They can include fitness stats, weather updates, calendar events, music controls, and more. Customizing these tiles allows you to create a watch interface that fits your lifestyle and preferences.
Read: How To Clear Cache On OnePlus Watch 2
Add/Remove & Rearrange Tiles On OnePlus Watch 2
Add Tiles
Adding new tiles to your OnePlus Watch 2 is a straightforward process. Follow these steps to get started:
Open the OHealth app on the device connected to your OnePlus Watch 2. Here, make you select the Devices tab, and that your OnePlus Watch 2 is selected.
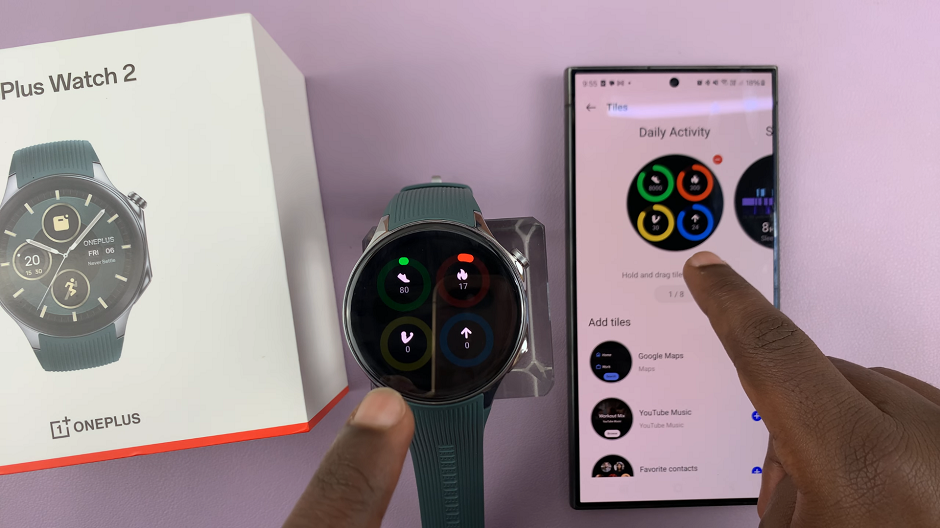
Under Devices, select the Tiles option. Here, you should see the order of tiles as they have been appear in order on your watch. Just below the arranged tiles, there should be more tiles you can add.
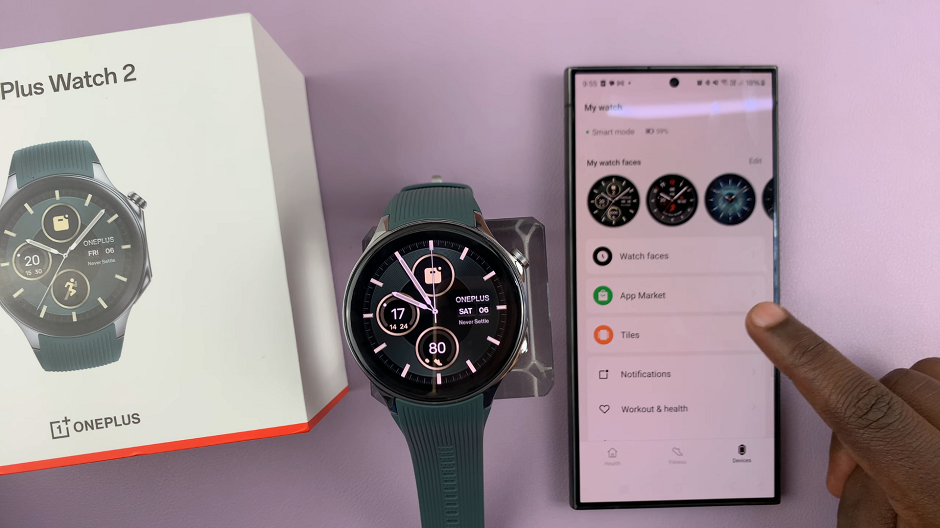
Tap the Plus (+) icon next to the list of available tiles. It will be automatically appear on your tiles menu.
Remove Tiles
If you have tiles that you no longer use or need, removing them is just as simple. Here’s how:
From the Tiles menu in the OHealth app, you should see the order of tiles on your OnePlus Watch 2. There should be a red minus (–) icon next to each tile.

Tap the minus (–) icon of the tile you want to remove. The tile will be removed immediately.
Rearrange Tiles On OnePlus Watch 2
Rearranging tiles on your OnePlus Watch 2 helps you prioritize the information you want to see first. Follow these steps to rearrange your tiles:
From the Tiles menu in the OHealth app, you should see the order of tiles on your OnePlus Watch 2.

Long-press on a tile, then drag and drop it to rearrange it in the order you prefer. Simply tap and hold a tile, then move it to your desired position.
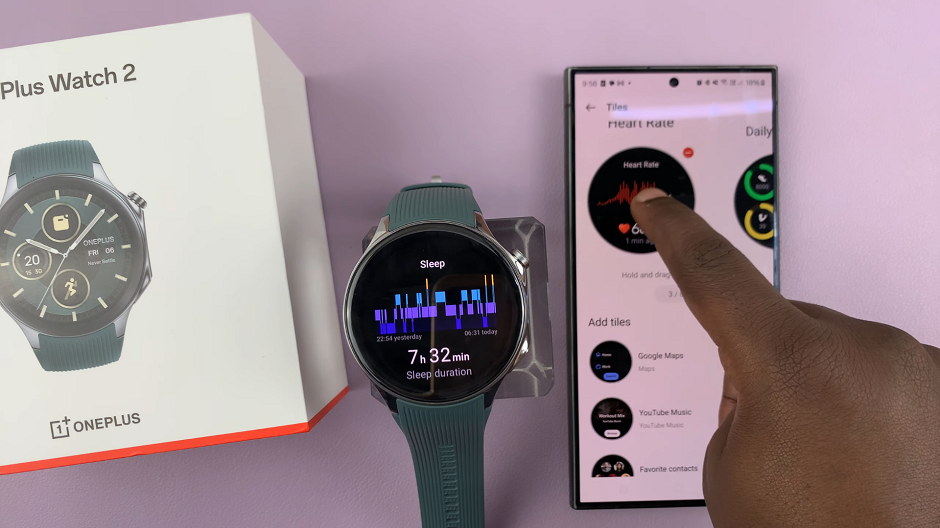
Repeat for all tiles until you’re okay with the order.
Tips for Optimizing Your Tile Layout
Prioritize Frequently Used Functions: Place the tiles you use most often near the beginning of the tiles menu for quick access.
Keep It Simple: Avoid clutter by only adding the tiles that you find genuinely useful.
Regularly Update: As your needs change, don’t hesitate to update your tile layout to reflect your current preferences and activities.
Customizing the tiles on your OnePlus Watch 2 is an excellent way to enhance your user experience and make the smartwatch truly yours. By following the steps outlined in this guide, you can easily add, remove, and rearrange tiles to suit your lifestyle. Enjoy the convenience and efficiency of a personalized smartwatch interface!

