Transferring photos and videos from your iPhone to a Windows PC is a common task, especially when you need to back up your media or free up storage space.
This guide will walk you through how to transfer photos & videos from your iPhone 16, 16+, 16 Pro / 16 Pro Max to a Windows PC.
While it’s all well and good using software and apps in the modern day world to make transfer processes easier, this is different. This process has been done without installing any third-party app or software on either the PC or the iPhone 16.
Read: How To Use Action Button On iPhone 16
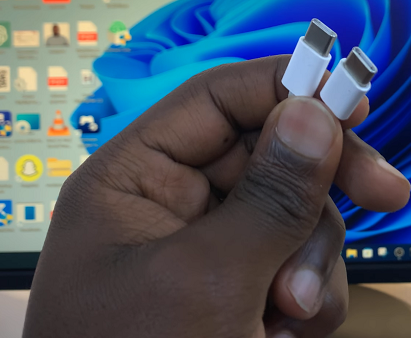
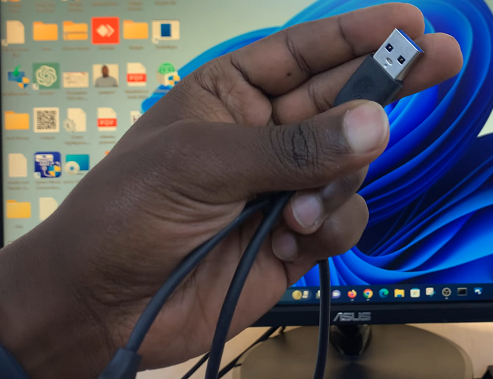
The most straightforward way to transfer your photos and videos from an iPhone to a Windows PC is by using a USB cable. If you have a PC with a USB-C port, ensure you have the USB cable that came in the box of the iPhone 16 or any other USB-C to USB-C cable.
If not, you can use any full size USB to USB-C cable as well, then insert the USB-C end into your iPhone USB-C port and the other end to your PC.
Transfer Photos & Videos From iPhone 16 To Windows PC
On your iPhone, you’ll see a prompt asking if you trust the connected device. Tap on Trust and enter your passcode.
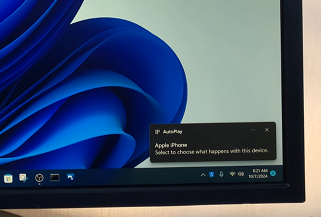
Once you do this, you should see a notification in the bottom right corner of the PC that your iPhone has been recognized.
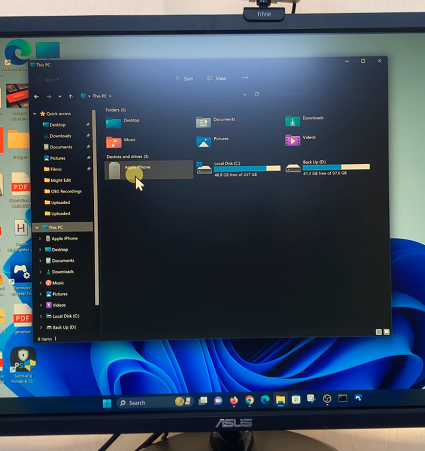
Next, open the File Explorer on your Windows PC and navigate to the This PC menu. Here, you should see the Apple iPhone or the name of your iPhone. Double click on it to open.
Double click on the Internal Storage folder to access the photos and videos organized in their respective folders. The folders are mainly named by most recent date.
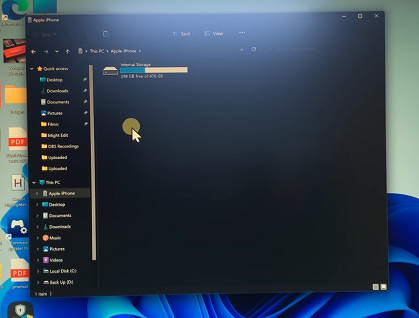
Open the folder you want to copy the files from to view your media files. You can also double-click on your photos to view them or on your videos to play them at this point.
To see the files properly, you can click on the View option on the File Explorer. Select Large, Medium or Extra Large icons.
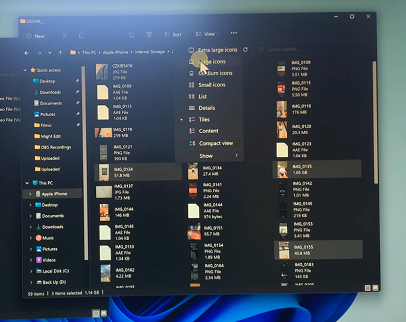
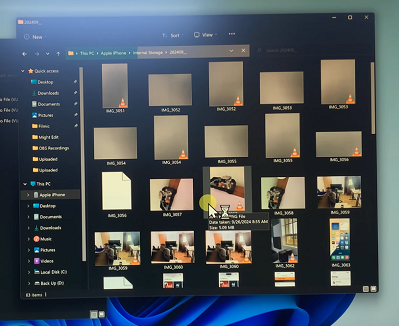
Select the photos and videos you want to transfer. You can select multiple items by holding down the Ctrl key and clicking on each file, or press Ctrl + A to select all.
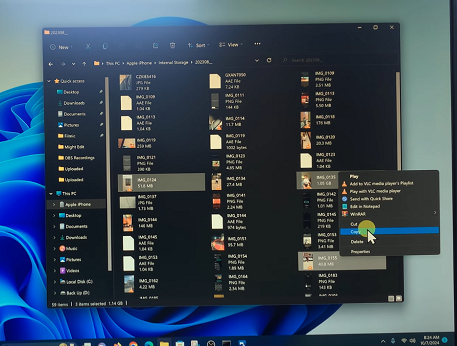
Right-click and choose Copy, then navigate to the folder on your PC where you want to save the media. Right-click again and choose Paste.
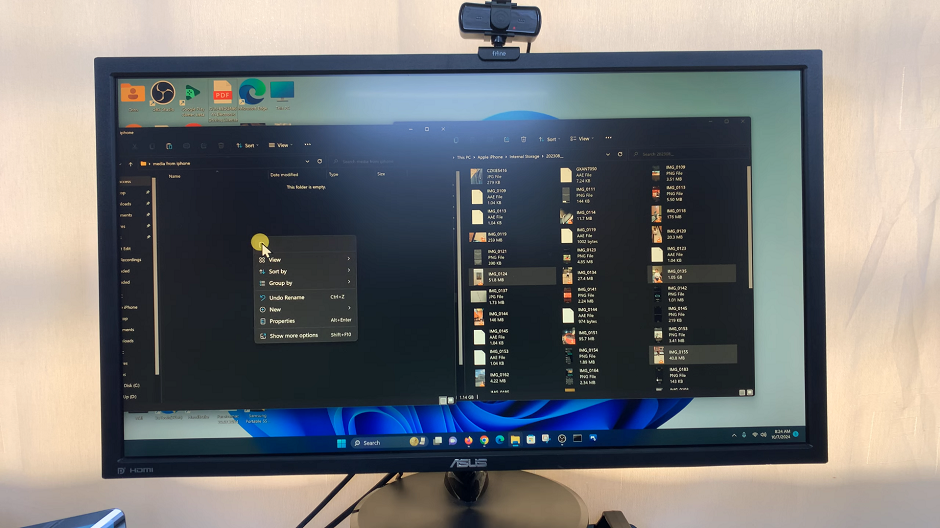
The amount of time the transfer takes will depend on the speed of your cable.
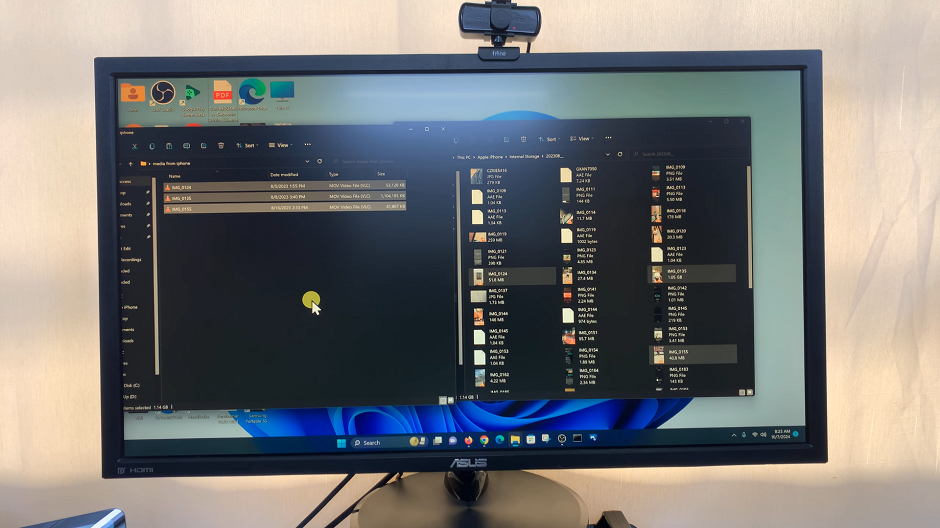
After the transfer is complete, make sure to properly eject your iPhone. In File Explorer, right-click on your iPhone and select Eject before disconnecting the cable. If the option is not available, then you can simply unplug the cable.
