Uninstalling Valorant completely from your computer can be a necessary step for various reasons—whether you’re freeing up space, troubleshooting technical issues, or simply taking a break from the game.
Like many modern games, Valorant installs a number of components and services on your system. To ensure that the game is fully removed, and no leftover files or processes remain, it’s essential to follow a systematic process.
In this guide, we’ll walk you through the comprehensive step-by-step process on how to uninstall Valorant completely.
Also Read: How To Uninstall Ubisoft Connect Completely
How To Uninstall Valorant Completely
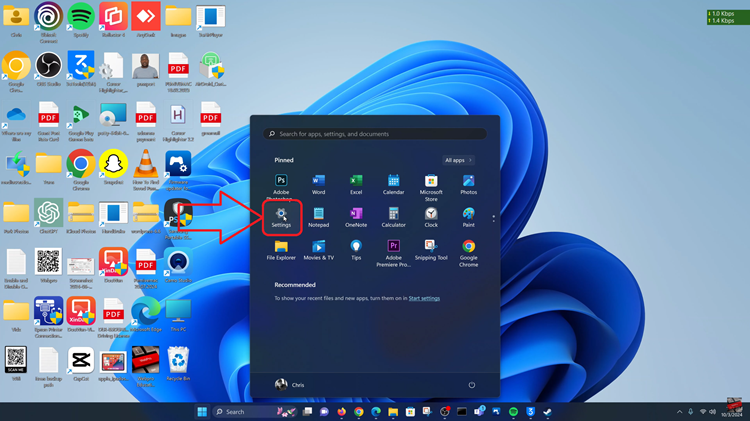
Before beginning the uninstallation process, it is crucial to ensure that Valorant is not currently running on your PC. If the game is open, it may interfere with the uninstallation process. From there, click on the Start Menu located at the bottom of your screen. Select the gear icon to open the Settings app.

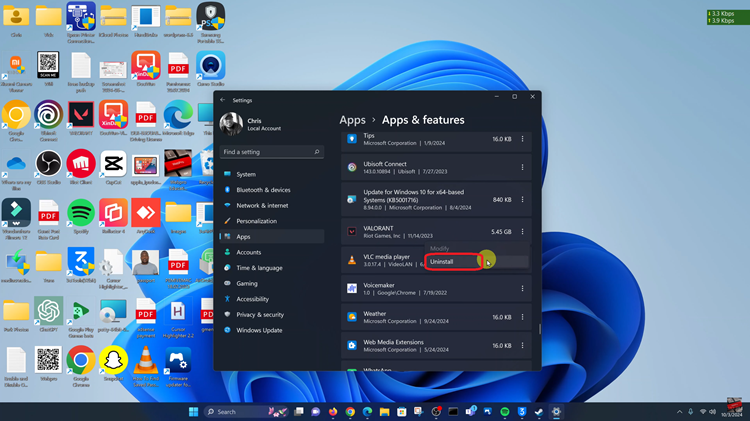
Inside the Settings app, click on Apps. Select the Apps & features option. Scroll through the list or use the search bar to locate Valorant. You’ll see three dots next to the game’s name. Click on them. In the pop-up menu, select Uninstall.

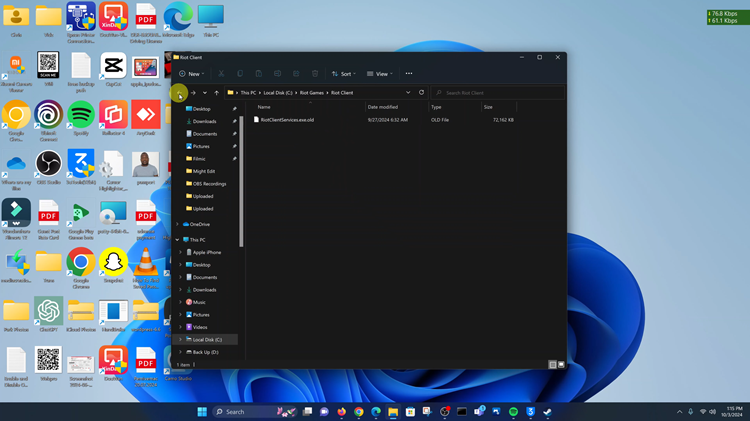
Click Uninstall again to proceed. Wait for it be uninstalled. While the above steps will uninstall Valorant from your computer, it may leave behind residual files or folders. Navigate to wherever you installed it and delete the Valorant folder if it still exists.

Uninstalling Valorant completely from your PC is a straightforward process. By following these steps and checking for leftover files, you can free up space on your computer. This ensures that all components of the game are removed.
Also Watch: How To Screen Mirror iPhone 16 / 16 Pro To Samsung Smart TV

