Learn how to save your voice memos to the Files app on your iPad to keep your recordings organized. Saving memos in the Files app lets you easily manage and access them whenever needed. Whether you want to share recordings or keep them for future reference, this method simplifies the process.
Additionally, storing memos in the Files app ensures they are securely saved and synced across your devices. Follow these straightforward steps to keep your important voice memos easily accessible and neatly arranged.
Watch:How To Change Date & Time On iPad
Save Voice Memos To Files App On iPad
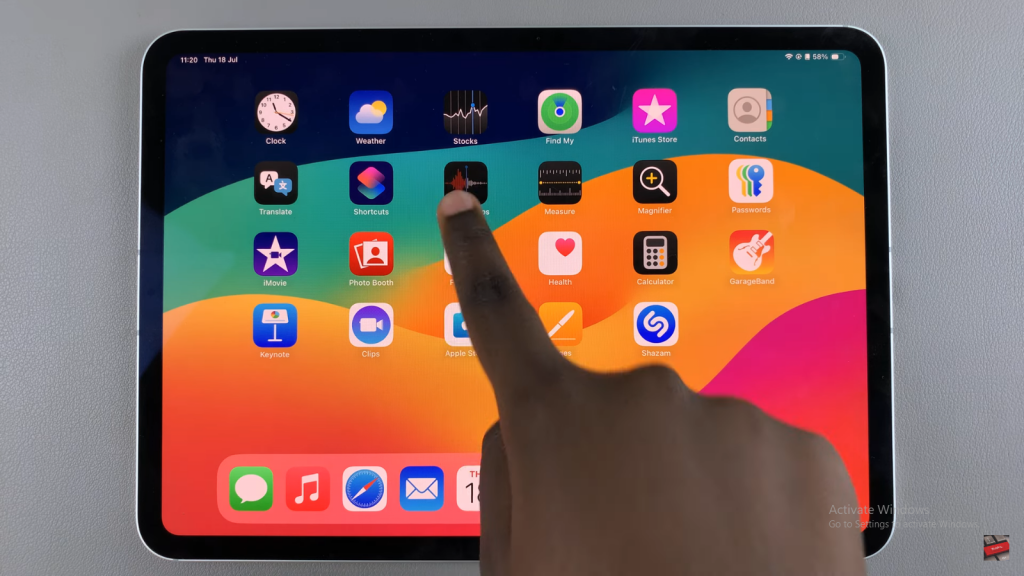
Step 1: Open the Voice Memos App
Start by launching the Voice Memos app on your iPad.
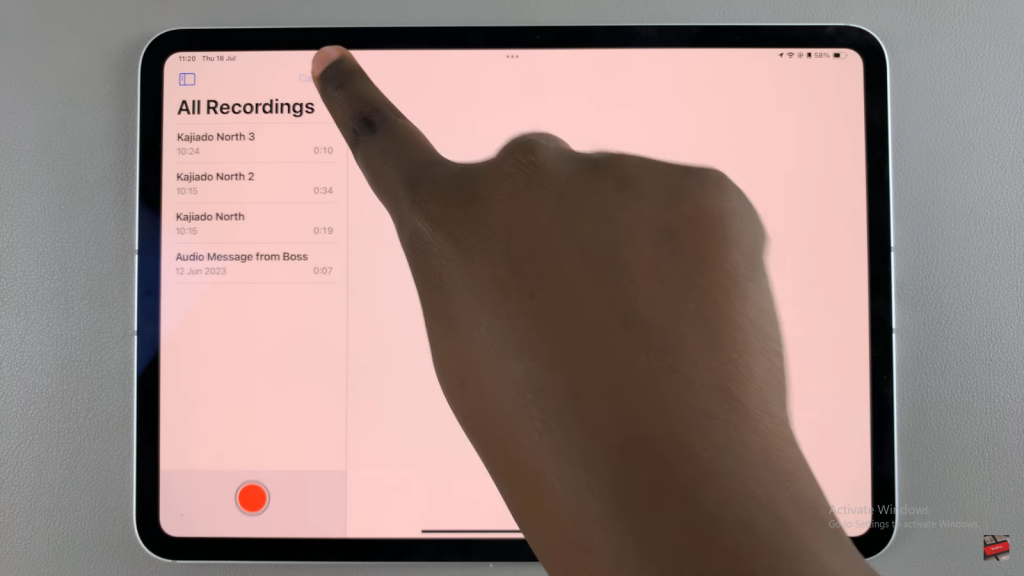
Step 2: Select the Recordings
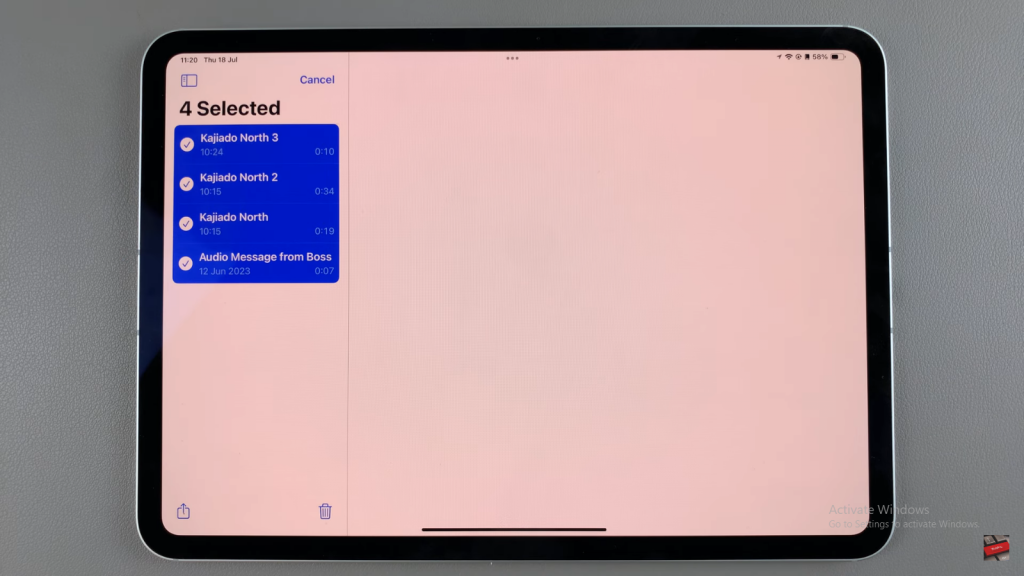
Next, you’ll see a list of all your recordings. Tap “Edit” in the top-right corner to choose the recording or recordings you want to transfer.
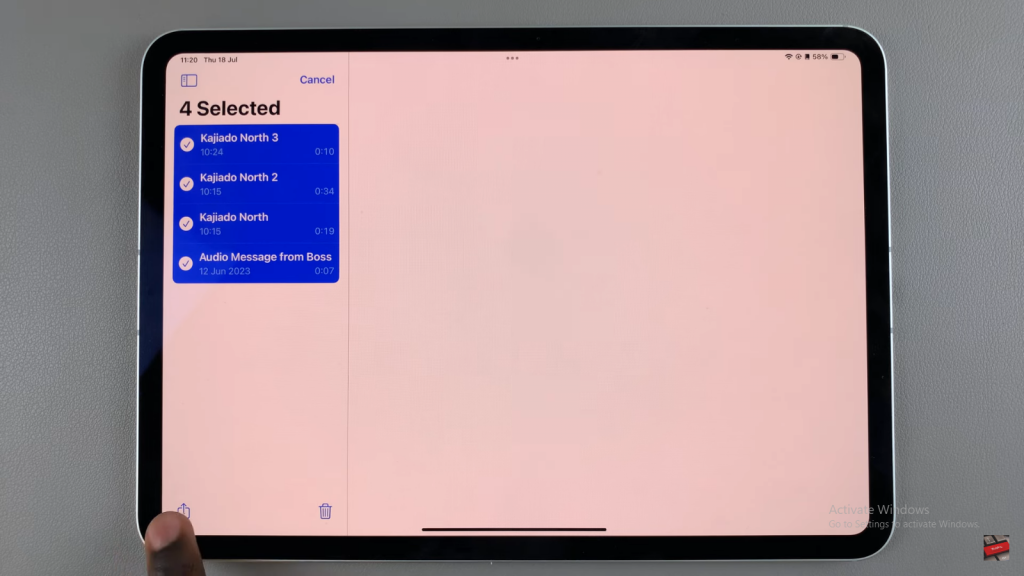
Step 3: Access the Share Options
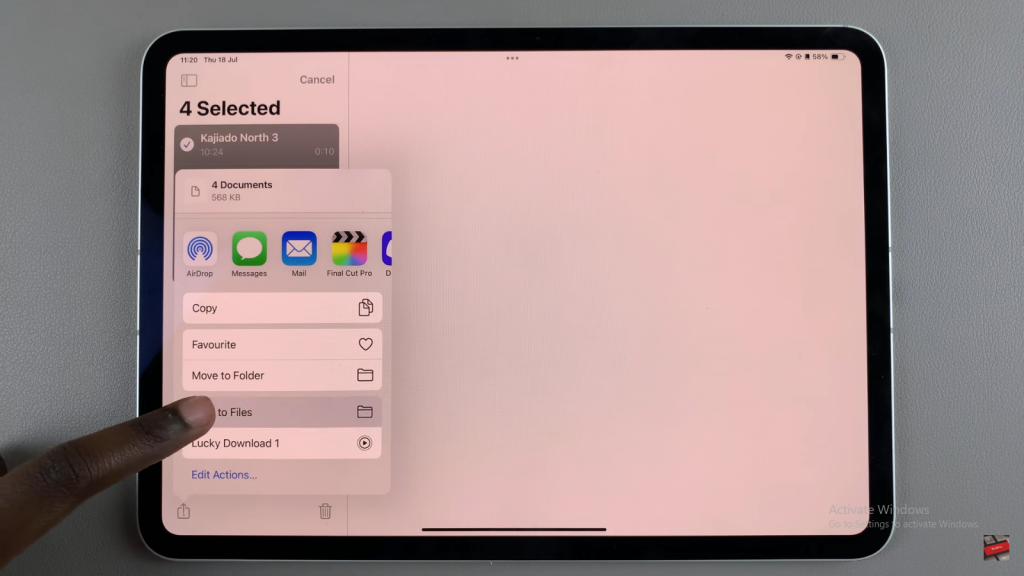
After selecting your recordings, tap the Share button on your screen.
Step 4: Choose ‘Save to Files’
In the share menu that appears, select the “Save to Files” option.
Step 5: Select a Location
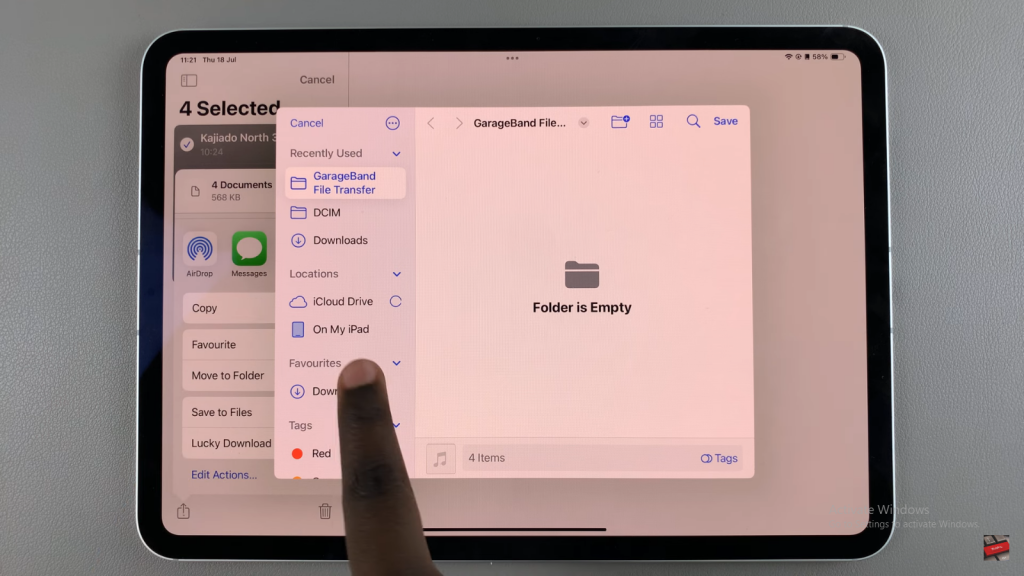
You’ll then see a popup menu with options from the Files app. Choose whether to save to iCloud Drive or directly onto your iPad.
Step 6: Create or Select a Folder
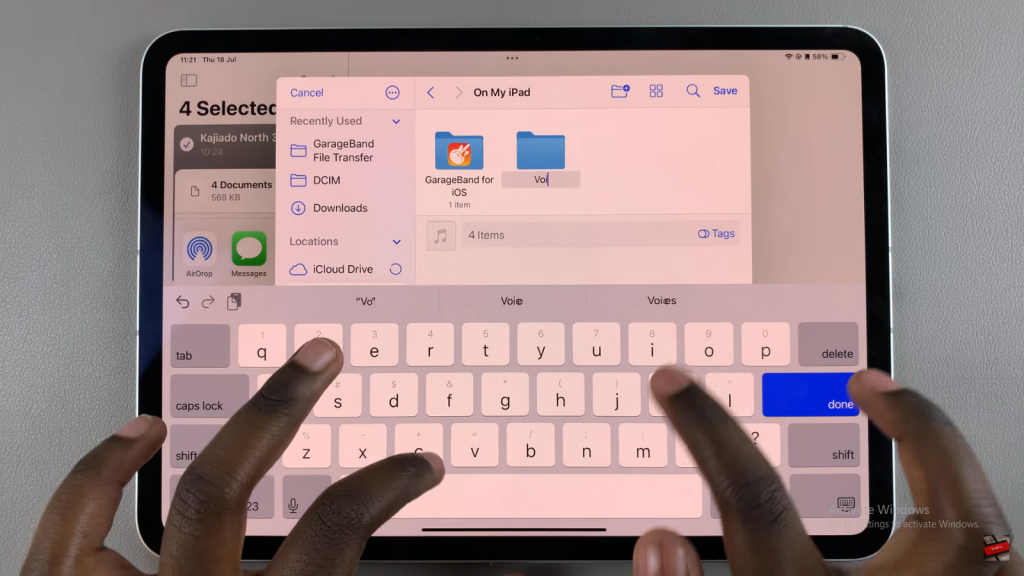
You can now either create a new folder or use an existing one. To create a new folder, select the location (iCloud Drive or iPad), tap “New Folder,” and give it a name. Alternatively, choose a pre-existing folder.
Step 7: Save the Recordings
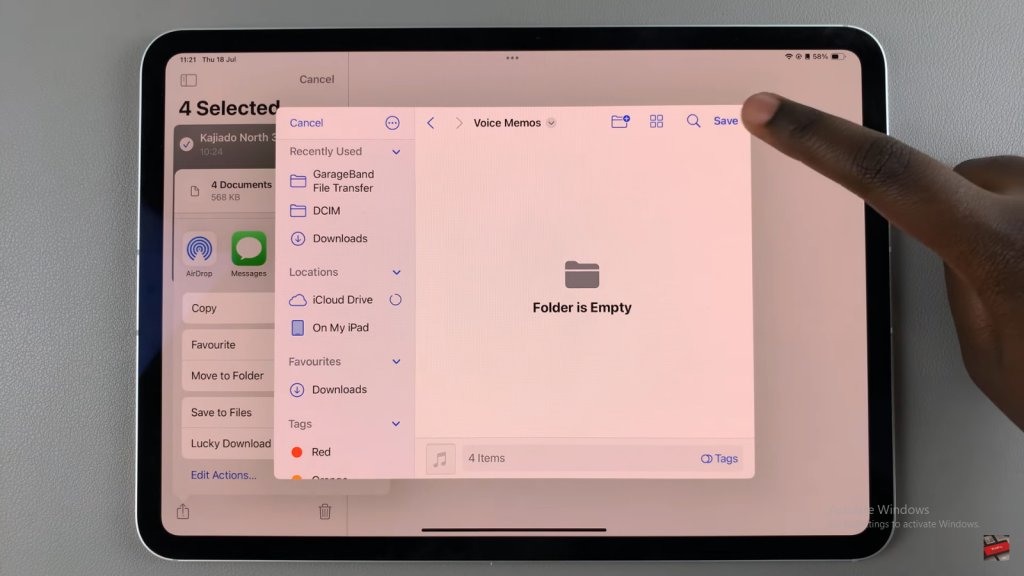
Once you’ve selected or created your folder, tap “Save.” Your voice memos will be saved in the chosen location.
Step 8: Verify in the Files App
Finally, open the Files app and navigate to the folder where you saved your recordings. You should see all your voice memos listed there.

