In the realm of mobile content creation, clear and high-quality audio is crucial. Whether you’re recording a podcast, filming a video, or conducting an interview, the right microphone can make a significant difference. A lapel lavalier microphone, known for its discreet design and exceptional sound capture, is a popular choice for enhancing audio quality.
If you’re using an iPhone for your recordings, understanding how to connect a lapel lavalier microphone properly is essential. The process of connecting a lapel lavalier microphone to an iPhone depends on the model of your device.
This article provides a detailed, step-by-step guide to help you connect your lapel lavalier microphone to your iPhone seamlessly.
Watch: How To Choose Microphone In Final Cut Camera App On iPhone
Connect Lapel Lavalier Microphone To iPhone
Ensure that you have a lapel lavalier microphone compatible with your iPhone. Most lapel microphones feature a 3.5mm TRRS (Tip-Ring-Ring-Sleeve) plug, which is essential for connecting to smartphones. If your iPhone has a Lightning port and lacks a headphone jack, you’ll need a Lightning to 3.5mm adapter.
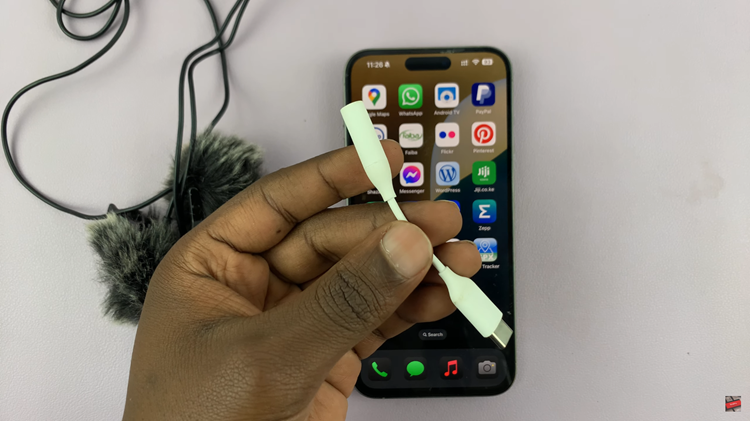
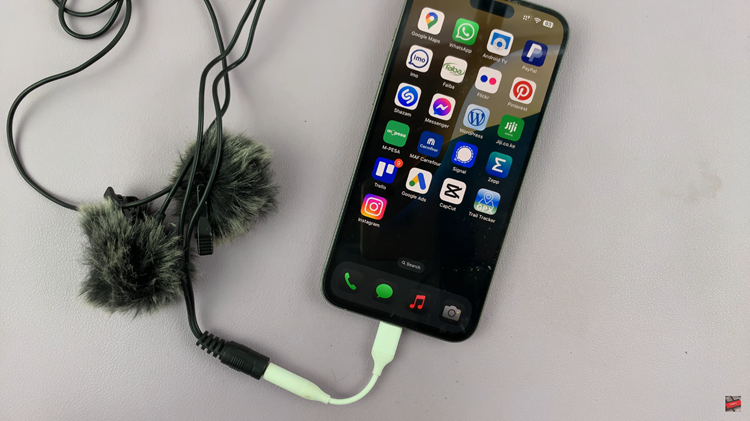
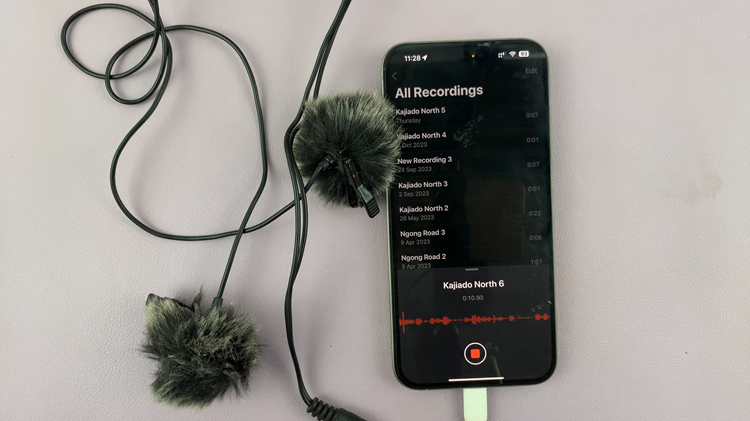
At this point, obtain a Lightning to 3.5mm adapter, also known as a headphone adapter. This device transforms the Lightning port into a 3.5mm jack, making it possible to connect your microphone. Connect the lapel microphone’s TRRS plug to the adapter, and then insert the adapter into your iPhone’s Lightning port.
For iPhones with a headphone jack, you can directly plug the lapel microphone’s TRRS plug into the headphone jack. Before you start recording or live streaming, it’s crucial to test the microphone to confirm it functions properly. Open the Voice Memos app, press the red record button, and speak into the microphone. Play back the recording to ensure that the audio is clear and of good quality.
By following these steps, you can effectively connect your lapel lavalier microphone to your iPhone and enhance your audio recording capabilities.
