Looking to create your own Discord server? Whether you’re setting up a gaming community, a business workspace, or a social hangout, having a well-structured server helps you connect with others, organize discussions, and manage your community efficiently.
Discord allows you to customize channels, roles, and permissions, making it easy to tailor your server to your needs. In this guide, we’ll walk you through the step-by-step process of creating and setting up your Discord server so you can start building your community today!
READ: How To Add A Bot On Discord Server
How to Create Your Own Discord Server
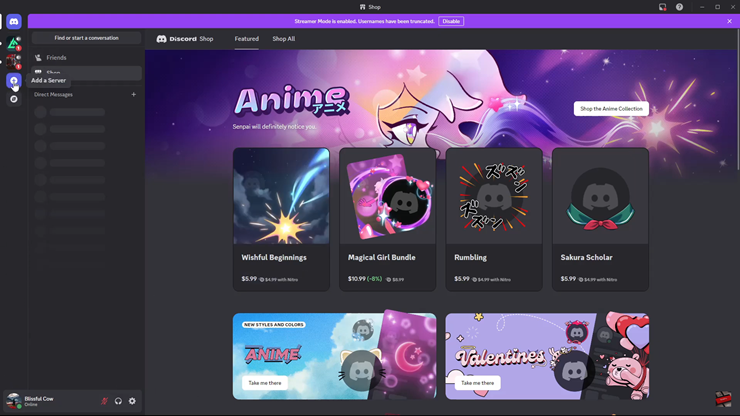
Open the Discord app on your desktop or mobile device and log into your account.
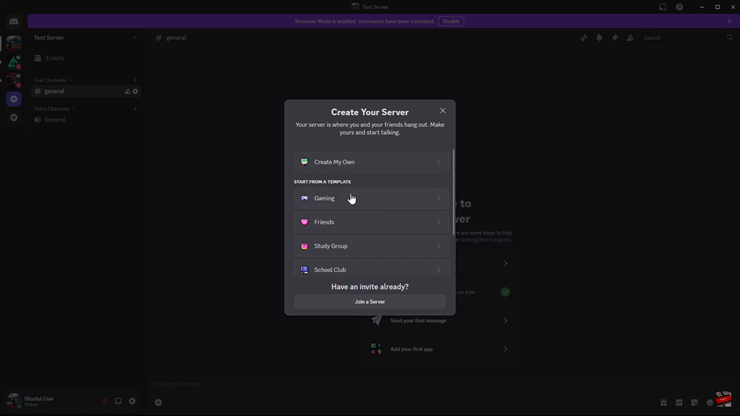
Click on the “+” (Add Server) icon in the left sidebar to create a new server.
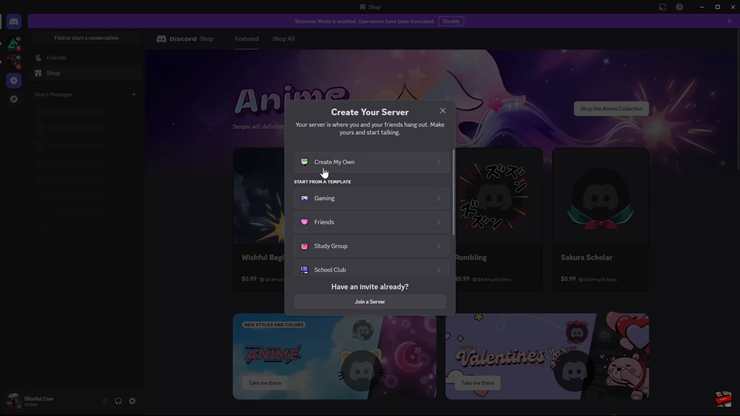
Choose the option to create your own server from scratch.
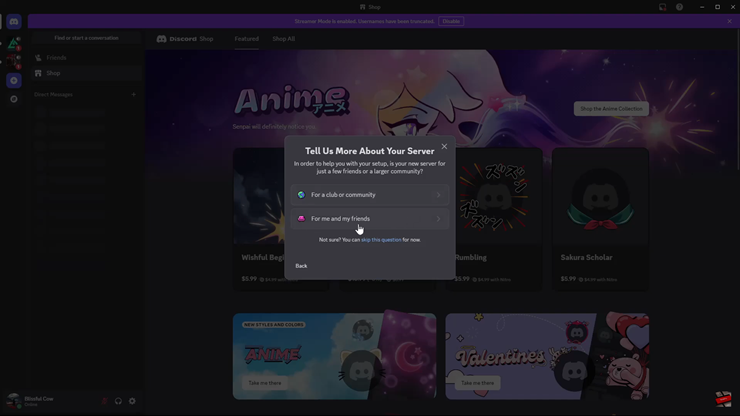
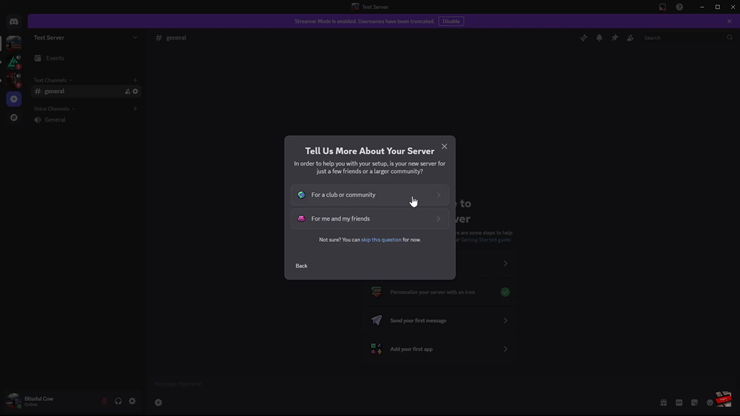
Select whether the server is for friends & family or a larger community.
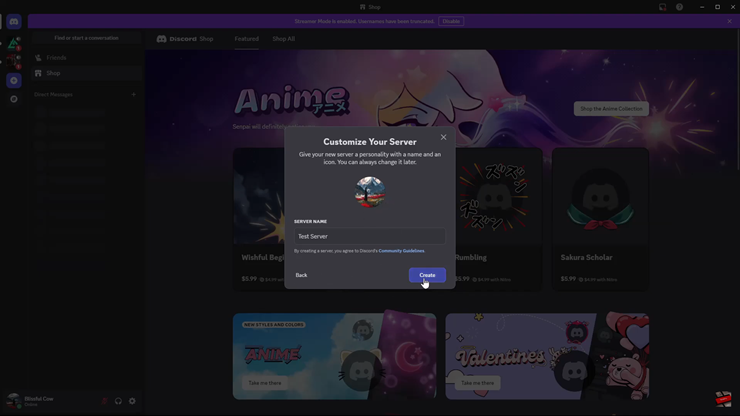
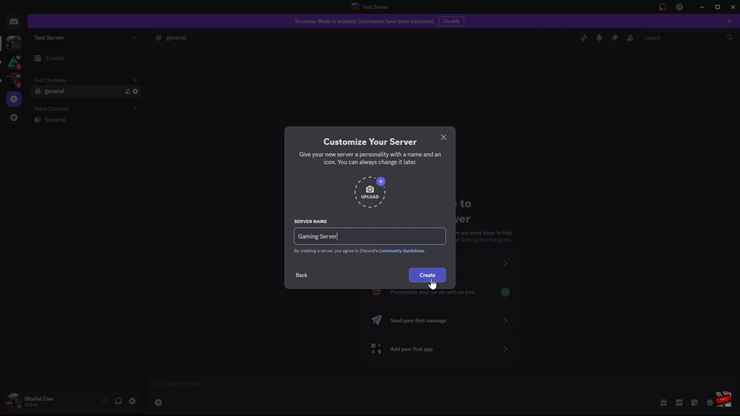
Enter a server name, upload a profile picture, and adjust basic settings.
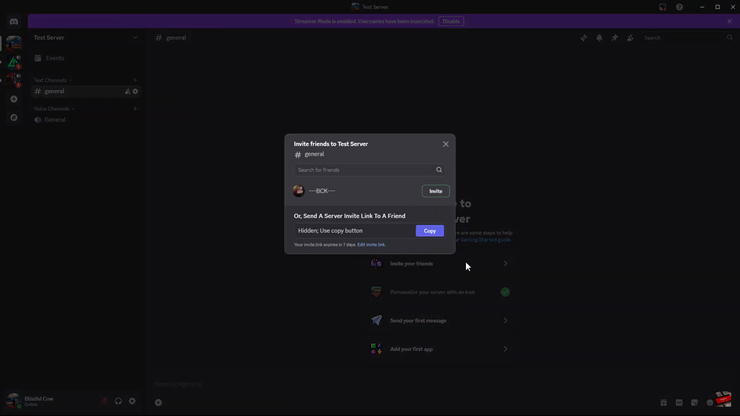
Once the server is created, you can send invites to friends and start chatting!
How to Create a Template-Based Discord Server
Click on the “+” (Add Server) icon on the left sidebar.
Browse and select a server template that fits your needs (e.g., gaming, study group, or community).
Select whether the server is for friends or a larger community.
Rename your server and upload a profile picture to make it unique.
After creating your server, send out invites to friends, teammates, or community members.
Your Discord server is now set up! You can start customizing it by creating channels, assigning roles, and adding bots to enhance its functionality. Whether it’s for gaming, business, or social interaction, your new server is ready to grow!

