A Battle.net account is essential for accessing Blizzard Entertainment and Activision games like Call of Duty, Overwatch, World of Warcraft, Diablo, and Hearthstone. Whether you’re a new player or looking to set up a fresh account, the process is quick and easy.
In this guide, we’ll walk you through the step-by-step process of creating a Battle.net account, setting up security verification, and getting ready to download and play your favorite games. Follow these simple instructions and start gaming with Battle.net today!
WATCH: How To Install BattleNet On PC
How To Create BattleNet Account
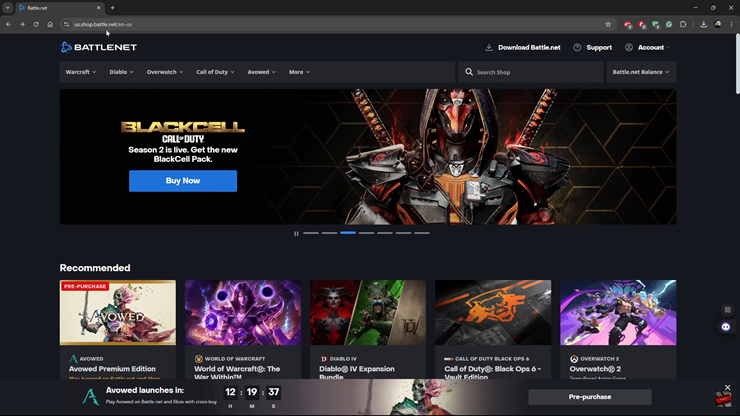
Launch your browser on your PC or mobile device. Go to us.shop.battle.net
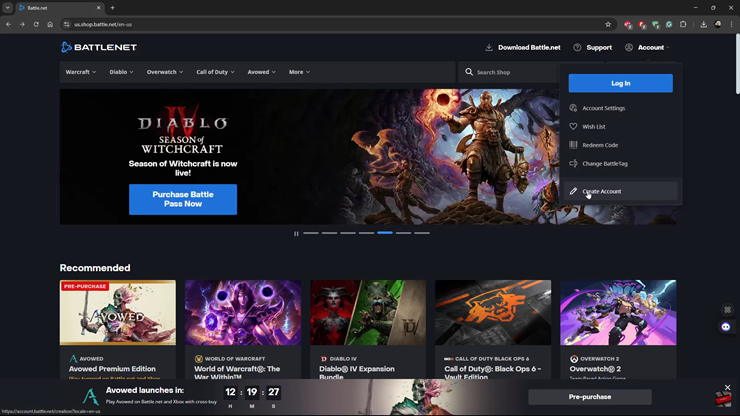
Navigate to the account option in the top right corner of the website.
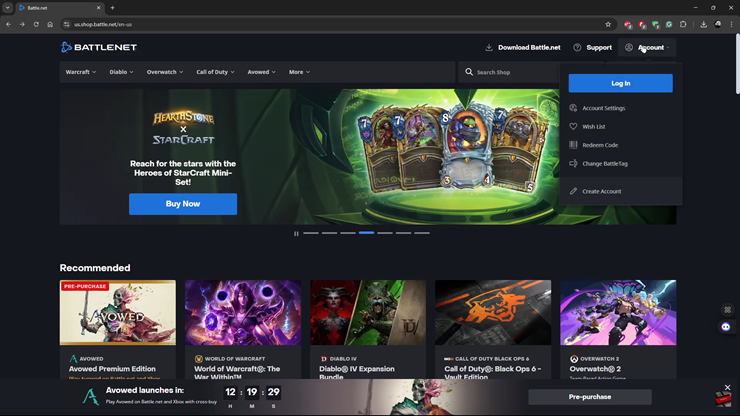
From the dropdown menu, click on “Create Account”.
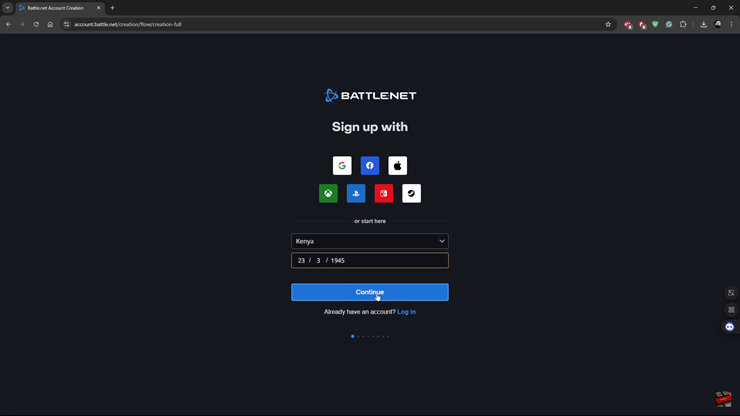
Select your preferred sign-up method (email, Google, Facebook, or Apple) and tap “Continue”.
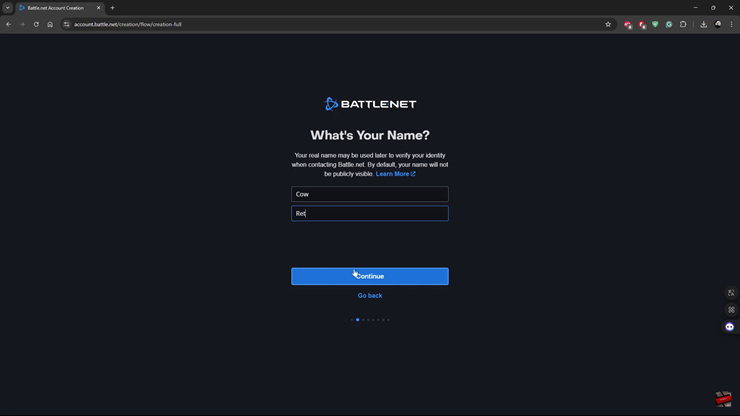
Enter your first and last name in the required fields.
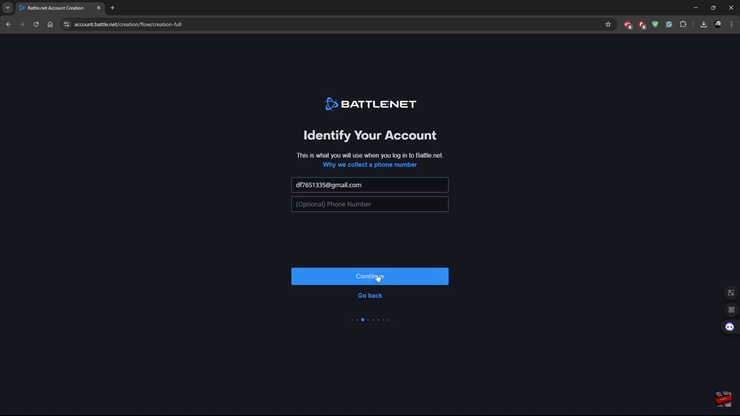
Add your email address to register your account.
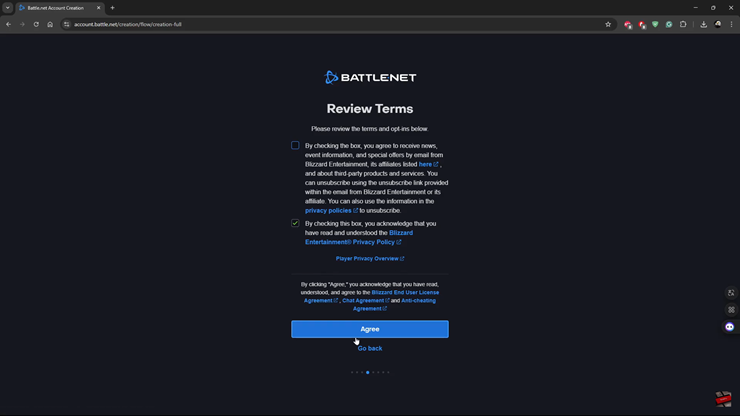
Agree to the terms and conditions by reviewing and accepting them.
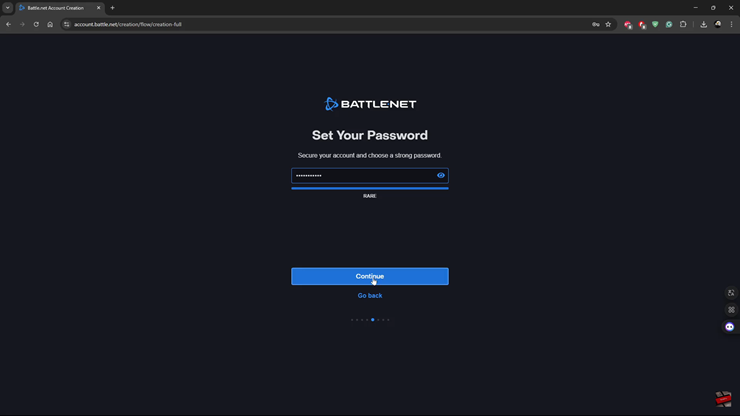
Create a secure game password for your account.
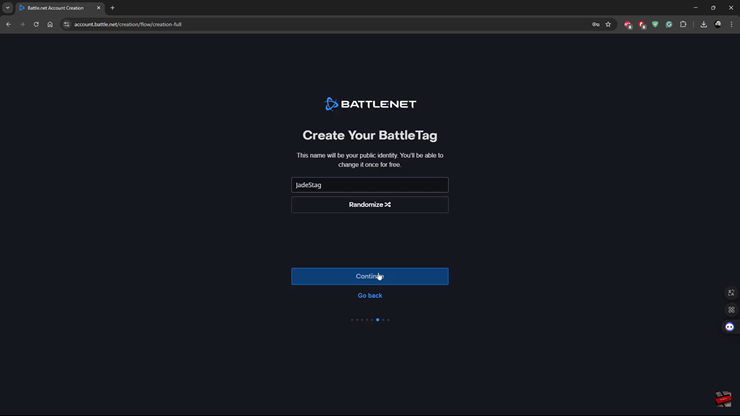
Type in your Gamer Tag (BattleTag), which will be your in-game identity.
Your Battle.net account is successfully created and ready to use. Now, you can log in, download your favorite games, and start playing


