In a fast-paced world where ideas can strike at any moment, having a reliable tool to capture your thoughts is essential. That’s where the Voice Memos app on your iPad comes in. With this handy app, you can effortlessly record audio notes, lectures, interviews, or any other audio content that you want to preserve.
In this article, we will guide you through the steps to create voice memos on your iPad using the Voice Memos app. Whether you’re a student looking to record lectures, a professional needing to capture meeting notes, or simply someone who wants to preserve their creative ideas, this guide will help you make the most of this powerful feature.
So, if you’re ready to start recording your thoughts and ideas on your iPad, let’s explore the process of creating voice memos using the Voice Memos app.
Watch: How To Import Voice Memos Into iMovie On iPad
Create Voice Memos On iPad
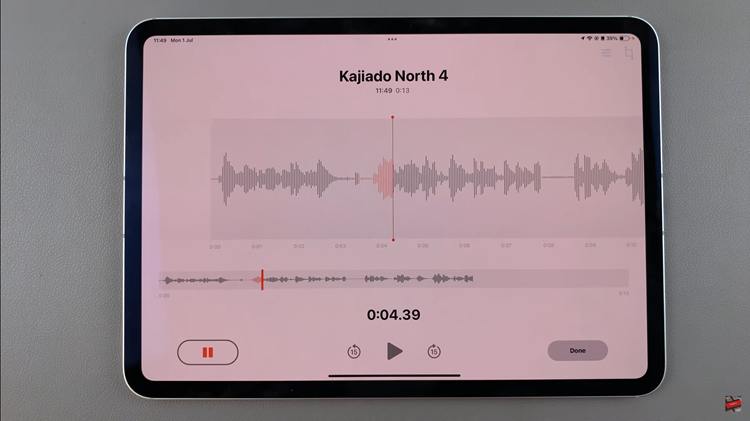
To begin, find and select the Voice Memos app on your iPad. Then, initiate your recording by tapping the prominent red record button (a large circle). If you find the need to pause momentarily, tap the red pause button, and then select “Resume” to seamlessly continue recording without interruptions.
Upon completing your recording, tap “Done” to finalize. At this point, you can choose to rename your memo for easier identification, share it via Messages, Mail, or AirDrop, or perform other editing functions such as trimming unnecessary parts.

Once you’re satisfied with your changes, simply exit the app, knowing that your voice memo is securely saved on your iPad, ready to be accessed whenever you need it.

