Installing AnyDesk on your iPad will provide you with very advanced remote desktop capabilities right in the palm of your hand. AnyDesk is an extremely popular application for remote access, featuring fast performance and great usability for connecting other computers, remotely sharing your screen, and providing or getting support from anywhere.
Be it the professional working remotely and hence needing access to their office computer, the IT support guy for clients, or a person just wanting to connect with friends and family, AnyDesk is there to help in every way possible.
The steps that follow in this guide will take you through the entire installation process to set up and start using AnyDesk on your iPad.
Also Read: How to Install Amazon Prime Video on iPad.
How To Install AnyDesk On iPad
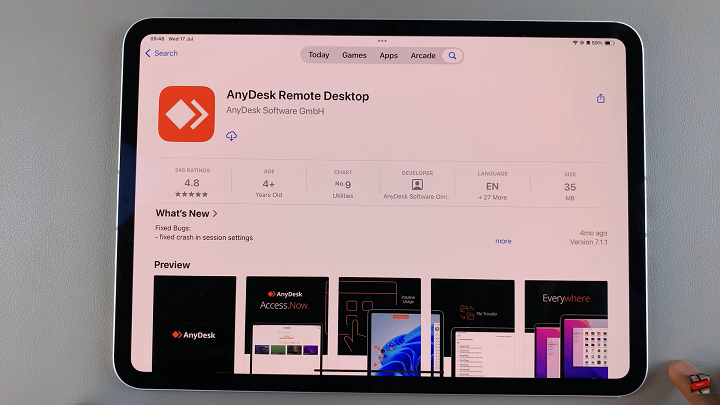
First, make sure that your iPad is connected to the internet, then open the App Store. In the search bar, type “AnyDesk” and look for a red and white logo. Tap the AnyDesk app to see details. Then, tap “Get” and afterwards “Install” to download and install the app.

You will be prompted to enter your Apple ID password or verify via Face ID. Once it’s installed, tap on the ‘Open‘ button to launch the app. In-app setup, instructions will appear asking for the required permissions to be granted and basic settings adjusted.

AnyDesk is easy to install on an iPad and has powerful remote access capabilities. You can sign in after installation, and from anywhere else, connect to your iPad for work, support, or collaboration. Use the app to streamline your work.
Also Watch: How To Install SnapChat On iPad

