You probably noticed if you just got a new Samsung Galaxy S25 or S25 Ultra that Google Messages are the default messaging app. Although Google Messages provides advanced RCS messaging, cross-device syncing & end-to-end encryption, Samsung users usually stick with Samsung Messages due to its native feel in the One UI Design, more customization options and advanced integration with Samsung services.
Unfortunately, the Samsung Messages app may not be pre-installed on your device if you are on a particular carrier/region; however you can get around this. Fortunately, there are easy steps to install and use Samsung Messages on Galaxy S25 / S25 Ultra right out of the box with your newest device.
Follow this article to get Samsung Messages working again on Samsung Galaxy S25 & S25 Ultra. Read on for an easy-to-follow guide to smoothly reconfigure your Galaxy smartphone to the well-known, customisable Samsung Messages interface that provides better integration features with the rest of Samsung ecosystem.
Watch: How To Scan QR Code With Samsung Galaxy S25
Install Samsung Messages On Samsung Galaxy S25 & S25 Ultra
Begin by unlocking your Samsung Galaxy S25 and navigating to the home screen. From there, locate and select either Google Play Store or Galaxy Store from the app drawer or home screen. Then tap on the search icon within the store and type in ‘Samsung Messages’.
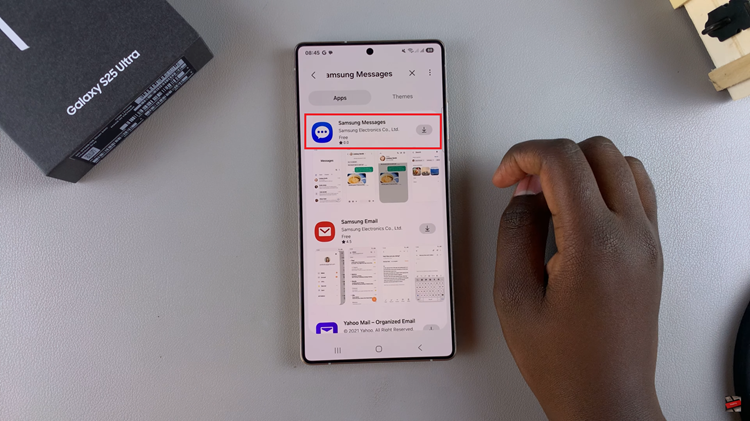
Following this, tap on the official Samsung Messages app from the search results. Now, you’ll see the ‘Install‘ option within the app details. Tap on it and allow the application to be installed on your Samsung S25.
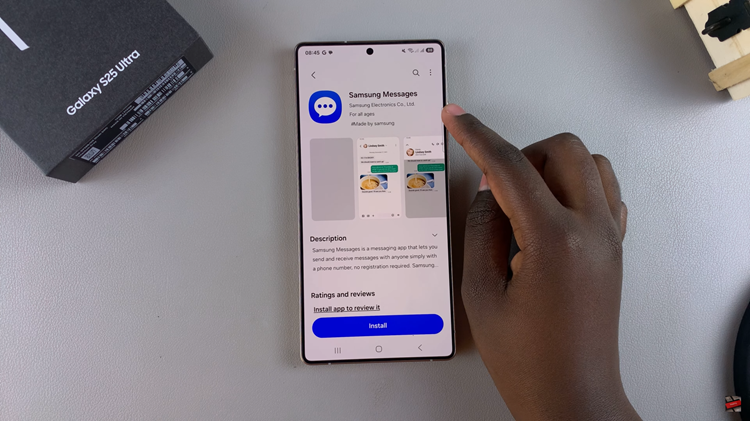
Once installed, you can tap on ‘Open‘ to launch the app directly from the store. Alternatively, find the app on the home screen or app drawer and tap on it to launch it. At this point, allow any permissions that might appear and the application will be ready for use.

In conclusion, installing Samsung Messages on your Galaxy S25 / S25 Ultra is a quick and easy process, allowing you to enjoy a familiar, feature-rich messaging experience tailored for Samsung devices. If you found this guide helpful, consider sharing it with others who might be looking for the same solution!

