Adding a border to your video is a simple yet effective way to make your content stand out. Whether you’re creating social media posts, enhancing your storytelling, or adding a professional touch to your video, CapCut makes it easy to customize your borders with just a few clicks.
In this guide, we’ll show you exactly how to add a border to a video in CapCut, covering everything from selecting the right border style to customizing its size and color. By the end of this tutorial, you’ll be able to give your videos a unique and polished look, perfect for any platform or audience.
Keep reading to discover how to enhance your videos with stunning borders using CapCut’s intuitive editing tools
Watch: How To Add Text To Image In CapCut Desktop
How To Add Border To Video In CapCut
Open the CapCut application on your computer to begin editing. Click on “Add Project” to start working on your video.
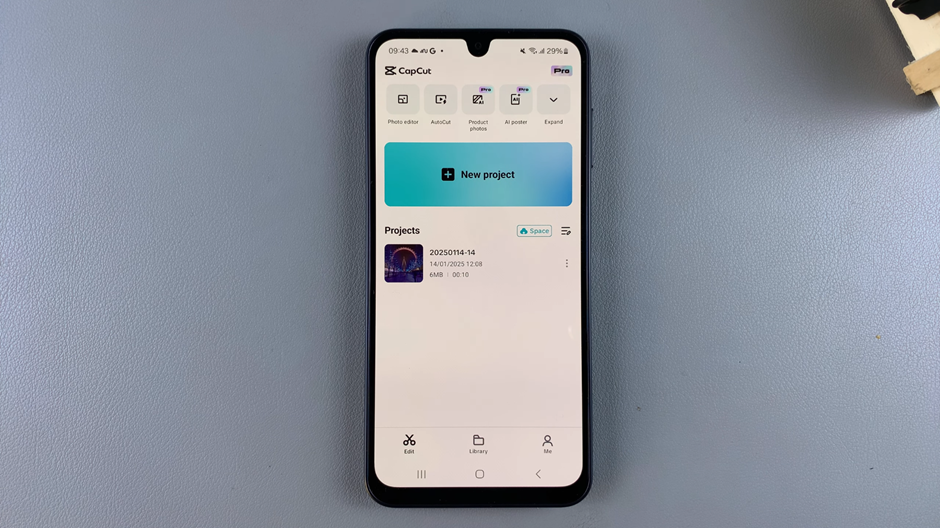
Import your video file by selecting the “Import” option and choosing the video you want to edit.
Drag and drop the imported video into the timeline at the bottom of the screen to begin editing.
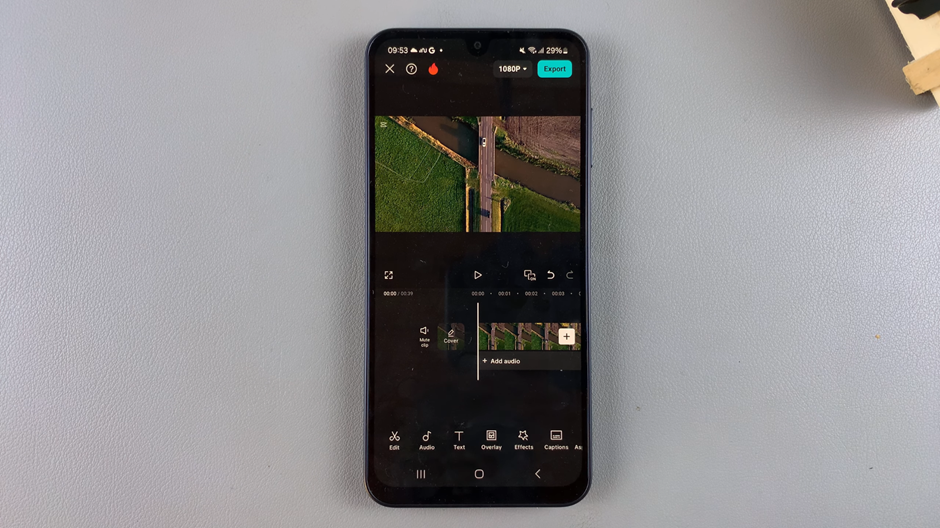
At the bottom menu, scroll until you find the “Background” option and select it.
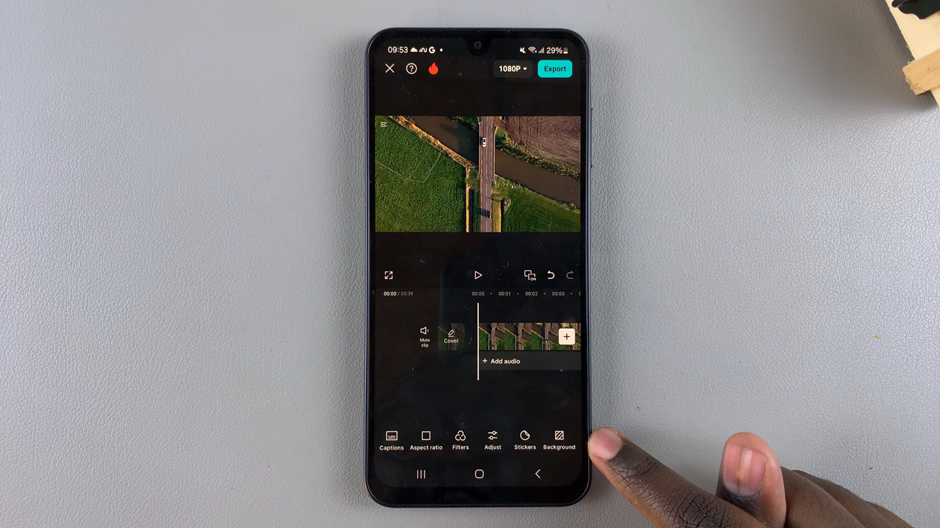
Pick a background color, gradient, or style that you want to use as your video’s border.
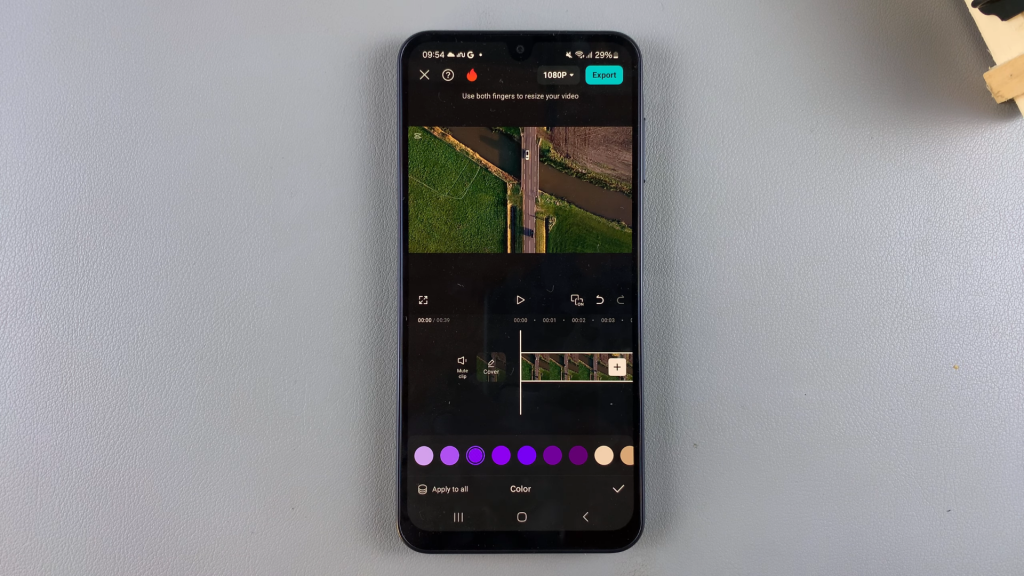
Adjust the size of your video by shrinking it to reveal the chosen background as a border.
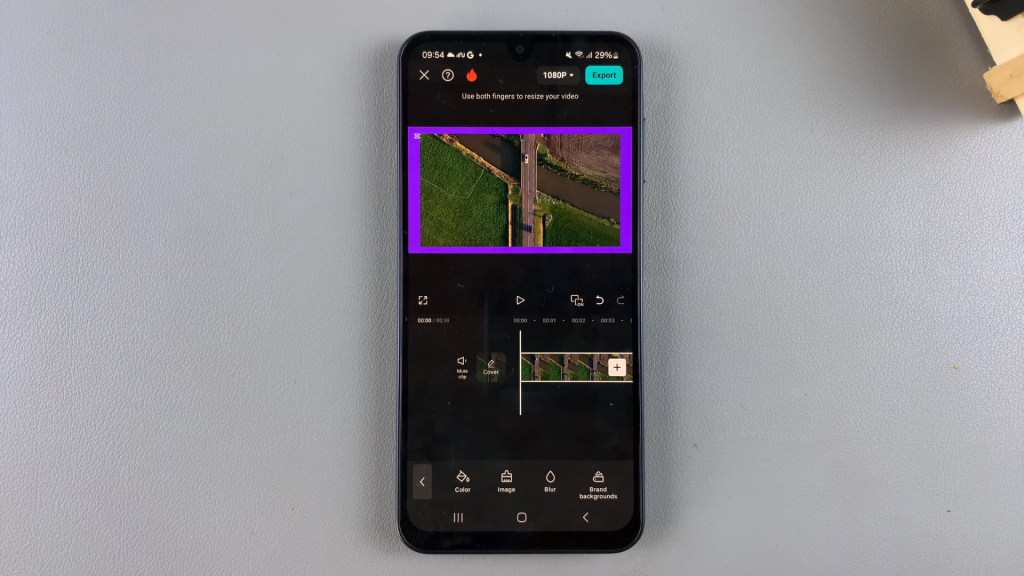
If the background color or style doesn’t match your vision, you can customize it further by selecting a different color, gradient, or design.
Now you have successfully added a border to your video in CapCut! Let me know if you’d like additional tips or creative ideas for customizing your borders.
