Learn how to add a professional voiceover to your videos using CapCut Desktop. Whether you’re creating content for YouTube, TikTok, or any social media platform, adding a voiceover can elevate your video to the next level.
In this guide, we’ll show you how to easily add a voiceover to your videos in CapCut Desktop, one of the most user-friendly and powerful video editing tools available. With CapCut Desktop, you can record your voice directly within the app, sync it seamlessly with your video clips, and make precise adjustments to ensure everything flows perfectly.
In the following steps, we’ll walk you through the process of adding and editing voiceovers to your videos, even if you’re a complete beginner. So, grab your microphone, open up CapCut, and let’s dive into the world of voiceover recording.
watch: How To Connect TikTok To CapCut Desktop
How To Add Voiceover In CapCut Desktop
Open the CapCut Desktop application on your computer. Once CapCut is open, click on the “Add a New Project” button to start a fresh editing session.
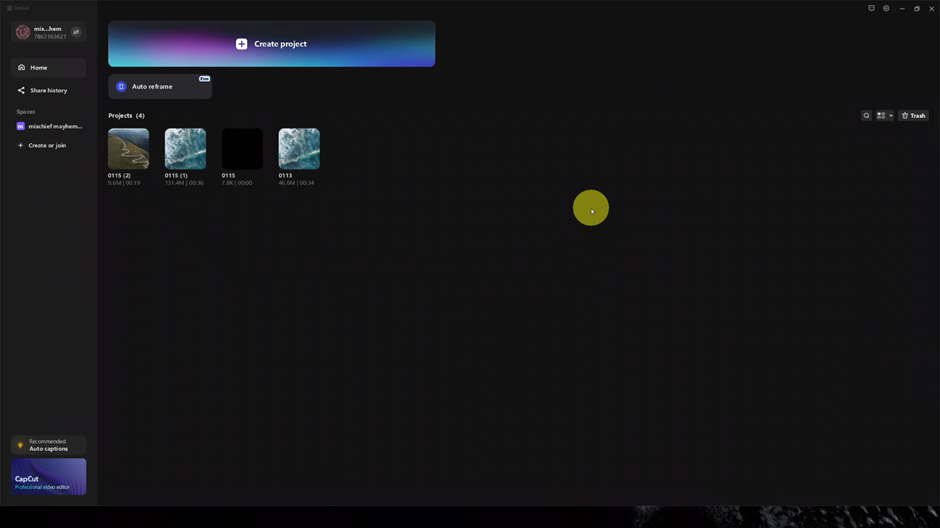
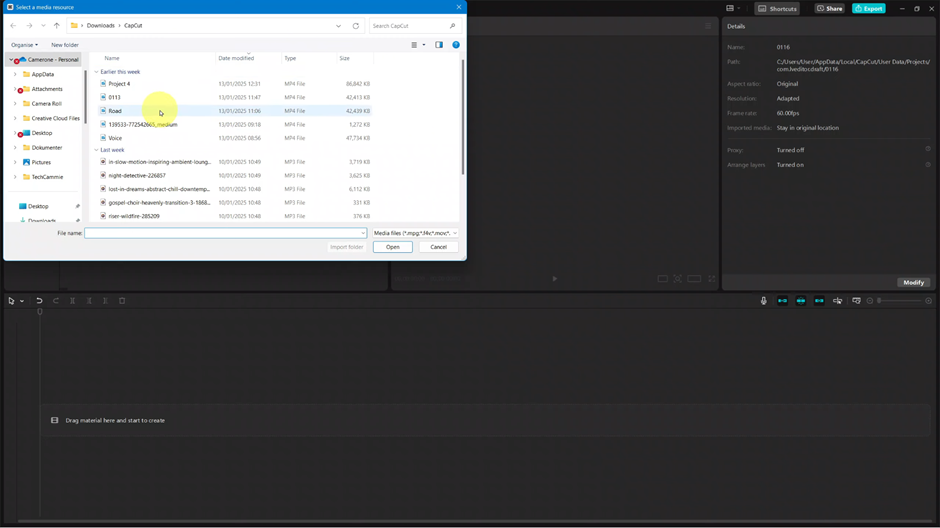
Next, click on the ‘Import’ button to bring in the video file you want to edit.
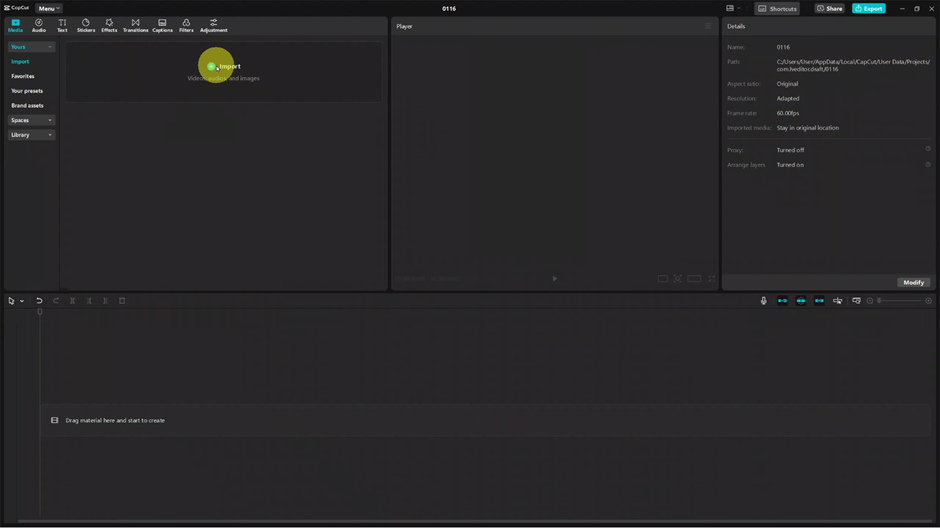
Choose the video project you want to work on from your computer and click ‘Open.’
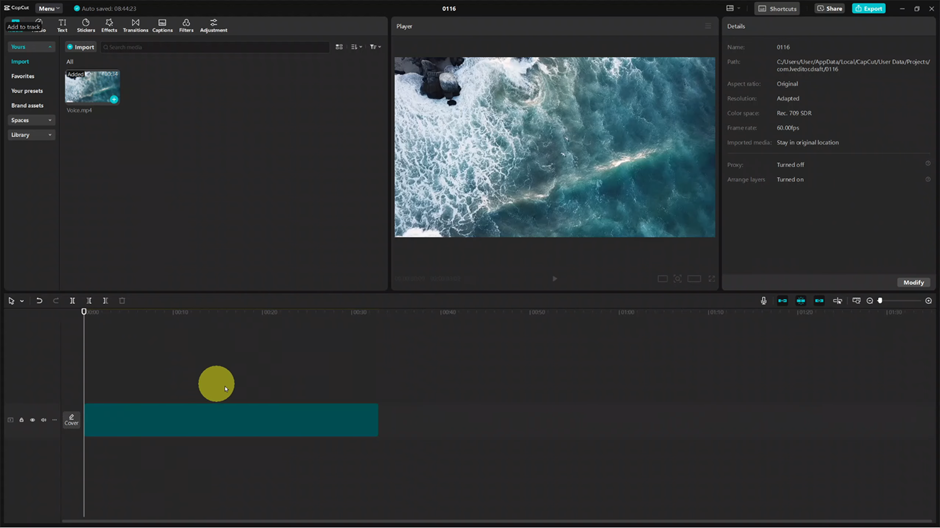
Once your video is imported, drag it into the timeline so you can begin editing.
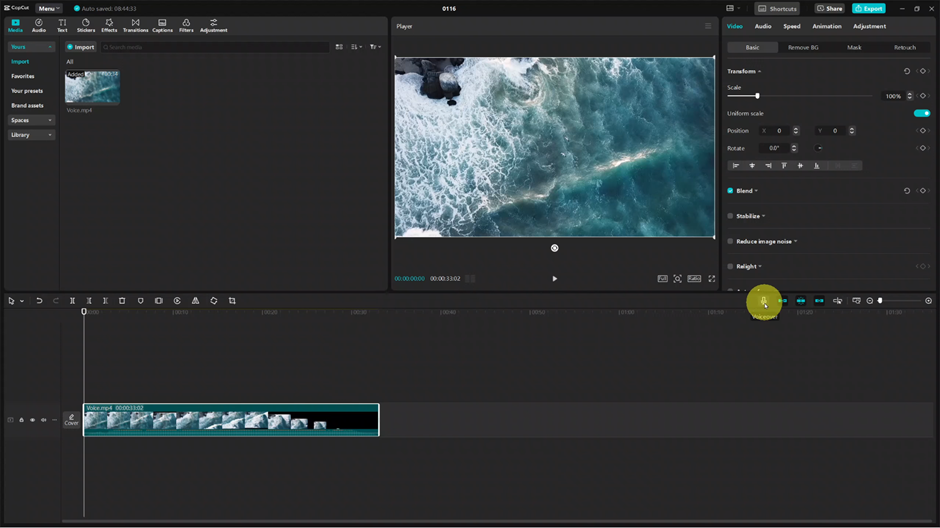
On the toolbar at the top or side of the screen, locate the “Voiceover” icon (it typically looks like a microphone).
Click on the voiceover icon and then click the “Record” button. Start speaking into your microphone, and CapCut will capture your voiceover while the video plays.
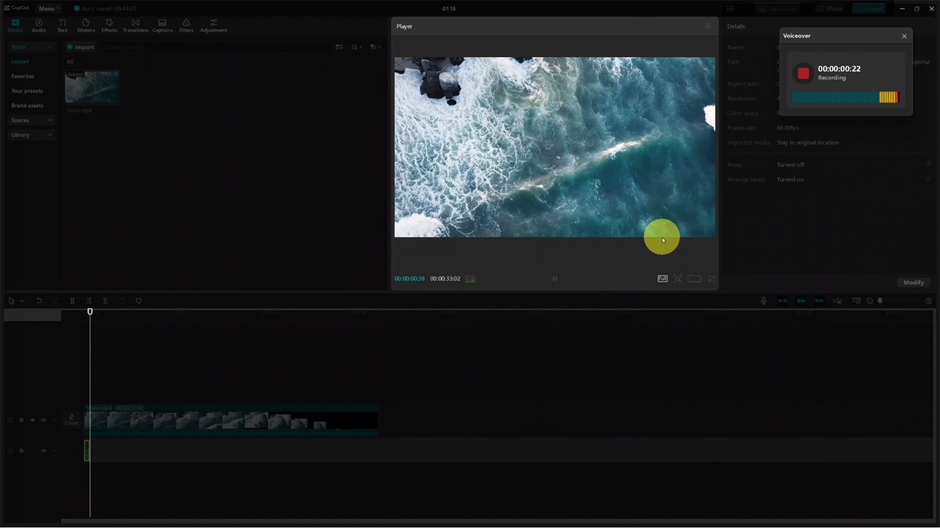
After recording, you can adjust the voiceover by trimming, adjusting the volume, or syncing it with specific video clips for a polished result.
And there you have it! With these simple steps, you can easily add and customize a voiceover in CapCut Desktop to enhance your video content.
