Splitting a video is a fundamental editing skill that allows you to break a longer clip into smaller, more manageable sections. Whether you’re trimming excess footage, isolating key moments, or rearranging scenes, splitting your video gives you more control over your content.
CapCut, an easy-to-use video editing app, makes the process of splitting videos quick and efficient. With CapCut’s intuitive interface, you can split your video with just a few taps. This feature is perfect for beginners and advanced users alike, offering a seamless way to edit your footage without complicated tools or processes.
Whether you’re creating a vlog, social media content, or any other type of video, knowing how to split your clips can help you achieve your editing goals.
Watch: How To Upload From CapCut To YouTube
How To Split Video In CapCut
Start by opening the CapCut app and selecting the project that contains the video you want to split. If you don’t have a project, create a new one by importing your video clip.
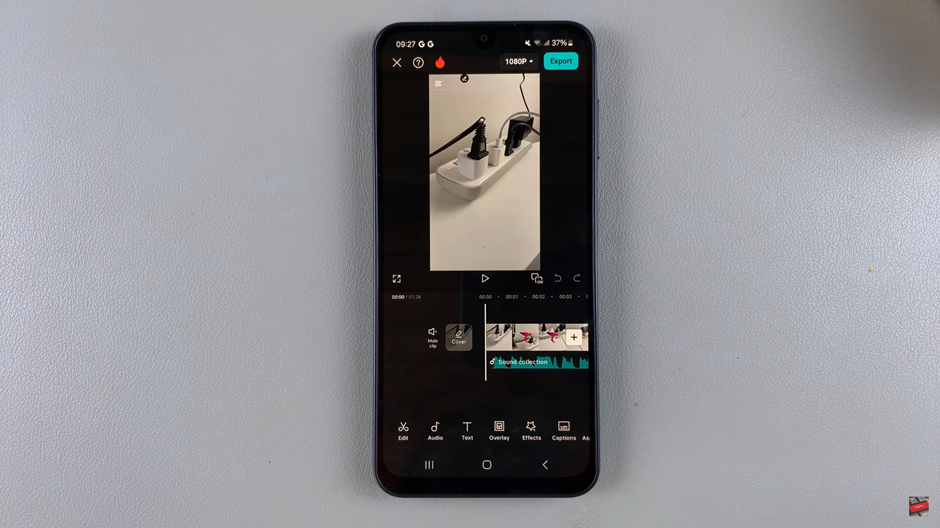
Drag the video clip along the timeline and position it at the point where you want to make the split. Make sure to pause at the exact frame where you want the cut to occur.
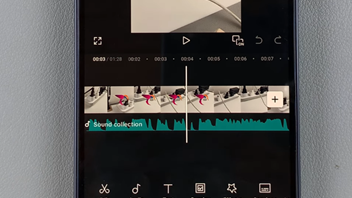
Once your video is at the desired point, tap on the “Split” option in the toolbar. This will divide the video into two separate clips at the selected point.
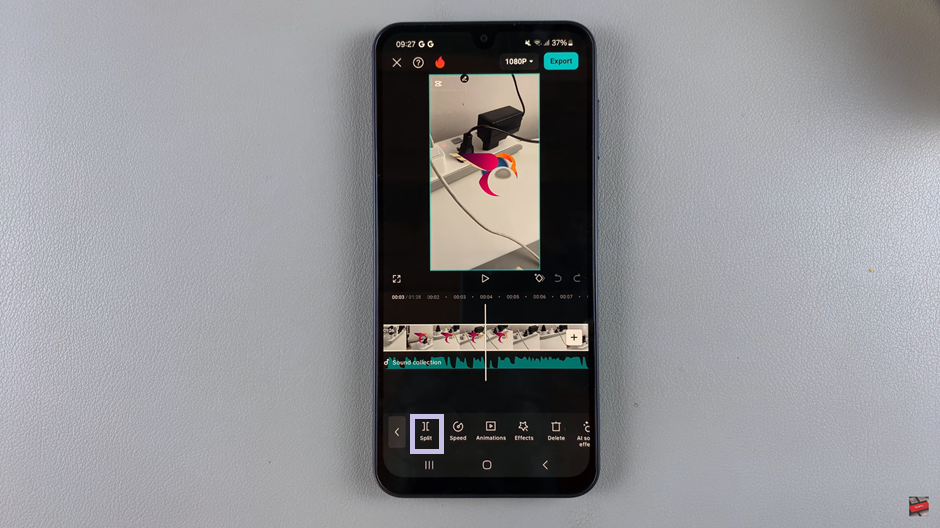
If you want to add a smooth transition between the two split sections, tap the white icon between the clips and choose from various transition effects. This step is optional but can enhance the flow of your video.
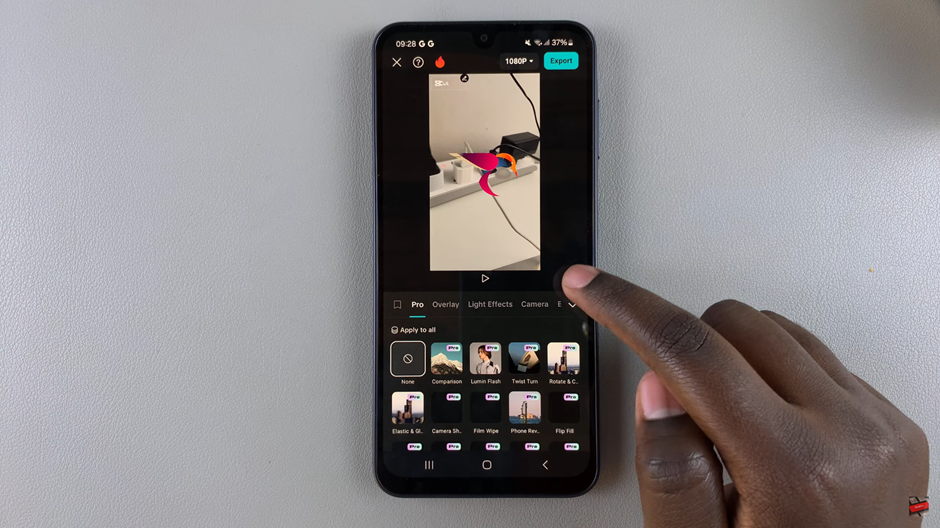
To remove any unwanted section of the video, simply select the clip or segment you want to delete, then tap on the “Delete” option. This will remove the selected portion from your timeline.
