Adding a logo to your videos is a crucial step in branding and giving your content a professional edge. Whether you’re a content creator, marketer, or just someone who loves creating videos, showcasing your logo can help build recognition and add a polished look to your projects.
CapCut, a popular and user-friendly video editing app, provides all the tools you need to seamlessly include your logo. Inserting a logo in CapCut is a straightforward process that doesn’t require any advanced editing skills.
With just a few simple steps, you can import your logo, adjust its position, and customize its appearance to fit your video. This feature is especially useful for those looking to create a consistent brand identity across their content.
Watch: How To Loop Video On CapCut
How To Insert Logo In CapCut
Start by opening the CapCut app and selecting the project where you want to add your logo. If you don’t have a project yet, create one by importing your video.
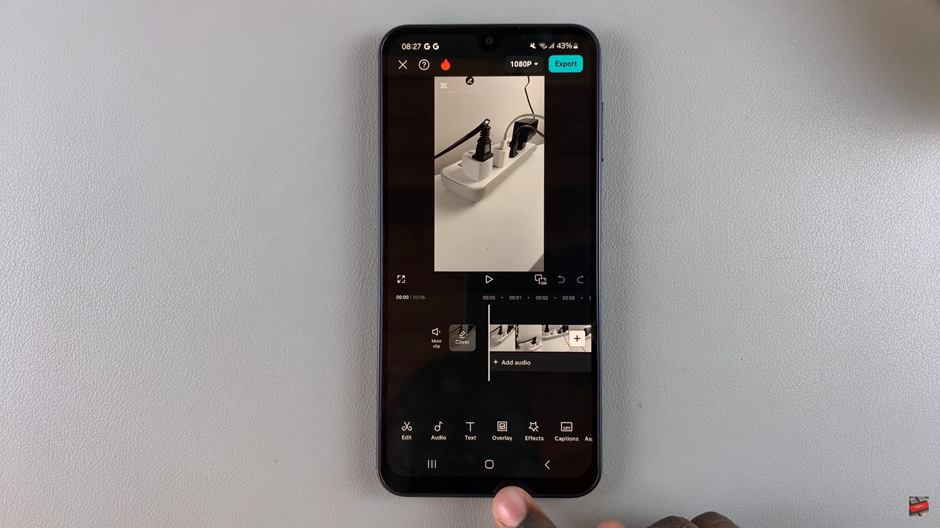
Once your project is open, navigate to the toolbar at the bottom and tap on the “Overlay” option.
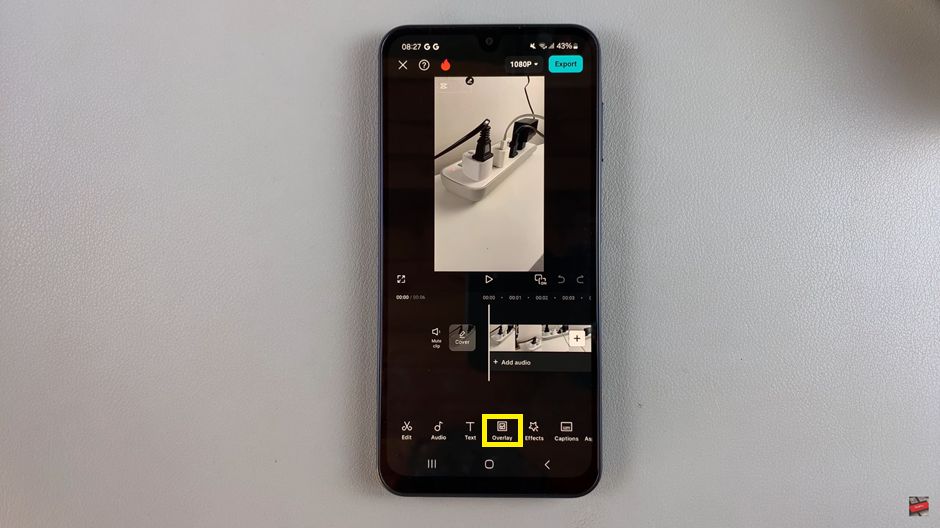
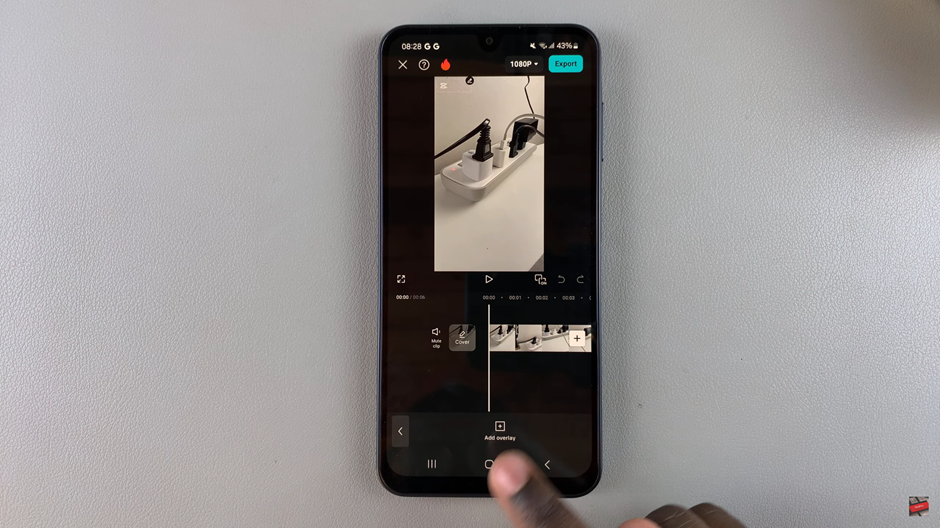
Tap the “Add Overlay” button and browse your files to select the logo image you want to include in your video.
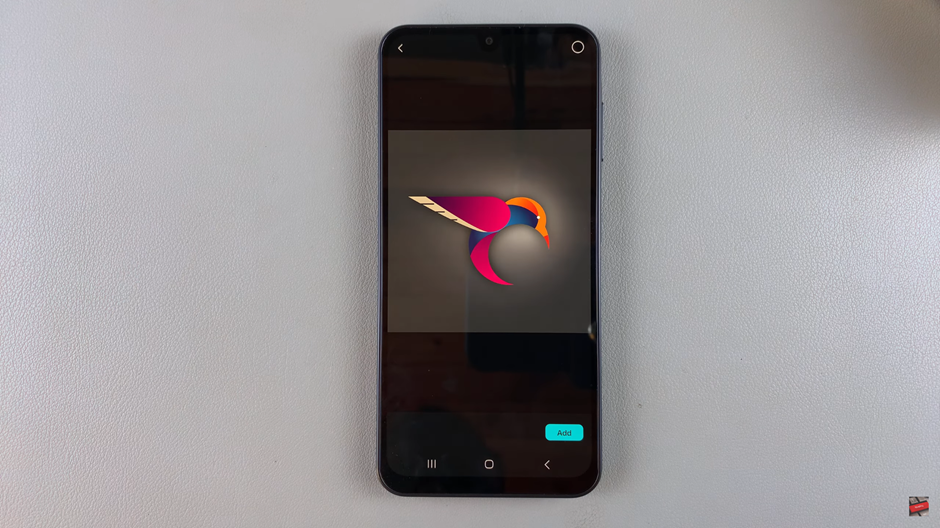
After adding the logo, decide the duration it will be displayed. Drag the overlay bar on the timeline to adjust the start and end times of the logo.
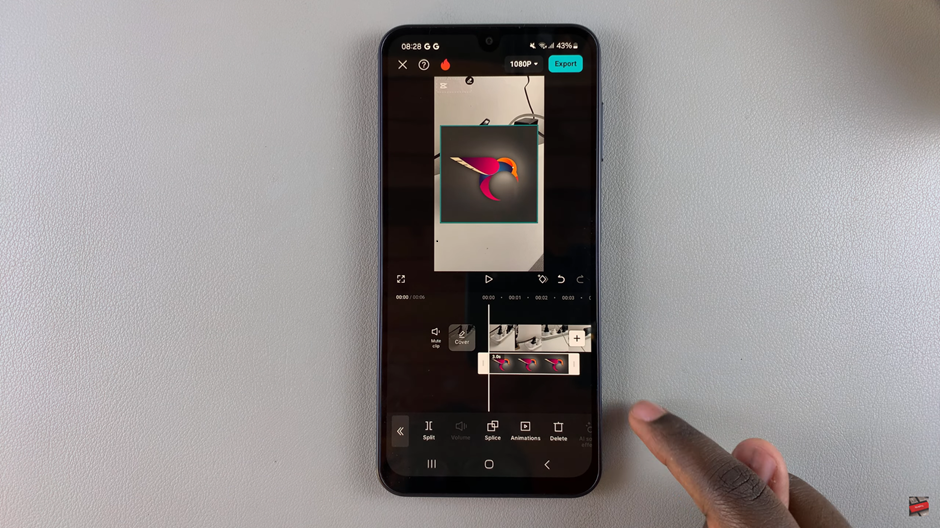
Use the customization options to adjust the size, position, and rotation of the logo to fit your video.
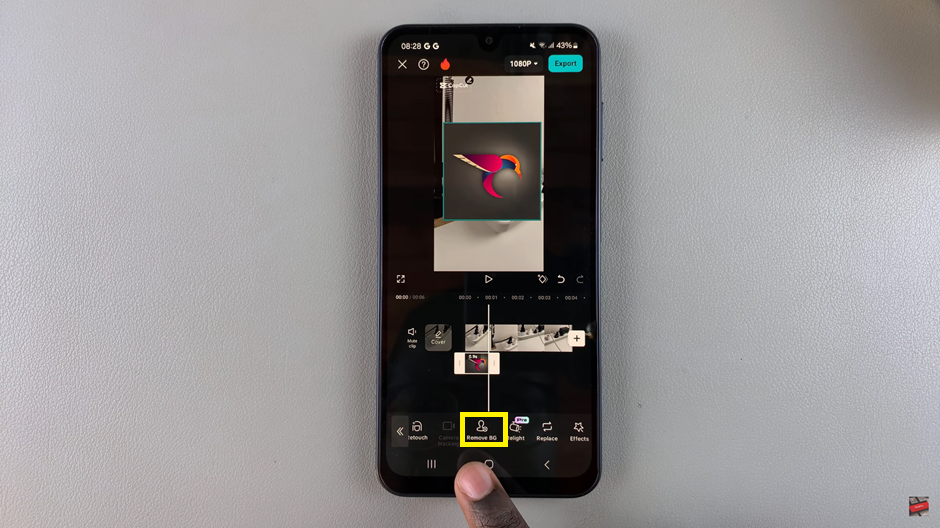
If your logo has a background that you’d like to remove, navigate to the “Remove Background” option.
Use the “Chroma Key” feature to refine the background removal process.
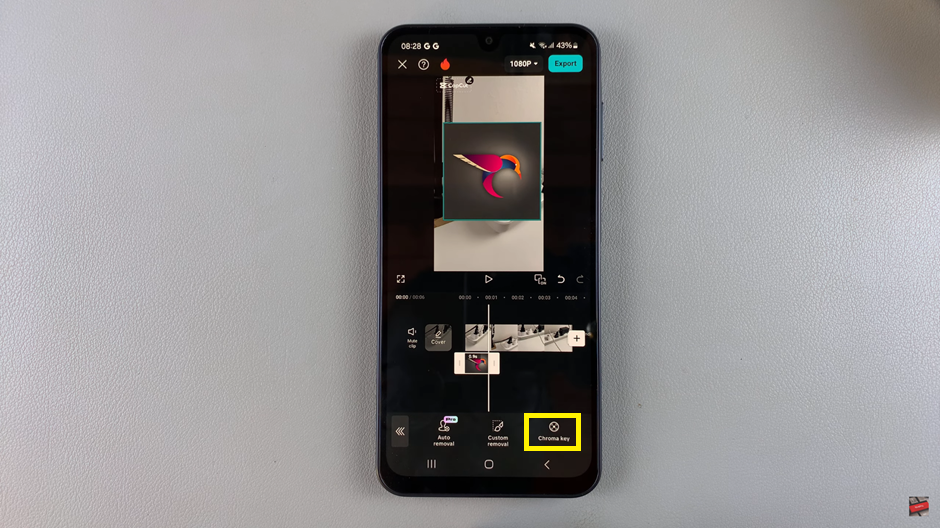
Tap on the color picker tool and select the background color of your logo to remove it.
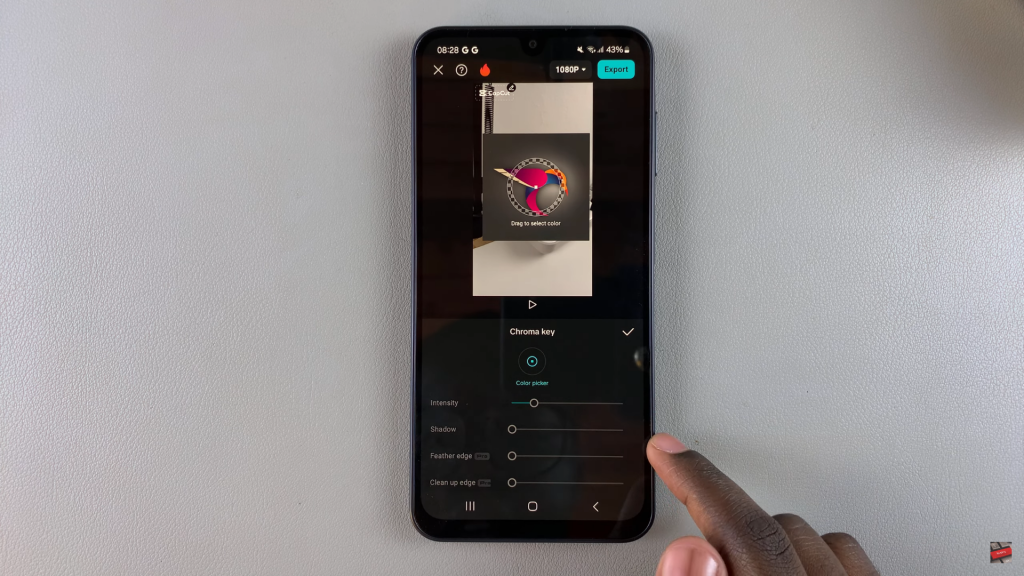
After making all adjustments, tap the check mark to apply the changes.
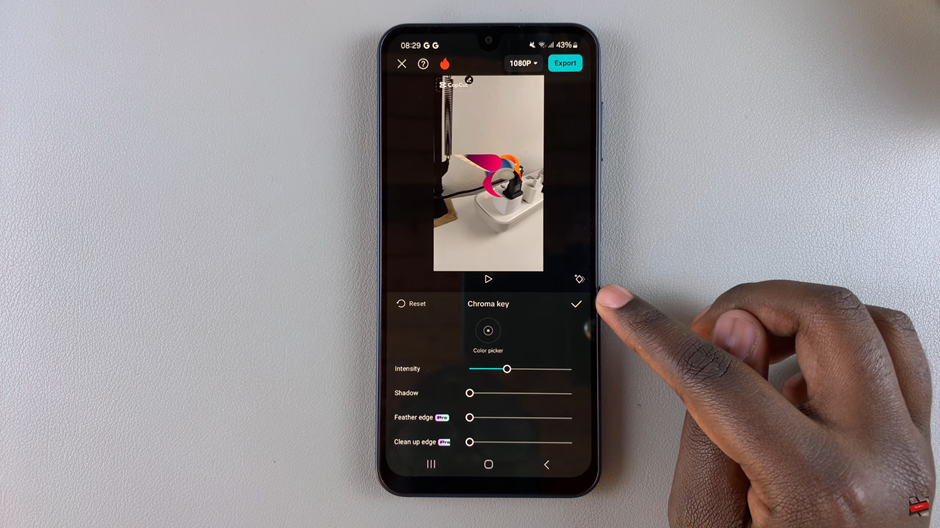
With these steps, your logo will be successfully added to your video in CapCut, ready to give your content a professional and branded touch.
