Zooming in and out is a fundamental video editing technique that allows you to focus on specific areas of your footage or capture a wider perspective. Whether you’re looking to highlight a particular detail or adjust the framing of your video, CapCut PC provides simple tools to zoom in and out smoothly.
Mastering the zoom feature can significantly enhance your videos, adding depth and dynamism to your content. In this guide, we’ll walk you through the steps to zoom in and out in CapCut PC, ensuring you can create videos with perfect framing and emphasis.
Read: How To Navigate To Home Screen In CapCut PC
How To Zoom In and Out In CapCut PC
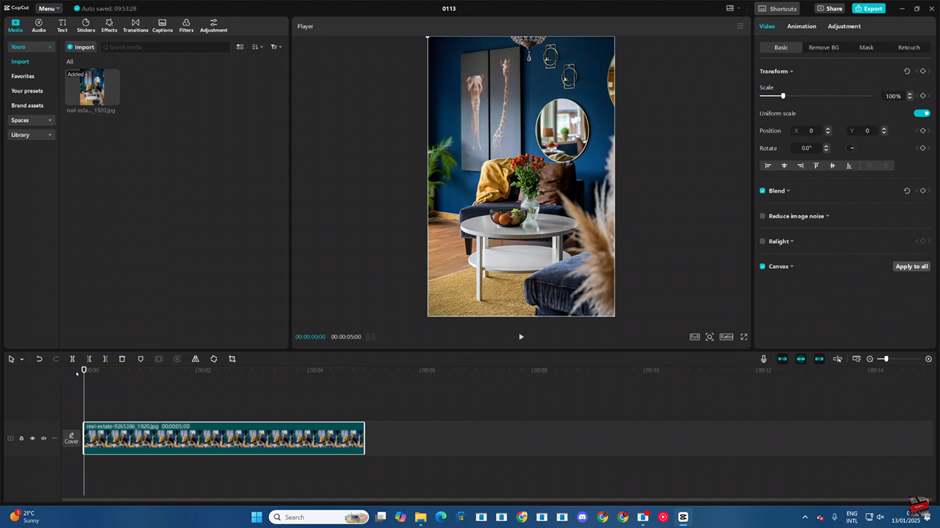
Open CapCut PC and add your video project to the timeline for editing. Position the play head at the beginning of your project where you want to start zooming.

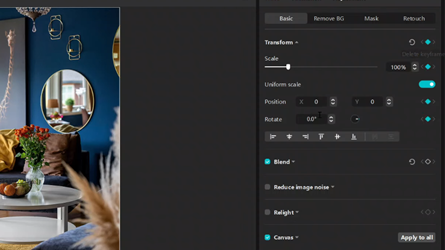
Click on the “Transform” option in the toolbar and enable keyframes for zoom adjustments.

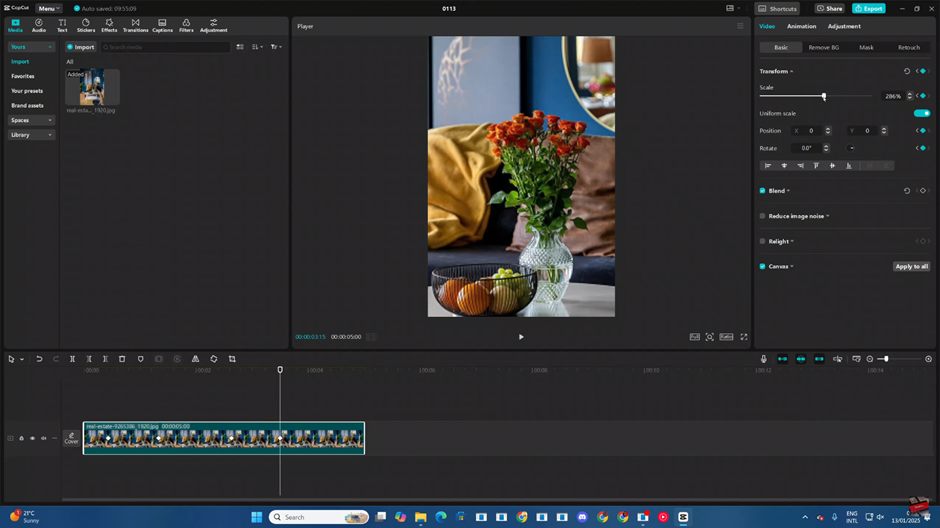
Modify the keyframe settings to zoom in or out based on your desired effect.
As you adjust the zoom in or out, remember to add a keyframe at every change. This ensures smooth transitions between the zoomed-in and zoomed-out states.

This process allows you to control zooming in and out with precision, adding a dynamic touch to your video.

