CapCut is a powerful and user-friendly video editing tool that offers a range of features to enhance your videos. One of the key aspects of video editing is adjusting the frame rate, which determines how smooth or cinematic your footage appears.
Whether you’re aiming for a professional feel or simply want to customize the playback speed, knowing how to change the frame rate is essential. In this guide, we’ll walk you through the steps to change the frame rate in CapCut for PC.
If you’re editing for social media, creating content for YouTube, or working on a personal project, mastering this feature will help you elevate your videos to the next level.
Read: How To Connect TikTok Account To CapCut
How To Change Frame Rate In CapCut PC
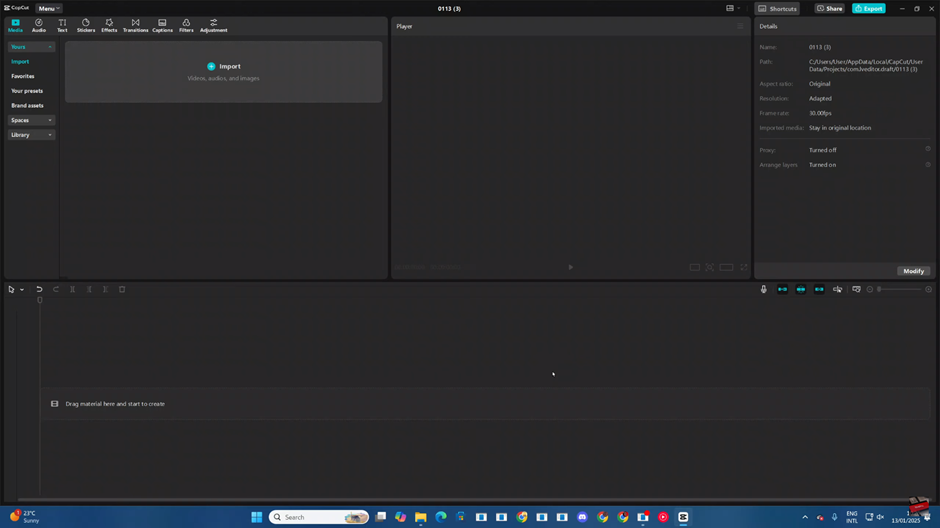
Open the CapCut application on your computer. Click on the menu icon or button, typically located at the top of the screen.
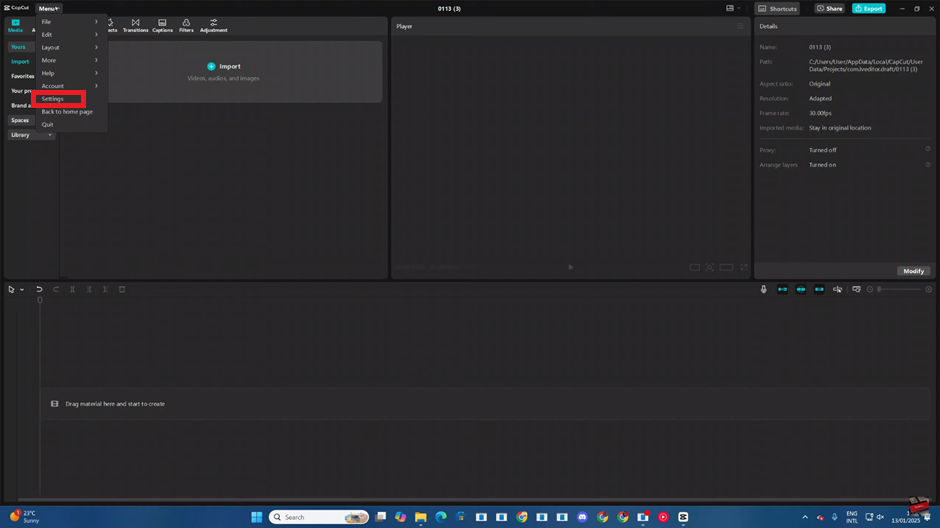
From the menu, choose the “Settings” option.
Navigate to the “Edit” section within the settings menu, Look for the “Frame Rate” option in the Edit section.
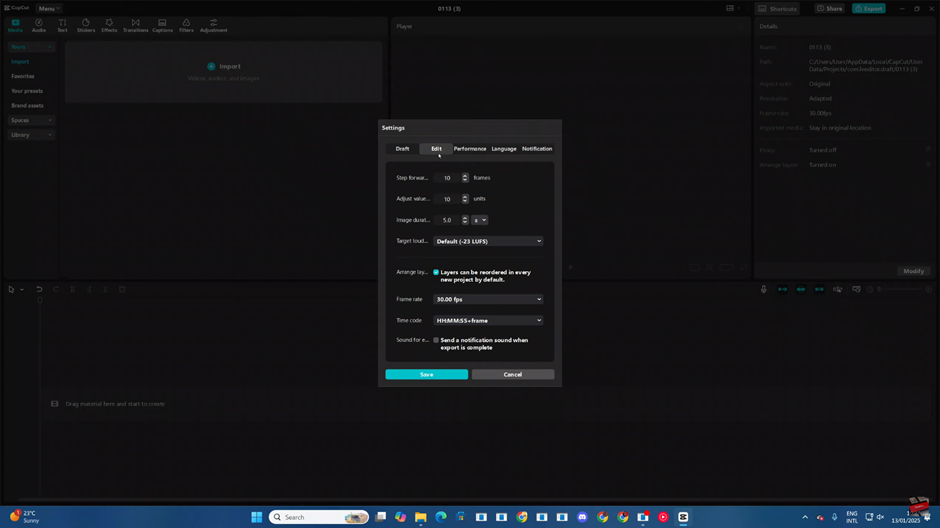
Click the drop-down arrow next to the Frame Rate option to view available frame rate settings.
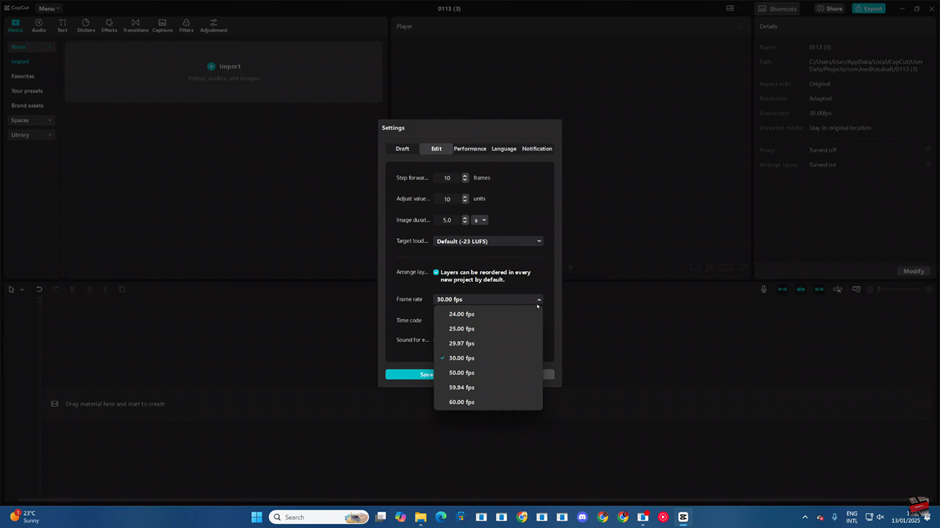
Choose the frame rate you wish to use from the available options.
Confirm your selection by clicking on the “Save” button to apply the changes.
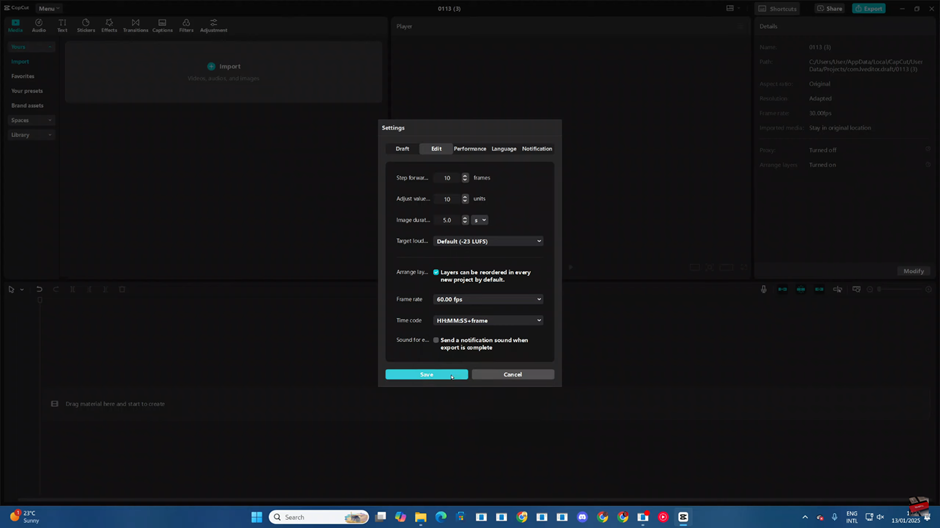
Your frame rate settings will now be updated for your video project in CapCut.

