Fonts are an essential part of the digital experience, adding personality and flair to documents, designs, and presentations.
Whether you’re a designer, writer, or just someone who enjoys customizing your Mac, installing new fonts can be a fun way to enhance your creative projects.
In this guide, we’ll walk you through the comprehensive step-by-step process on how to install fonts on your Mac.
Also Read: How To Connect Bluetooth Devices To Mac
How To Install Fonts On Mac
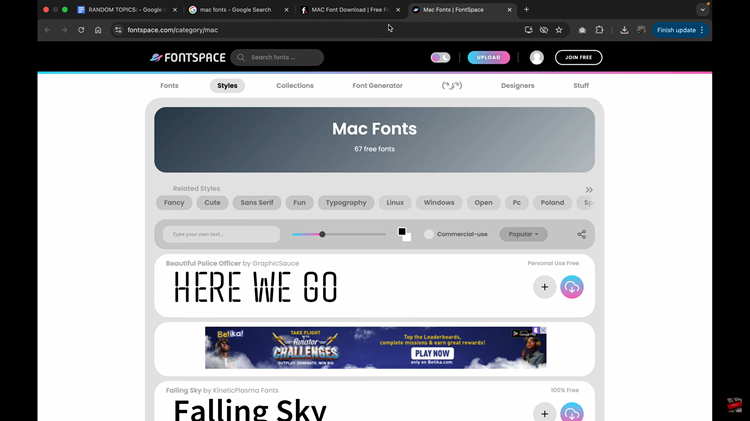
Start by browsing the web for websites that offer downloadable fonts. For example FontSpace or Font Download. On these sites, you can find a wide variety of fonts to suit your needs. Once you find a font you like, download the font file to your Mac.

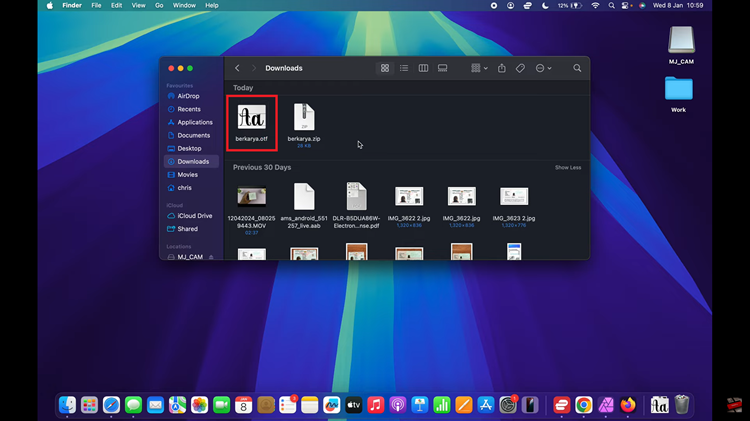
After downloading, navigate to your “Downloads” folder on your Mac. You’ll see that the font has been downloaded as a zip file. To proceed, simply double-click on the zip file. This will automatically unzip the file and reveal the font file(s) inside. Next, double-click on the font file.

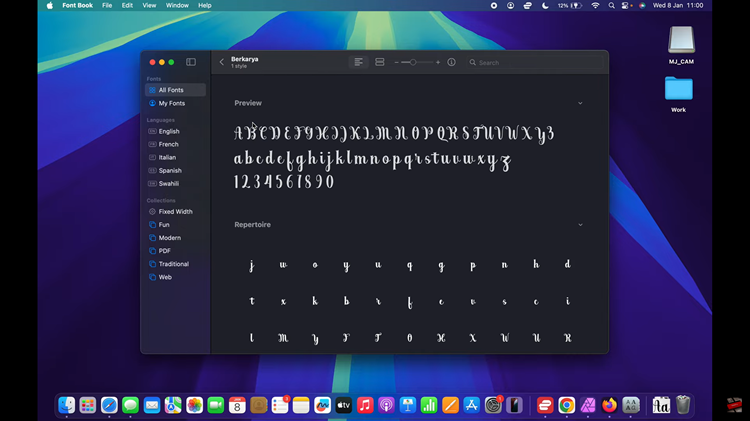
A preview of the font will appear on your screen, showing how the font looks. If you’re satisfied with the preview, click on the “Install” button at the bottom of the preview window. Once installed, the font will be added to your Mac’s font library and will be available in various apps such as Microsoft Word.

By following these easy steps, you can quickly install new fonts on your Mac and start using them across your applications. Whether you’re designing, working on a document, or just want a fresh look, adding fonts is a simple way to enhance your Mac experience.

