If you’ve recently switched to a Mac or are exploring its settings for the first time, you may notice that right-clicking isn’t immediately available by default. This can feel confusing, especially if you’re used to using a traditional mouse on other operating systems like Windows.
Fortunately, enabling the right-click function on a Mac is simple and can be done in just a few steps. Whether you’re using an external mouse, the built-in trackpad on a MacBook, or Apple’s Magic Mouse, macOS offers customizable settings to meet your needs.
In this guide, we’ll walk you through the comprehensive step-by-step process on how to enable right click on a Mac.
Also Read: How To Connect Hollyland Lark M2 Wireless Microphone To Chromebook
How To Enable Right Click On Mac
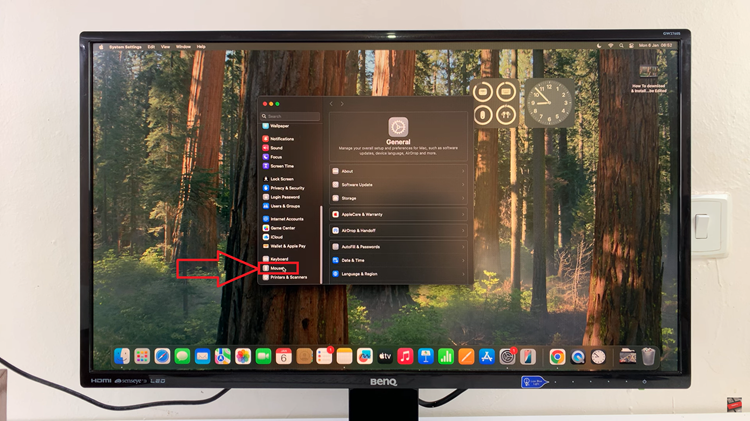
To begin, locate the Settings app on your Mac. You can find it in your Dock or by searching for it using Spotlight (press Command + Space and type “Settings“). Once opened, scroll through the list of options to find and select Mouse.

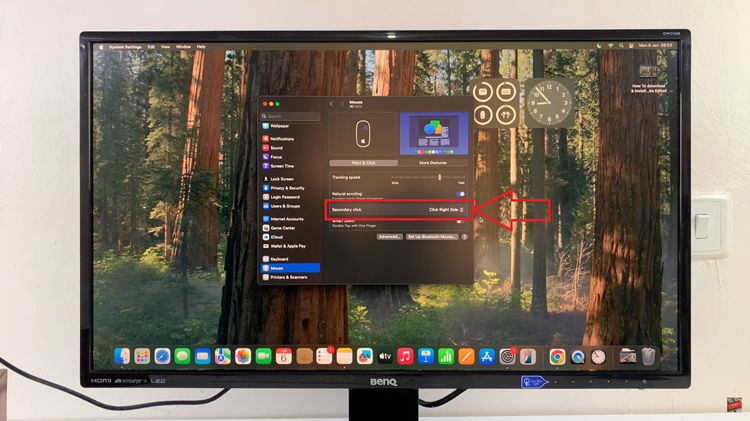
In the Mouse settings, look for the option labeled Secondary Click. Next to it you should see a drop-down menu. Click on it and you’ll see a few options. Choose Click Right Side to assign the right-click action to the right side of your mouse.

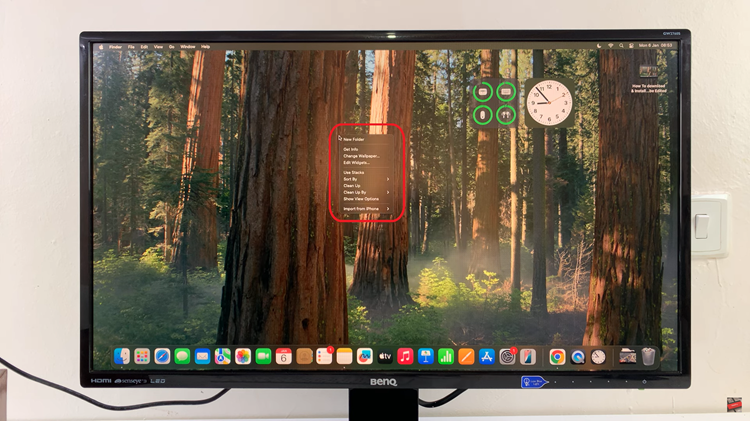
Now that you’ve enabled the feature, test it out by navigating to your desktop or any open application. Place the cursor over an item, and press down on the right side of your mouse. A context menu should appear, confirming that the right-click function is now active.

Activating the right-click function on a Mac is quick and straightforward. Whether you’re using an external mouse or the built-in trackpad, having the right-click function enabled will undoubtedly save you time and effort. Enjoy the added convenience of right-clicking on your Mac!

