Weather forecasts have become part of everyday life-the absence of such data can disorganize your day. And when you can access the weather forecast in a few clicks on your Mac, things become more organized and hassle-free. Fortunately, macOS comes with a very sleek and customizable way to get in touch with the weather-a widget.
From deciding on what to put on for the day to checking out the conditions before travel, adding a weather widget into your Mac System is more uncomplicated than ever, and it’s really cool. In this guide, we will teach you how to add a weather widget on your Mac.
We will cover the access into the widget gallery, how to resize the widget, or even choose its position, so it shows you everything in a glance. By the end of this article, you’ll have a working weather widget on your Mac and some tricks on how to customize it to better suit you.
Watch: How To Add Clock Widget On Mac
Add Weather Widget On Mac
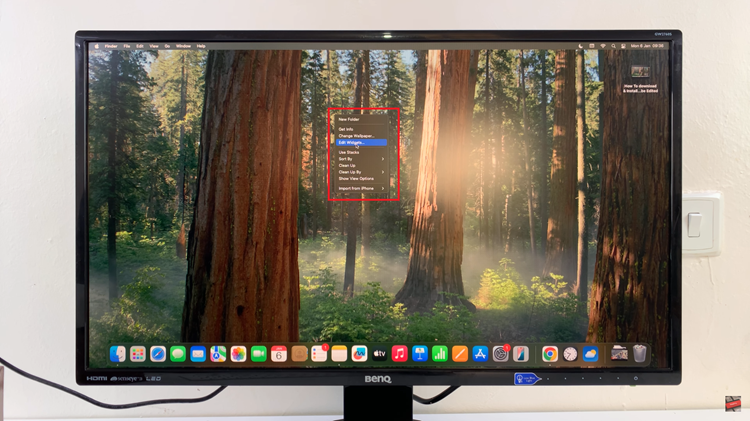
Begin by accessing the desktop on your Mac. Once on the desktop, find an empty space and right-click on it. Then, a pop-up menu will appear. From the menu, find the ‘Edit Widgets‘ option and click on it to proceed.

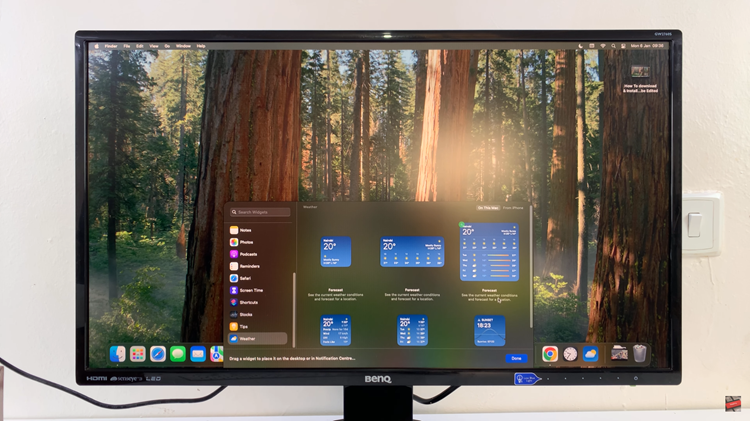
At this point, you’ll access the widget menu. Then, scroll down and find the ‘Weather‘ widget option and click on it. Now, you’ll see a list of built-in weather widgets on your Mac. Find the one you’d like and click on it.

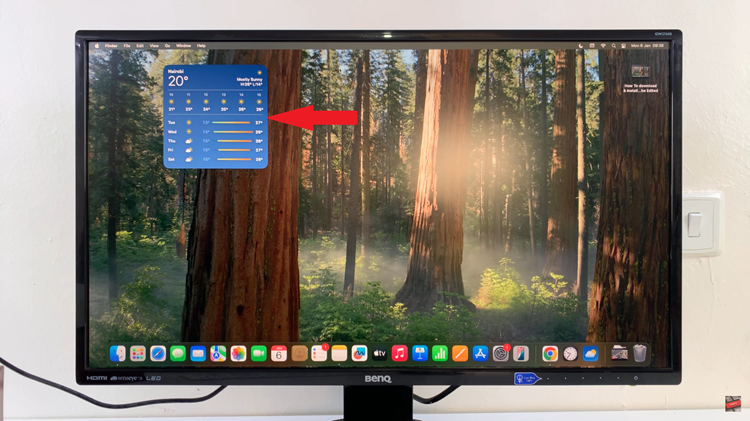
Conversely, you’ll see the weather widget added to your desktop. Now you can see the details regarding the weather right at the comfort of your screen.

In conclusion, adding a weather widget to your Mac is a simple yet effective way to stay informed about the forecast without interrupting your workflow. By following the steps outlined in this guide, you can easily customize your Mac’s Notification Center or desktop to display real-time weather updates that match your needs.
Read: How To Enable & Disable Smooth Scrolling On MX Master 3S

