The Logitech MX Master 3S is one of the most advanced and reliable mice on the market, designed for productivity and comfort.
To ensure you’re getting the best performance and access to the latest features, it’s essential to keep your device’s firmware up to date.
Here’s a comprehensive guide on how to check for updates on your MX Master 3S Logitech mouse, and install them if they are available.
Watch: Factory Reset MX Master 3S
Check For Updates On MX Master 3S
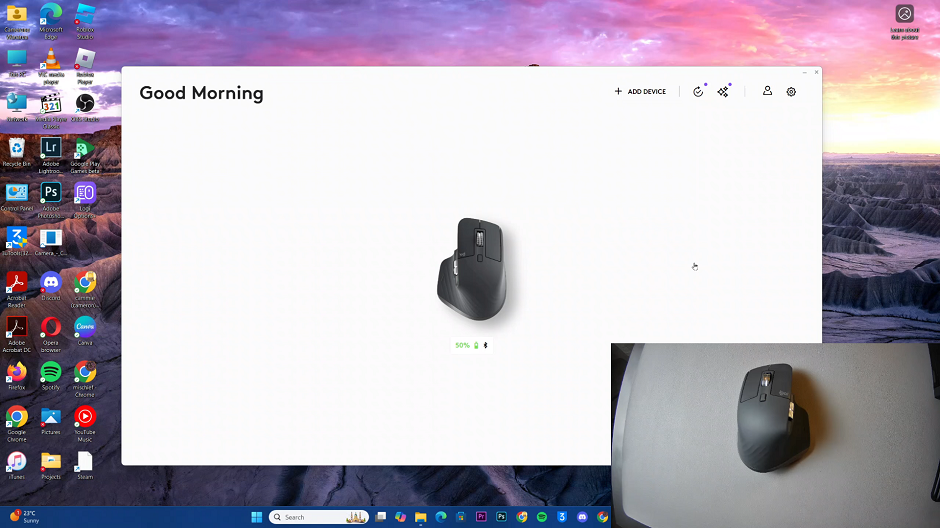
Start by launching the Logi Options+ software on your computer, and your mouse should appear on the dashboard. Once you have Logi Options+ running, select Your MX Master 3S by clicking on it in the software interface.
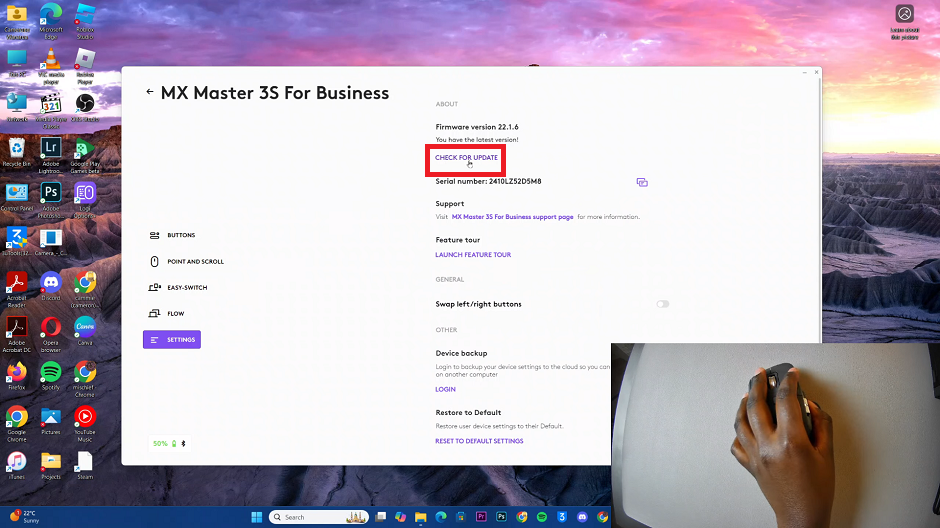
In the left-hand side panel, select the Settings option. Here, select the Check For Update option, under the About section.
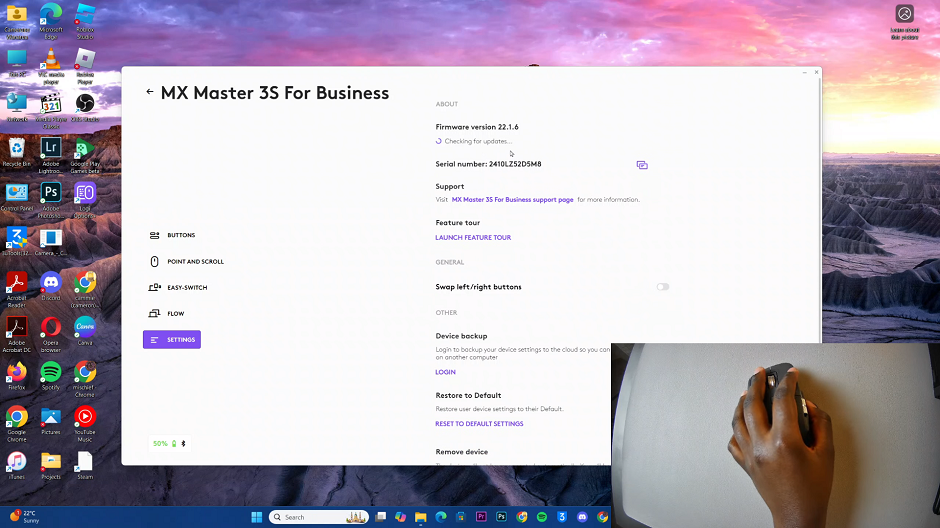
The software will scan for any available firmware updates for your mouse.
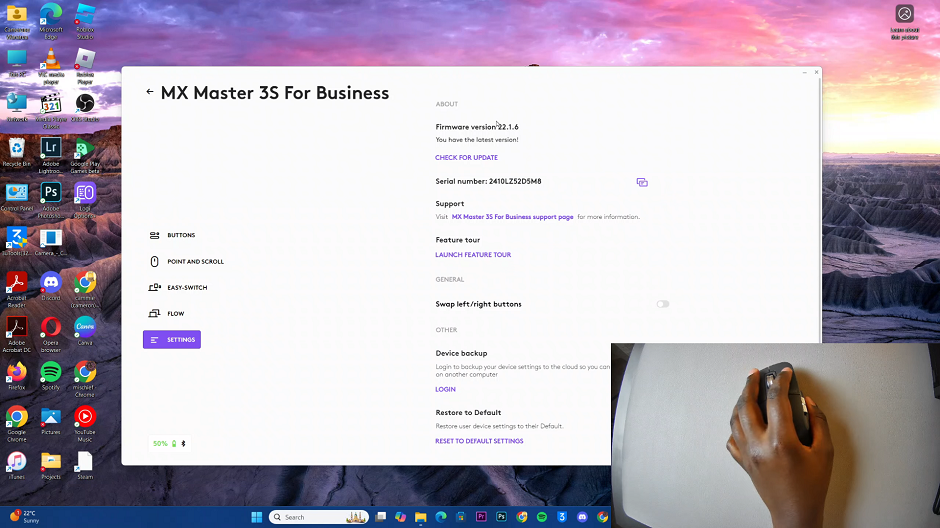
If an update is available, you will see a prompt to install it. You will see the prompt You have the latest version, if not.
Follow the on-screen instructions to guide you through the update process. Ensure your mouse remains connected and powered on throughout the update. Avoid disconnecting your computer from power during this process.
Now, wait for the update to complete. The update process may take a few minutes. Once it’s done, you’ll receive a confirmation message.
Tips for a Smooth Update Process
Stable Connection: Ensure your MX Master 3S is properly connected to your computer. For best results, use the Logitech Unifying Receiver.
Battery Level: Make sure the mouse has sufficient battery charge before starting the update.
Close Other Applications: To avoid interruptions, close unnecessary applications during the update process.
