The Logitech MX Master 3S is a premium mouse known for its ergonomic design and advanced features. However, there may come a time when you need to reset it to its factory settings.
This could be due to troubleshooting issues, preparing it for a new user, or simply starting fresh. In this article, we’ll guide you step-by-step on how to factory reset your MX Master 3S Logitech mouse.
Factory resetting your MX Master 3S can be helpful in troubleshooting issues such as fixing connectivity or performance problems, removing customizations and restoring default settings. Also, it will come in handy when changing devices and pairing the mouse with a new computer or device.
Read: How To Adjust Sensitivity Of Scroll Wheel On MX Master 3S
Factory Reset MX Master 3S
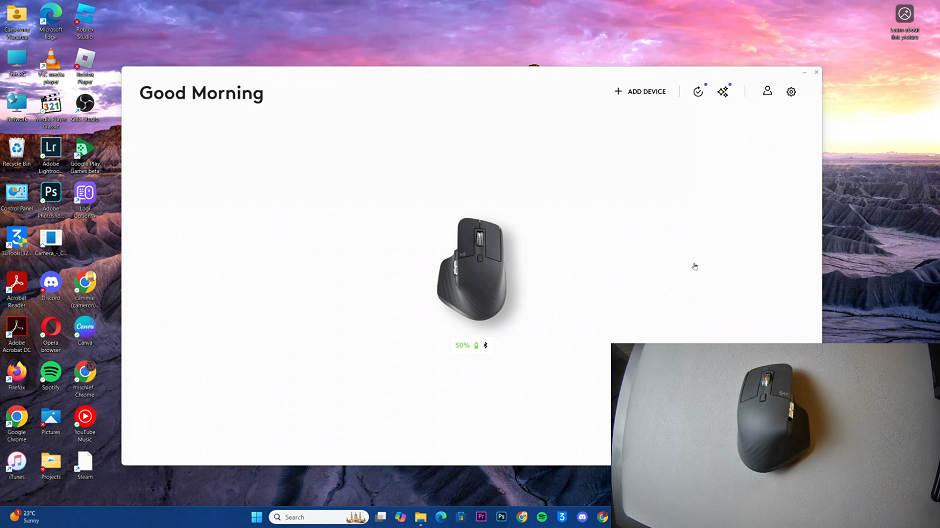
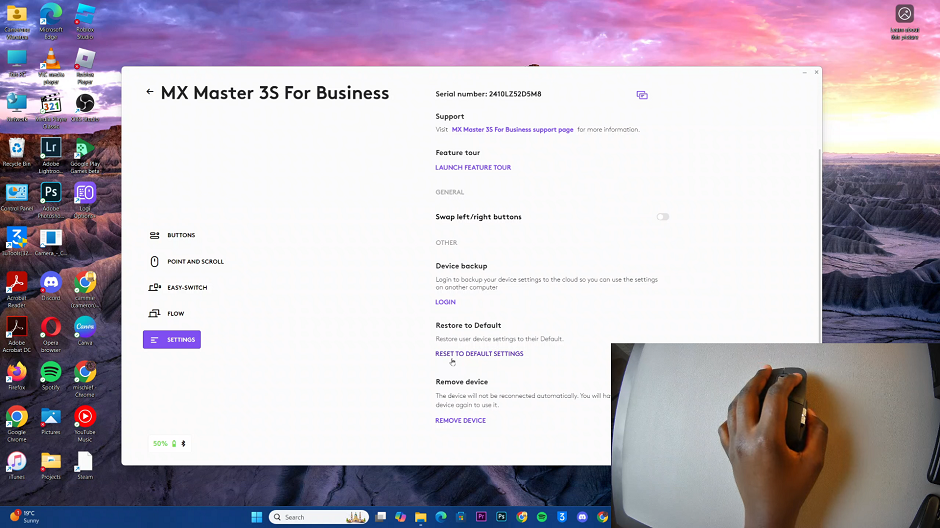
To start, launch the Logi Options+ software on your computer, and your mouse should appear on the dashboard. Once you have Logi Options+ running, select Your MX Master 3S by clicking on it in the software interface.
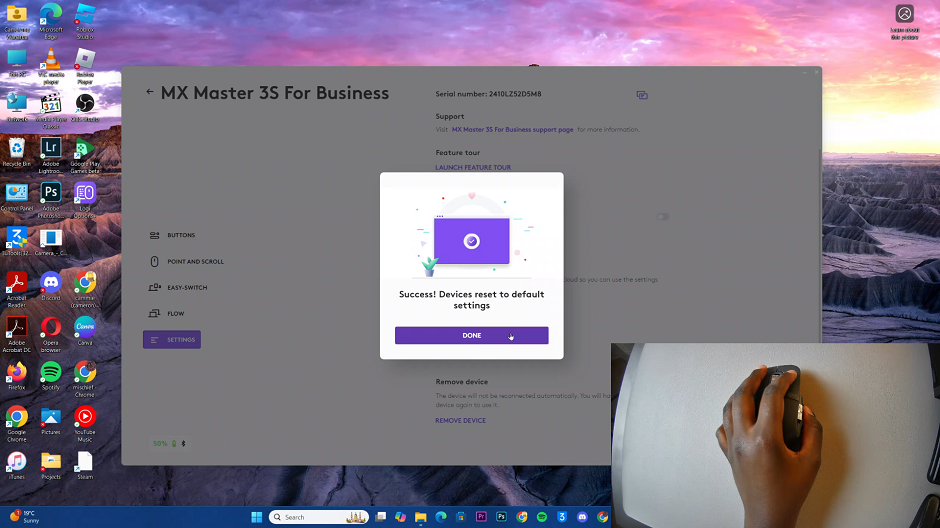
In the left-hand side panel, select the Settings option. Here, select the label, Reset To Default Settings option, under the Restore to Default section.
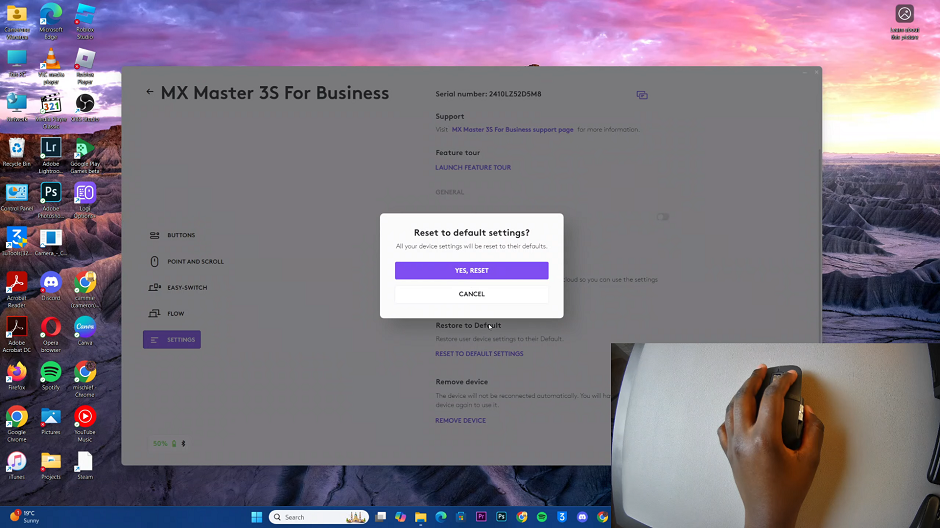
From the pop-up window, confirm that you want to finalize the factory reset. Simply select Yes, Reset. The mouse will be restored to its original state when you bought it.
Finally, click on Done in the pop-up window, once the reset is successful.
