Renaming your AirPods 4 is a simple yet effective way to personalize your device and make it easily recognizable. If you just want a custom name to reflect your style, changing the name of your AirPods can be done in a few quick steps. A personalized name helps you identify your AirPods in Bluetooth settings and also makes sharing and managing them more convenient.
Customizing the name allows you to add a personal touch, distinguish them if multiple AirPods are connected to the same network. This can be especially helpful in family or group settings where devices often share similar default names.
In this guide, we’ll walk you through the easy process of renaming your AirPods 4. From accessing the settings on your iPhone to saving the new name. Each step is designed to ensure a smooth experience. Whether you’re a new AirPods user or looking to refresh your setup, this tutorial will make your AirPods uniquely yours in no time.
Read: How To Disable All Noise Controls On Airpods 4
How To Rename Airpods 4
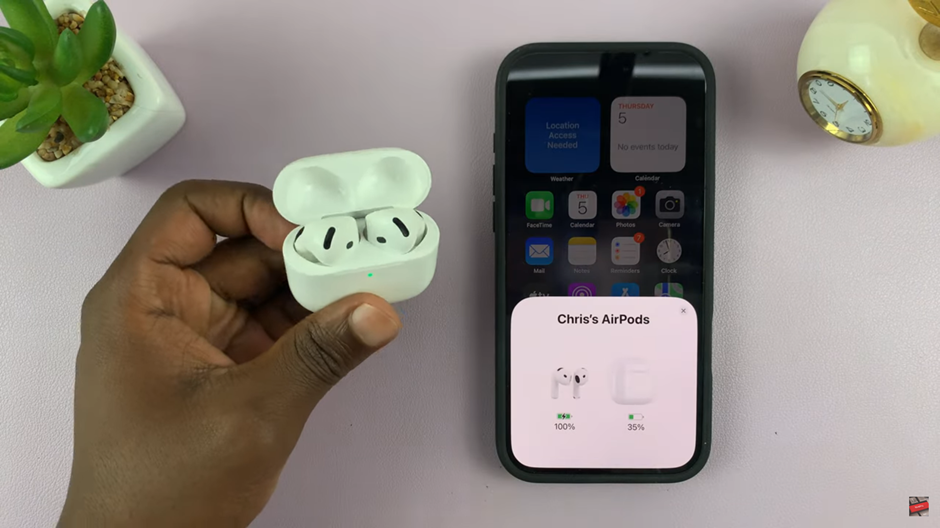
Open the AirPods 4 case near your device, and wait for a connection prompt to appear on your screen. If the AirPods are already connected, they will automatically sync with your device. If they don’t connect, go to the Bluetooth settings on your iPhone or iPad and select your AirPods from the available devices.

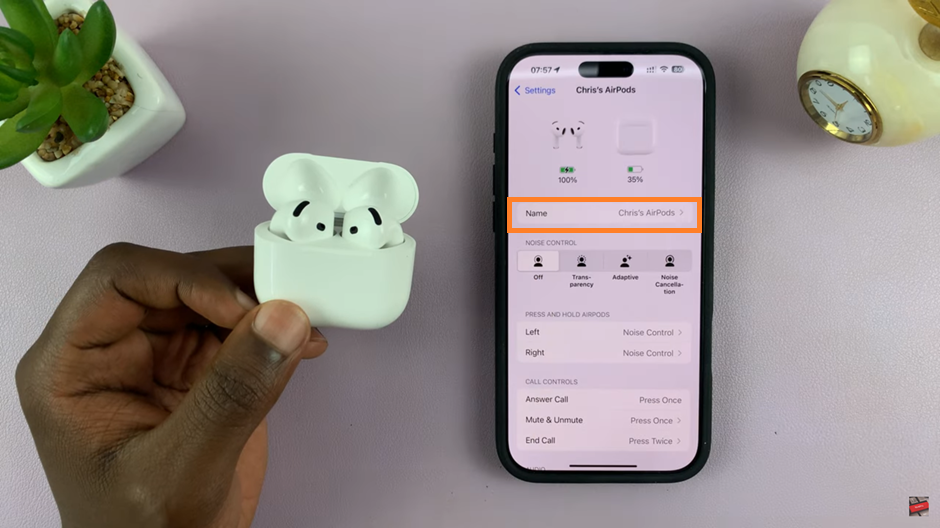
Navigate to the Settings app. Tap on the Airpods App to access the App menu.
Once the app is open, Locate the Name section which appears at the top of the screen. Select it to edit the name then tap on done to complete the process.

With your AirPods 4 now renamed, you can easily identify them in Bluetooth settings, and your personalized name will appear whenever you pair them with your devices. In future, you can always return to the settings to rename them again if you choose to.
Watch: How To Disable Personalized Spatial Audio On Airpods 4

