Managing your family’s digital ecosystem on your iPhone involves various settings and controls, including Family Sharing.
Whether you need to adjust memberships due to changes in family dynamics or simply want to streamline shared purchases and subscriptions, removing a family member from your iPhone is a straightforward process.
Family Sharing on iPhone allows you to share Apple subscriptions, purchases, and iCloud storage with up to six family members. Each member can have their own Apple ID while sharing access to apps, music, movies, and more.
Watch: How To Charge Nintendo Switch JoyCons (Controllers)
Remove Family Member On iPhone
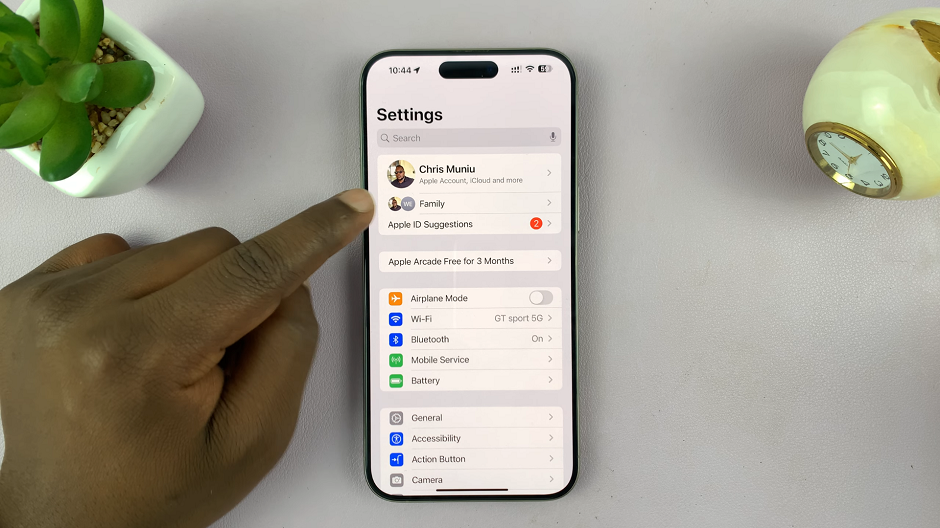
To remove a family member, launch the Settings app on your iPhone.
Next, tap on the Family option at the top of the Settings menu to access your family sharing section. You’ll see a list of family members you added.
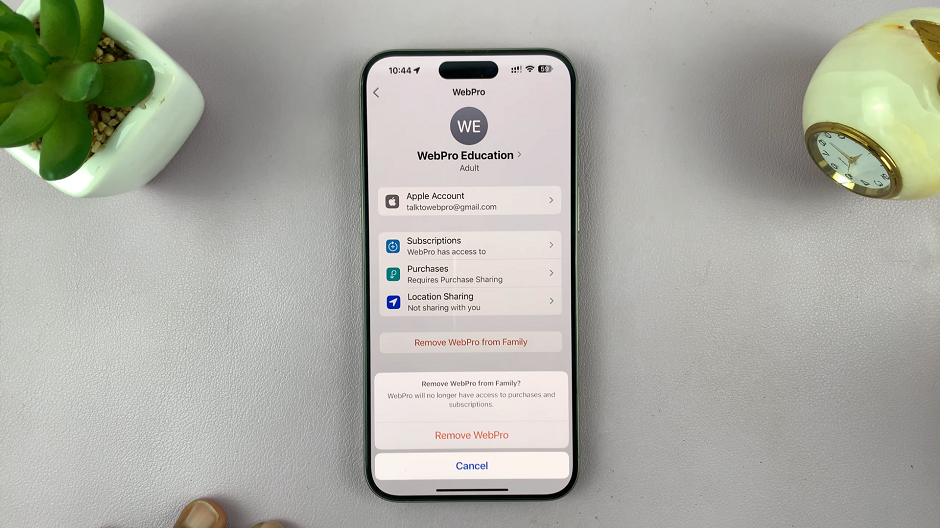
Tap on the member you want to remove. On the member’s detail page, tap Remove [Name] from Family.
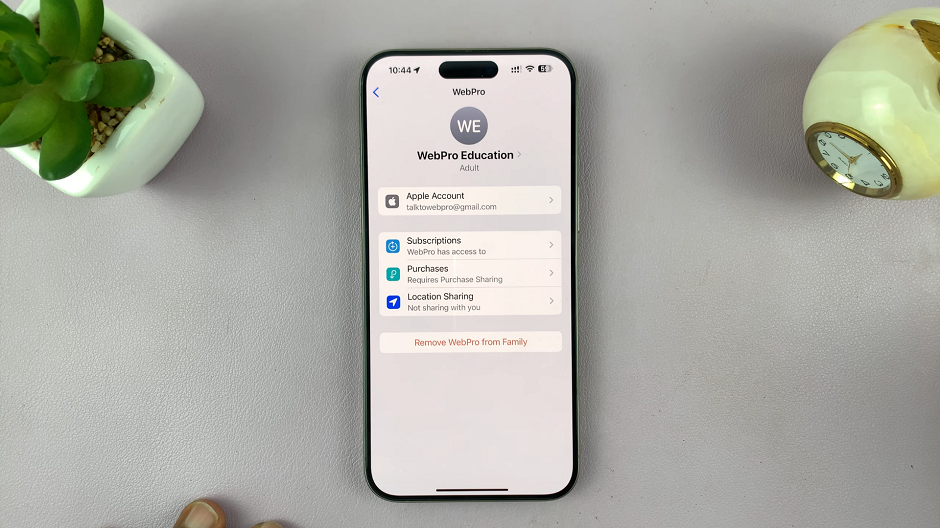
Confirm your action by tapping Remove [Name] in the confirmation dialog box. The user will be removed from your Family. They should receive an email notification to notify them as much.
Considerations and Tips
Subscription Management: Removing a family member does not cancel their subscriptions; they will need to manage those separately.
Data Loss: Make sure the family member backs up any data they want to keep, as removing them may affect shared iCloud data.
Communicate Changes: It’s good practice to inform the family member before removing them to avoid any misunderstandings.
Removing a family member from your iPhone’s Family Sharing is a useful feature for managing shared resources and subscriptions efficiently. By following these steps, you can ensure your digital ecosystem remains organized and tailored to your family’s needs.
